Unit 2: Externally Set Task
|
|
|
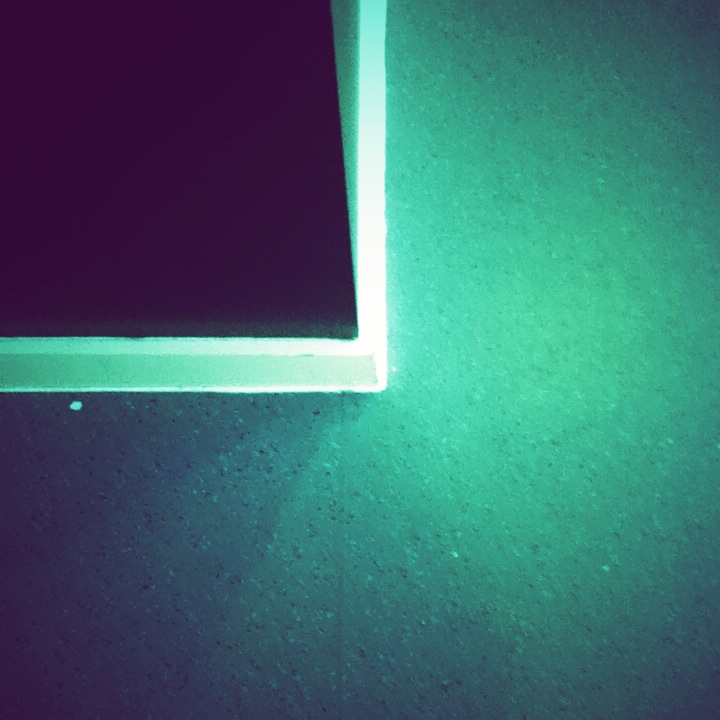
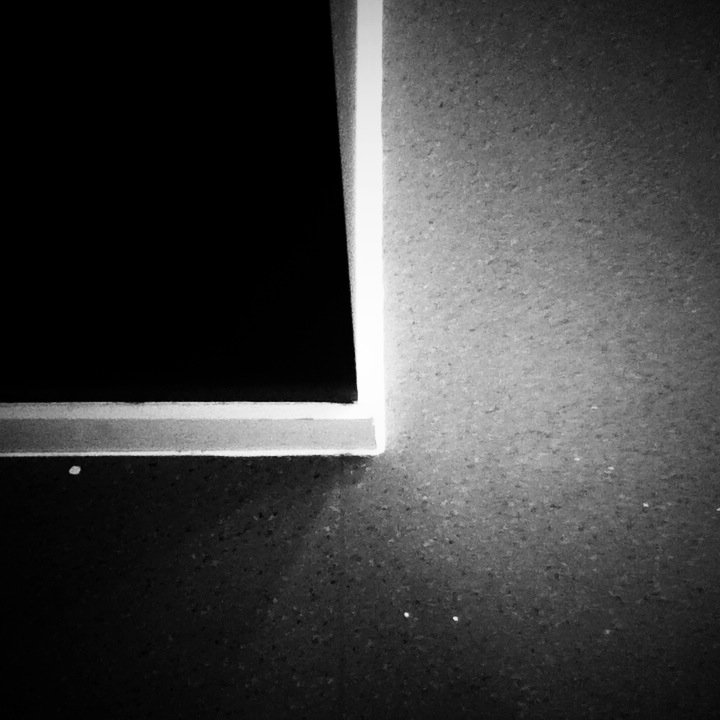
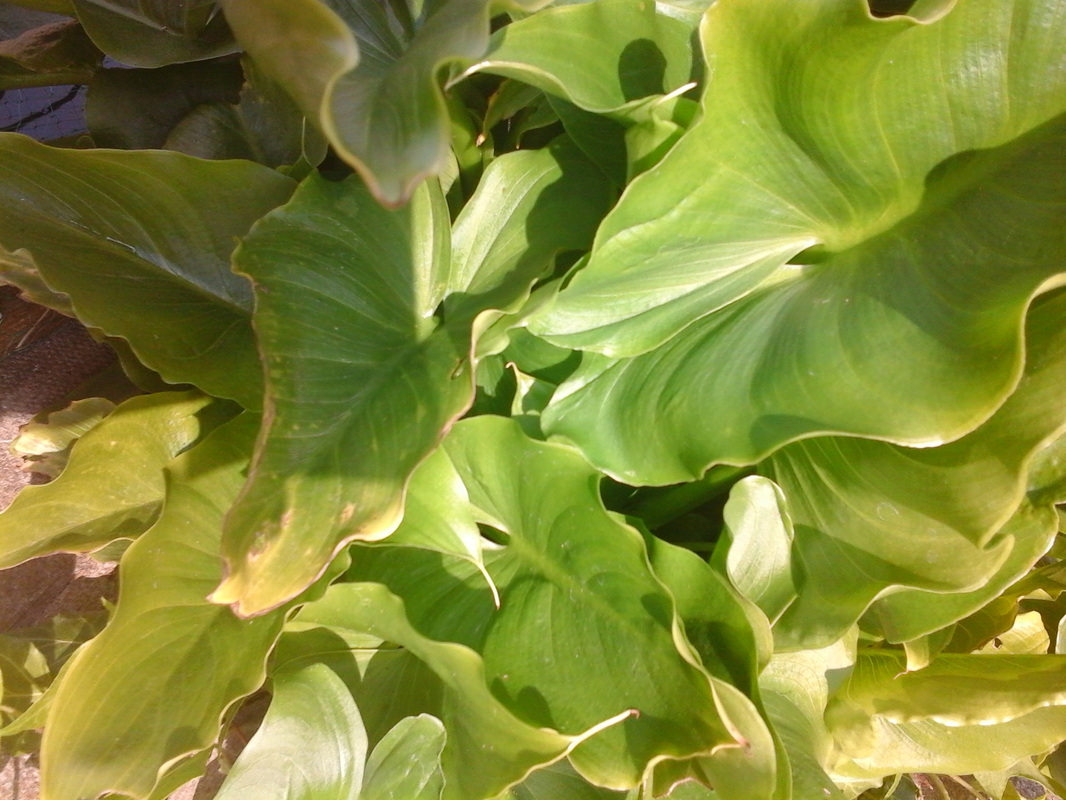
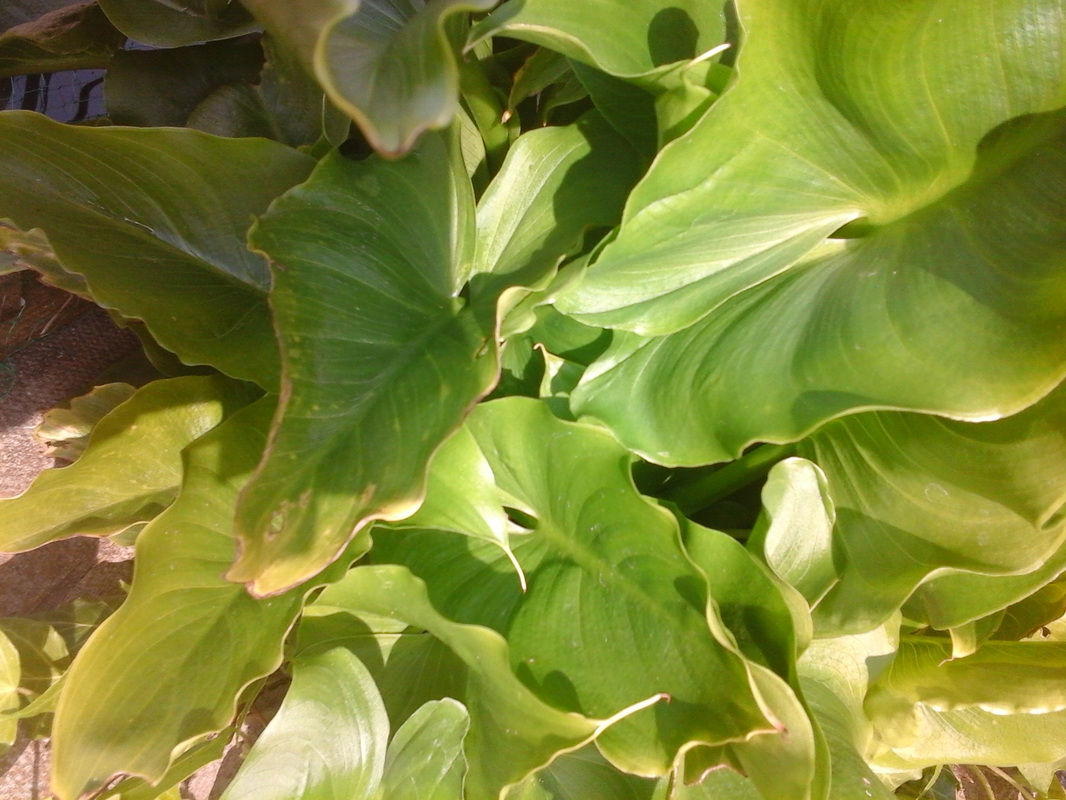
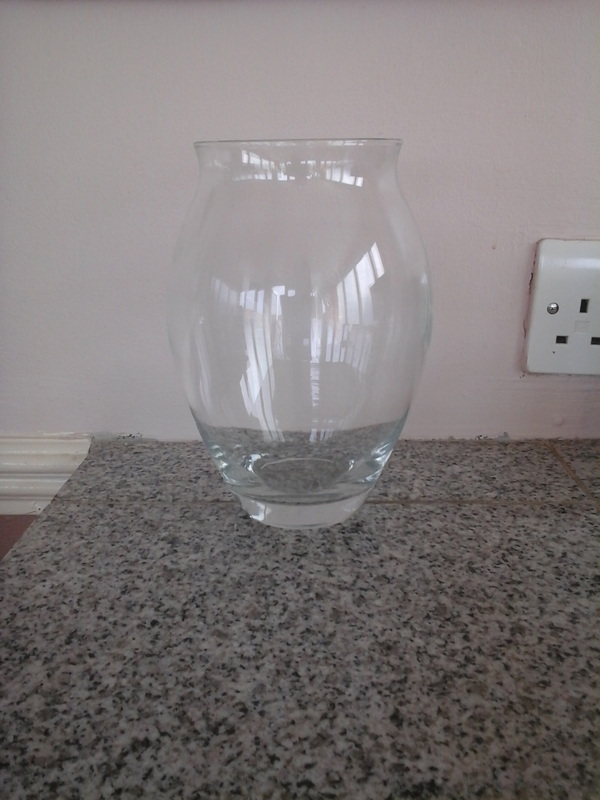
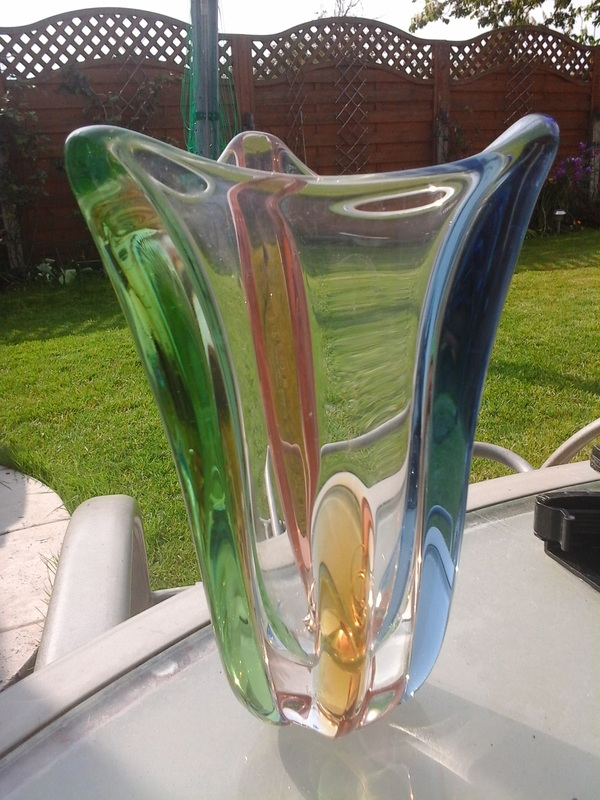
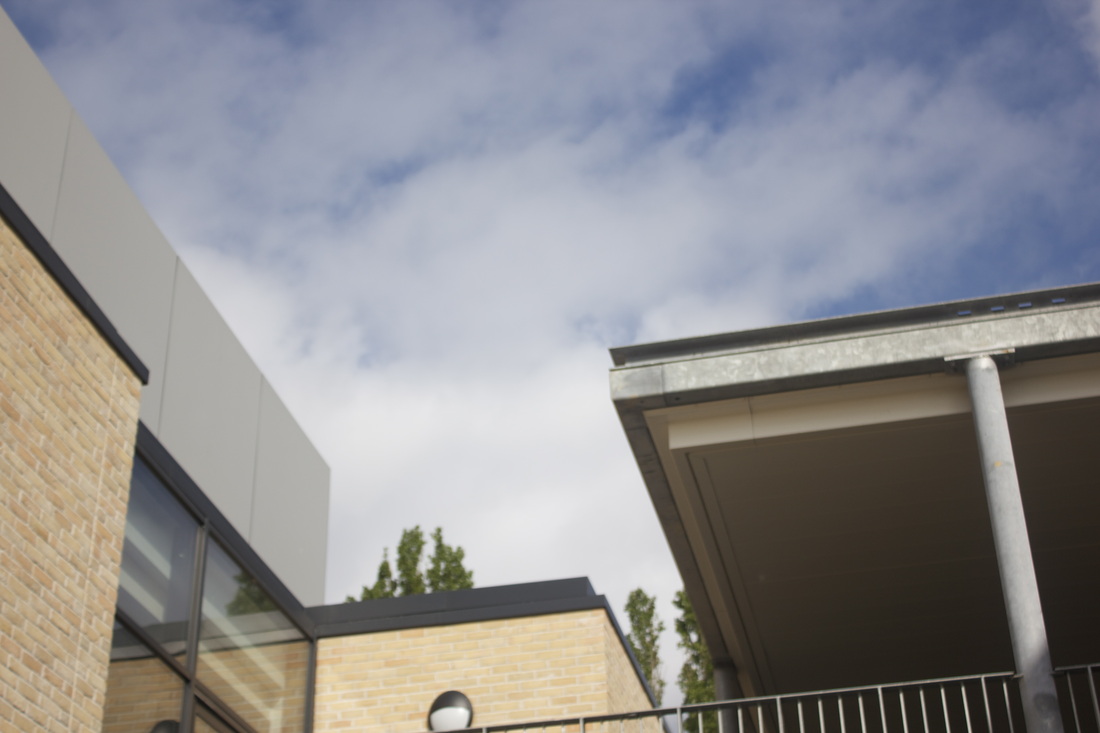
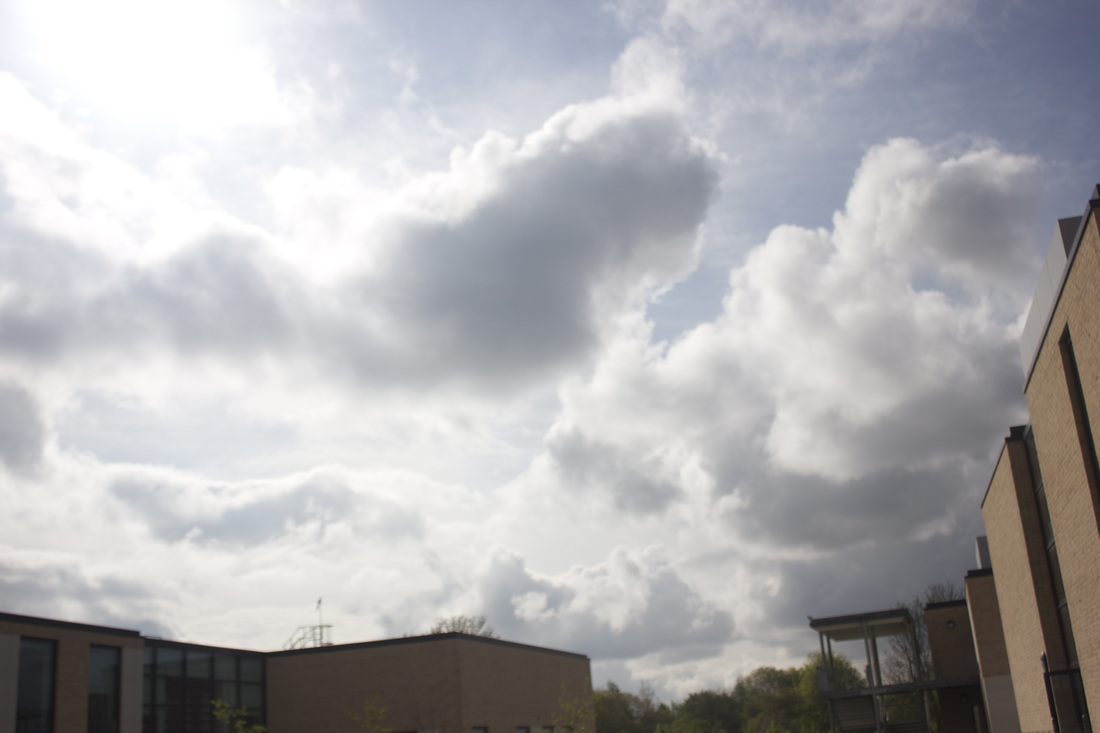
If you look close enough at the things around you will being to realise your life, your world is made of all different kinds of sized and shaped edges.
My starting point: Edges
I picked edges as my theme, I find that with the theme edges, you have such a wide variety of what you can do. What you can take pictures of, plus it has much to do with still life. Also I had a rush of ideas when I read about it. Not only did I like the idea of the theme, but also I have previously done research about Laszio Moholy-Nagy who creates photography work about edges, which gave me a bonus/ head start. There are so many things that I am hopping to achieve with this unit such as: creating various final pieces, some inspired but other famous/ well known photograpers, also work I have completely throughout on my own, to gain even more experience with using different technology to create outstanding photos, also finding out about other photographers who started to take images of edges and why.
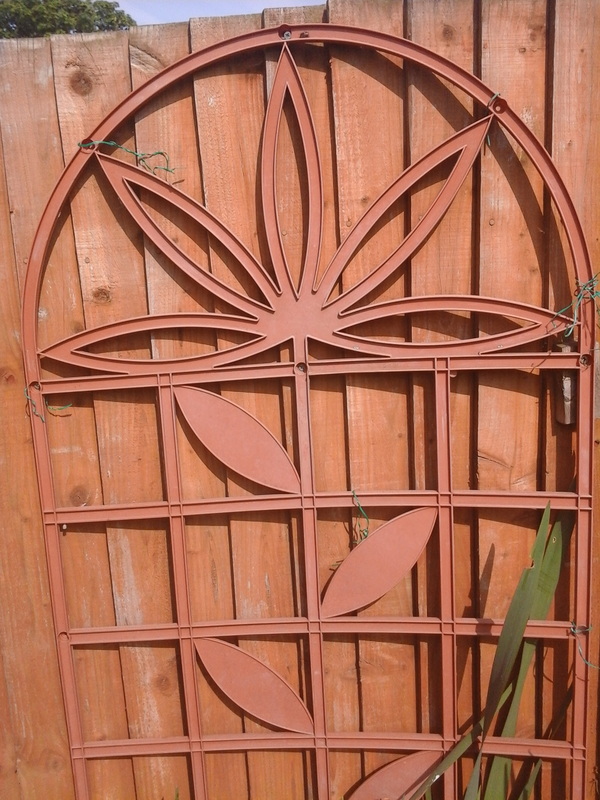
My inspiration for my theme edges.
|
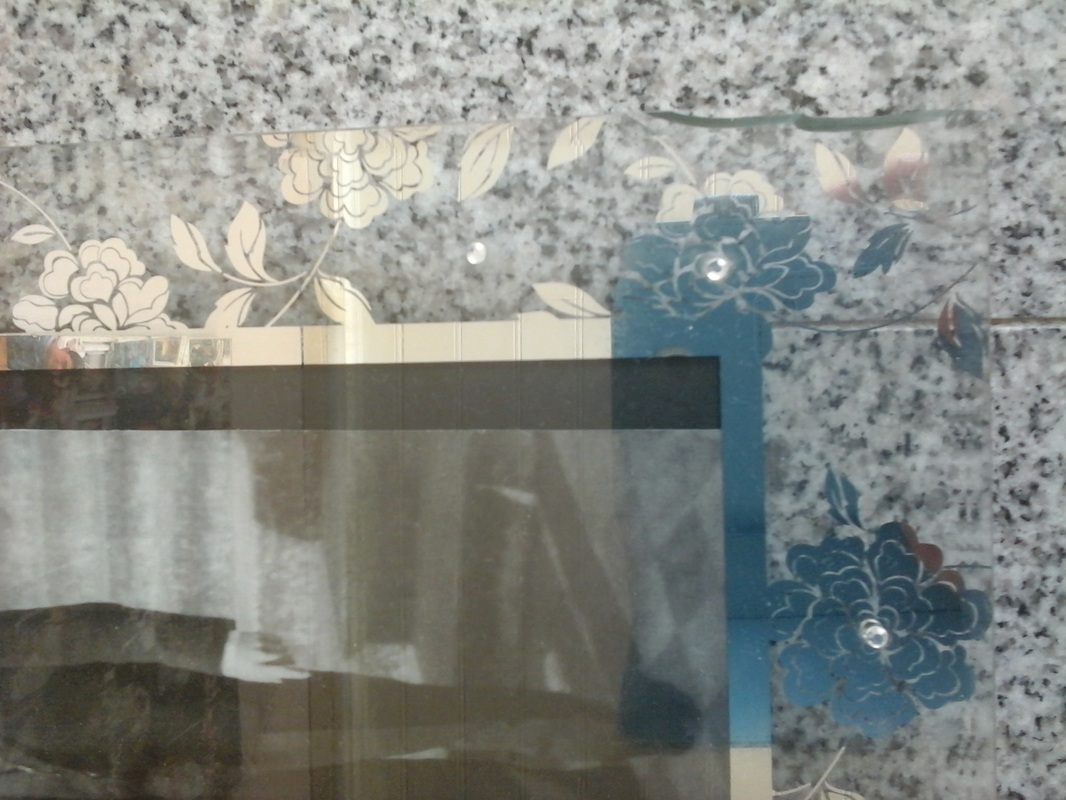
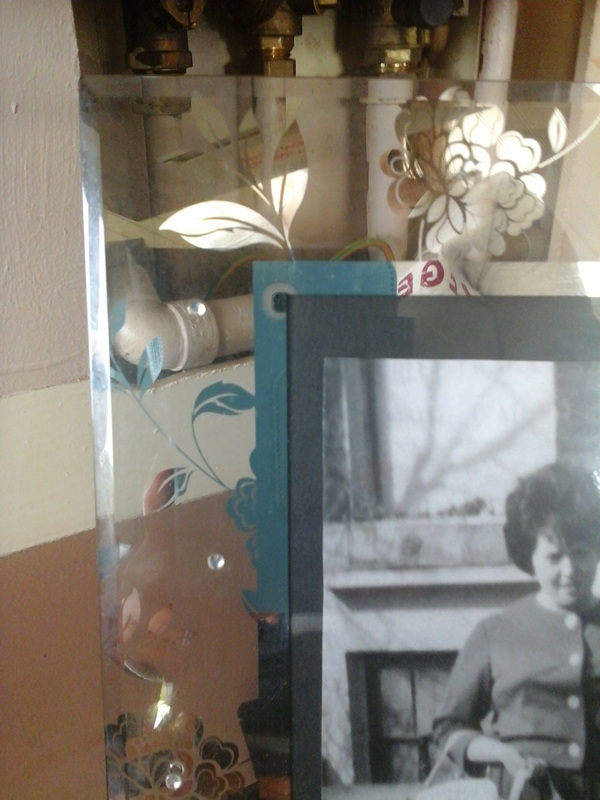
Research Laura Letinsky
Laura Letinsky uses the edges of objects such as tables, shelves and the line where one colour meets another, as important features of the composition in her still-life photographs. I also found out the Jed Devine and Jan Groover use similar compositional devices in their work. I would like to focus and maybe recreate some of the images she has created on edges, as they interest me what she has done with them. Another reason why I would like to focus on her sort of work because I know don't know no one thats has done anything like this so it really appleals to me, as well as that its fairly unusual which makes the images more interesting. |
Research Laszlo Moholy-Nagy.
Edges formed by parts of buildings, shadows and silhouettes are an important part of the composition in the photographs and photograms of Laszlo Moholy-Nagy. As these compositions make up the main part of the photos he produces. I have previously research and done work on Moholy-Nagy in unit 1, even then I still took great interest in the work he done. |
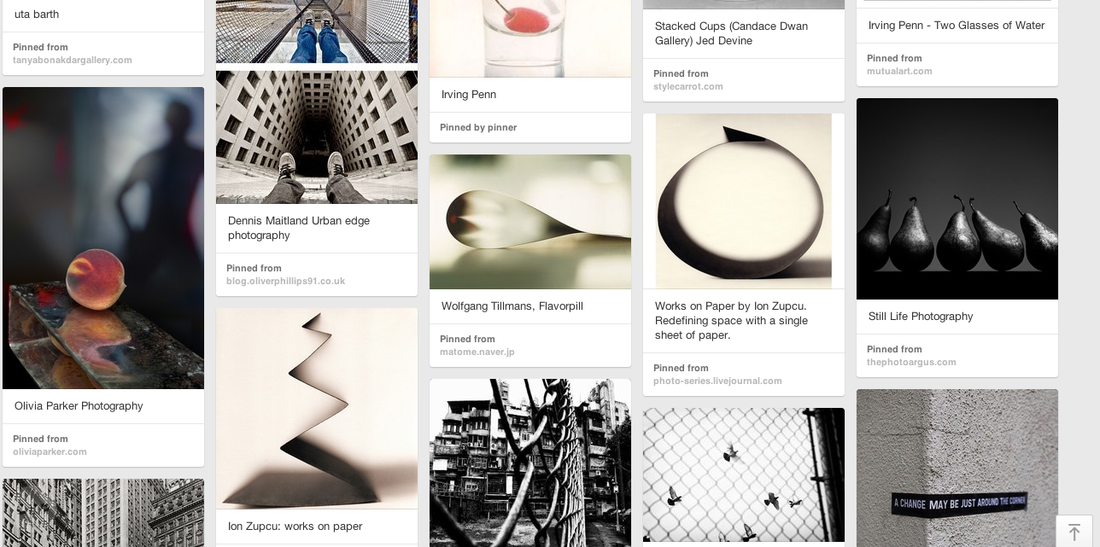
Follow my pinertest edges
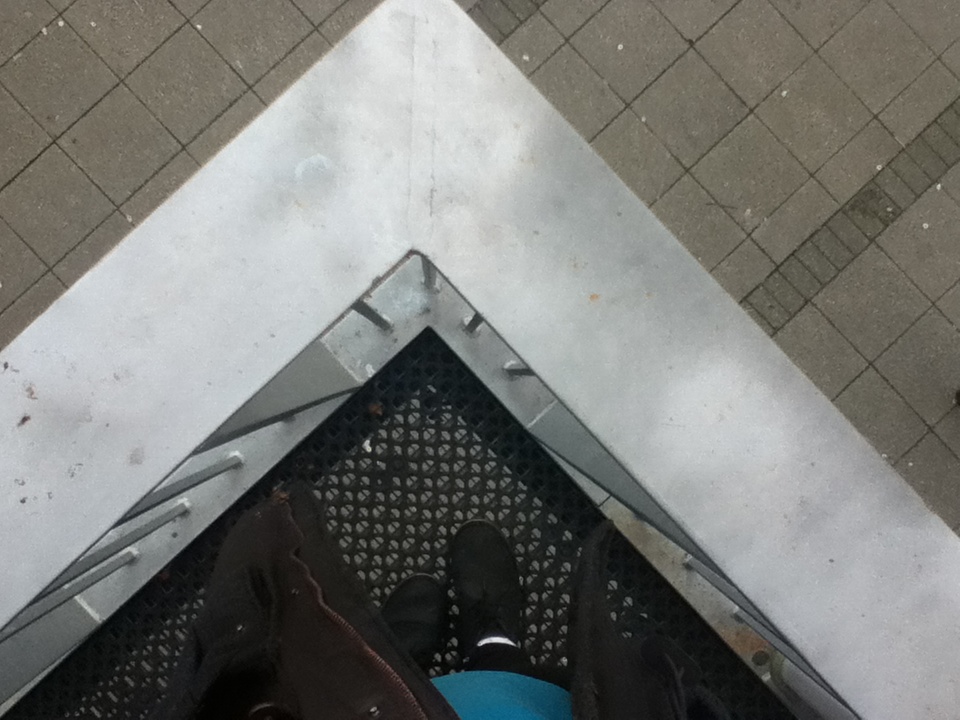
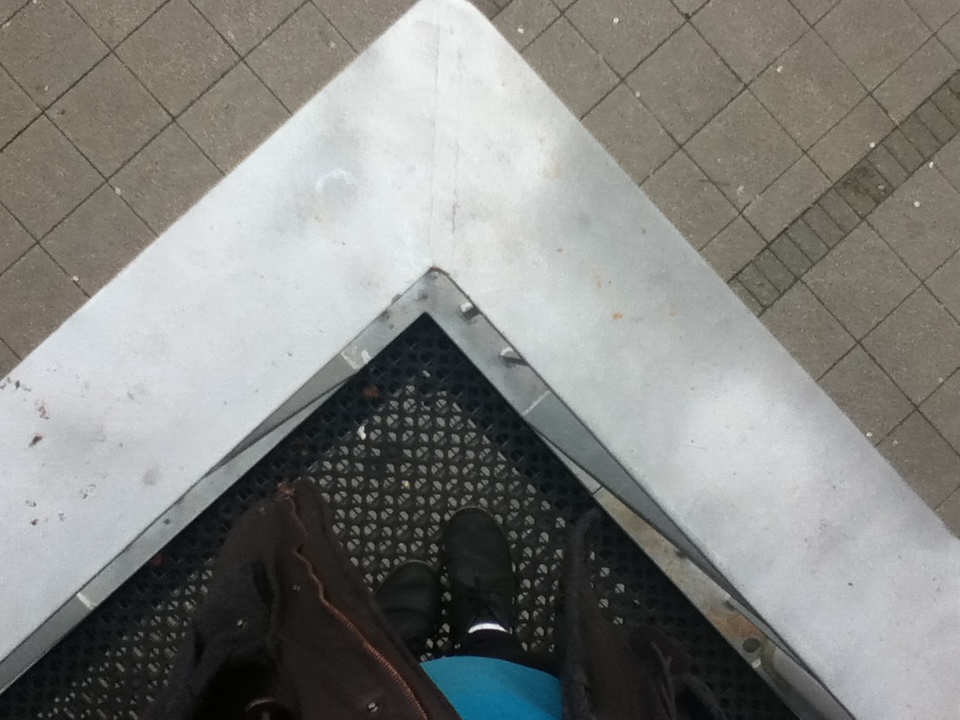
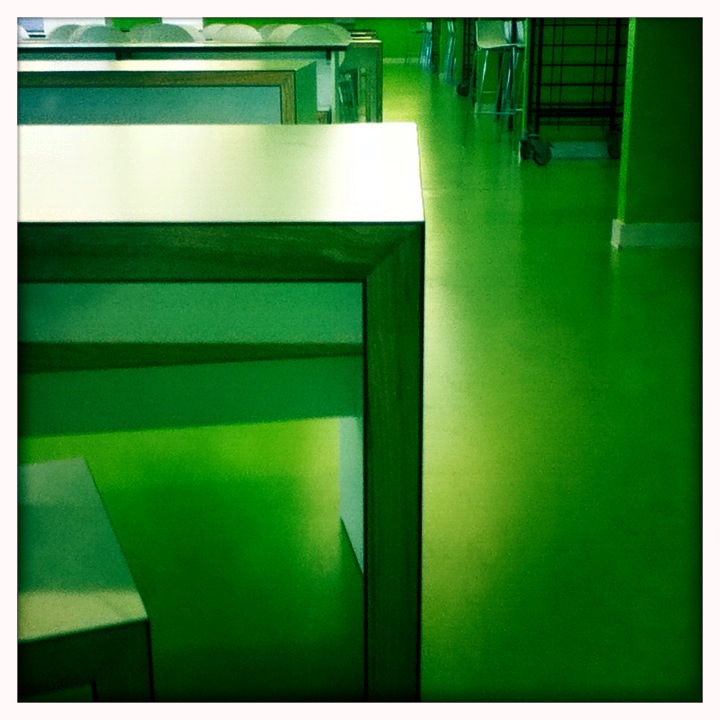
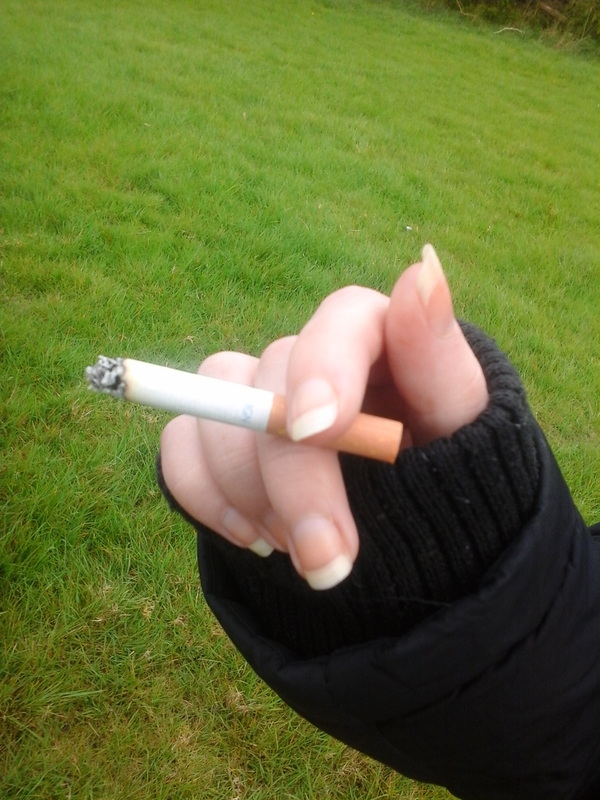
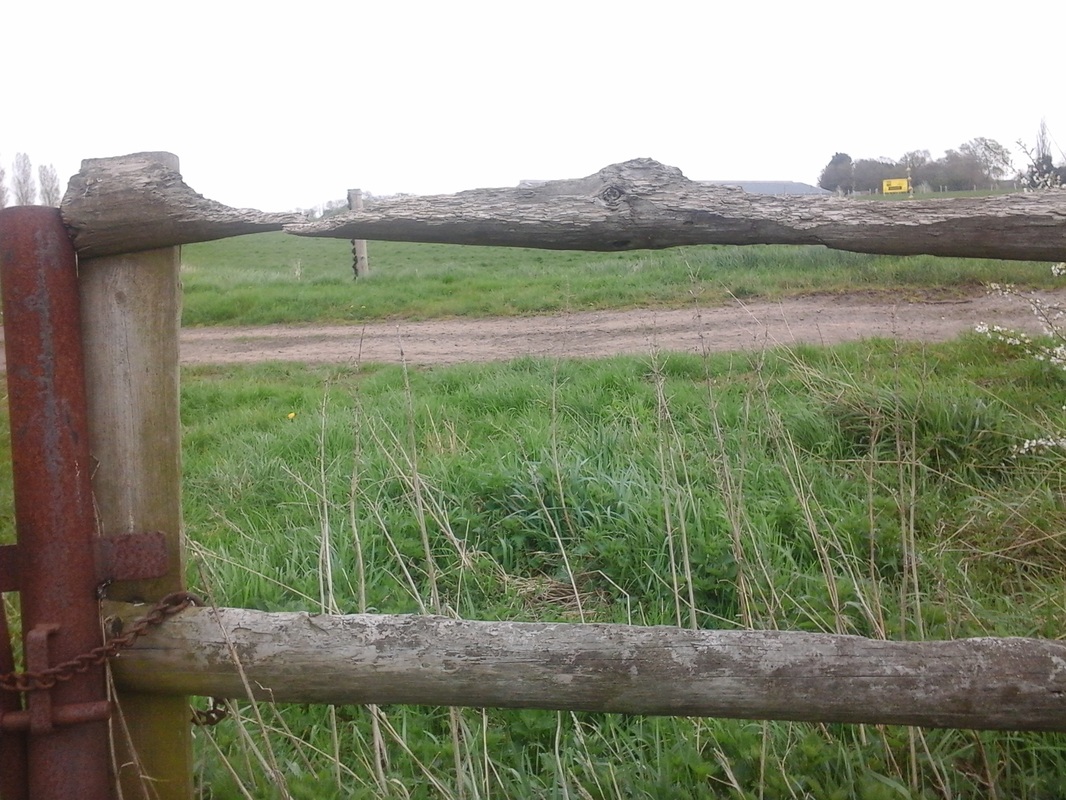
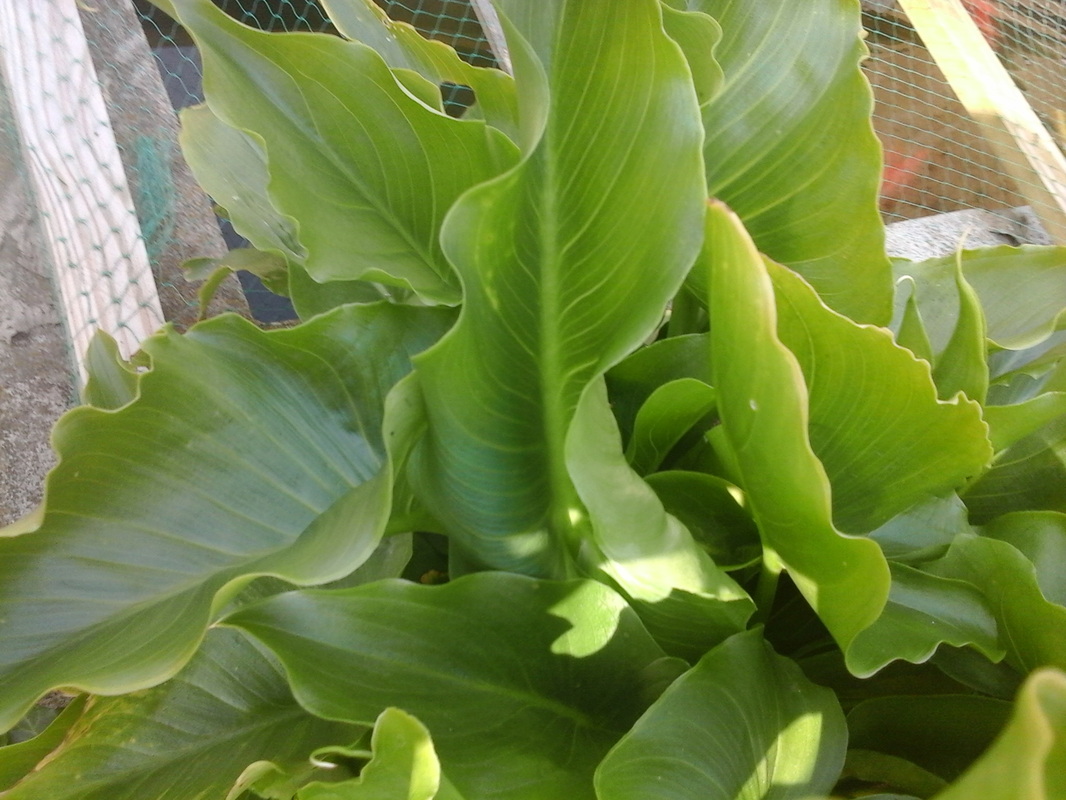
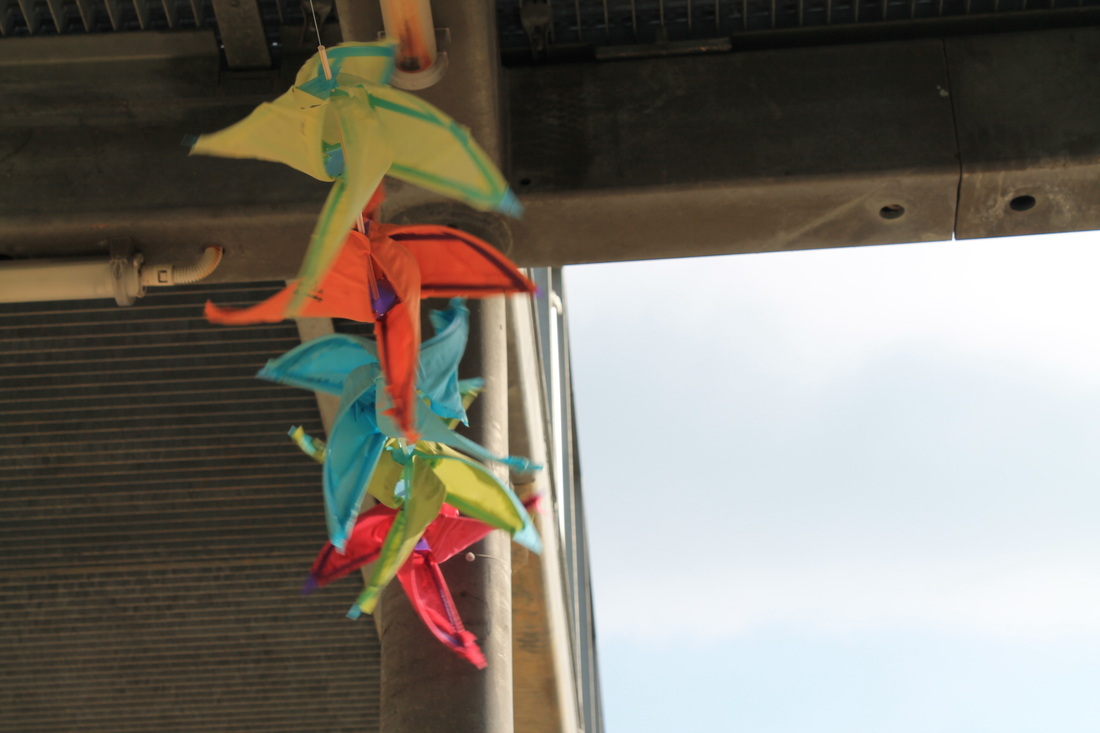
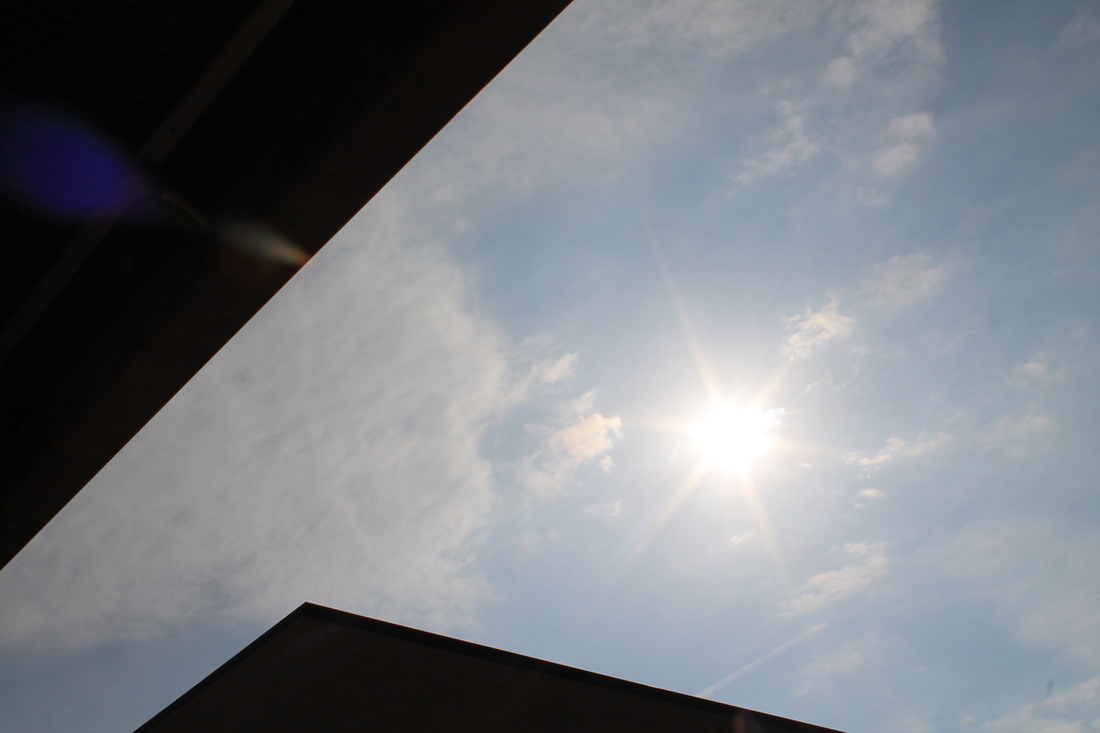
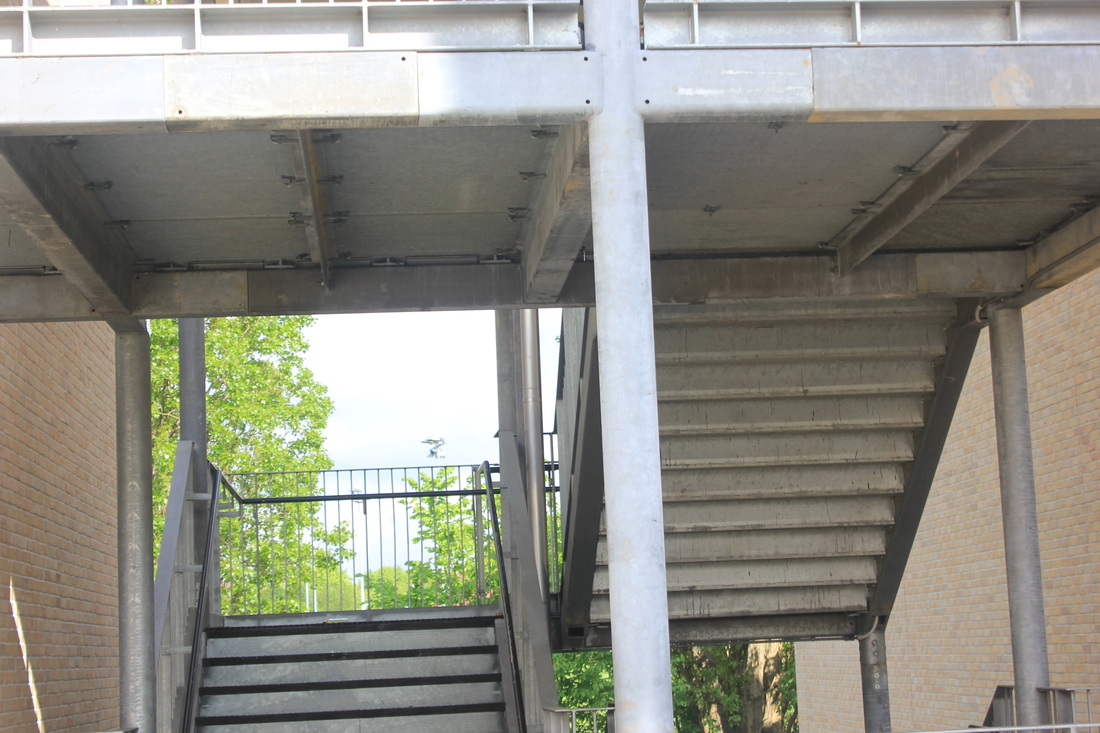
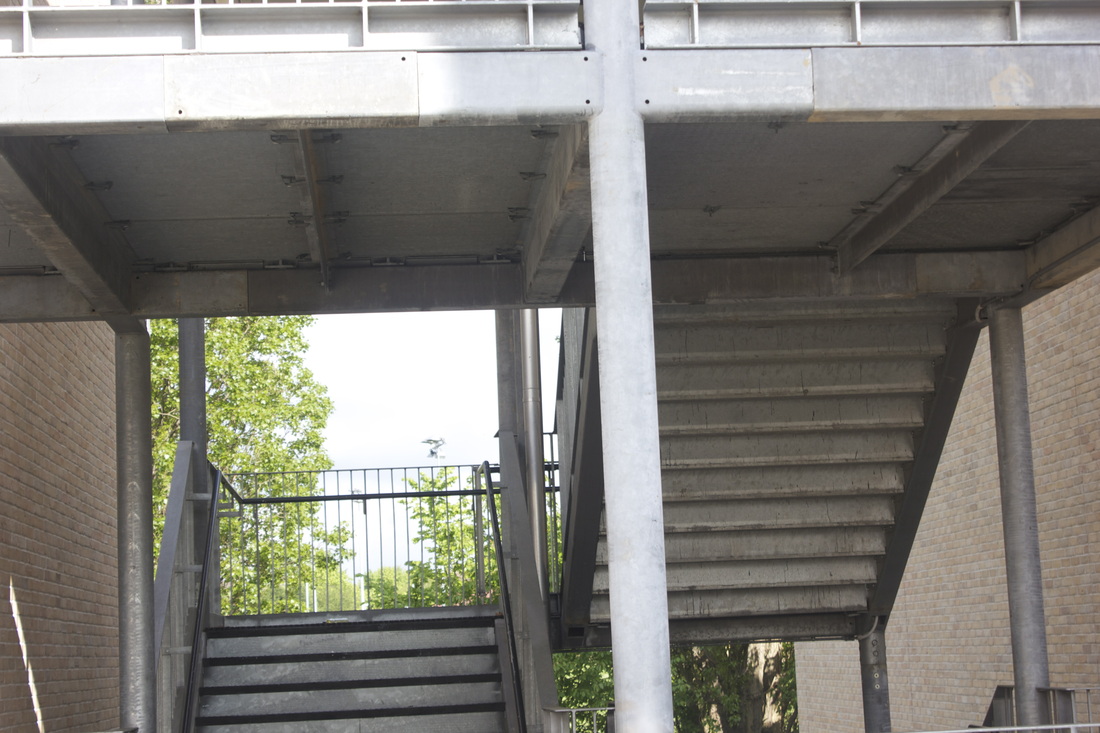
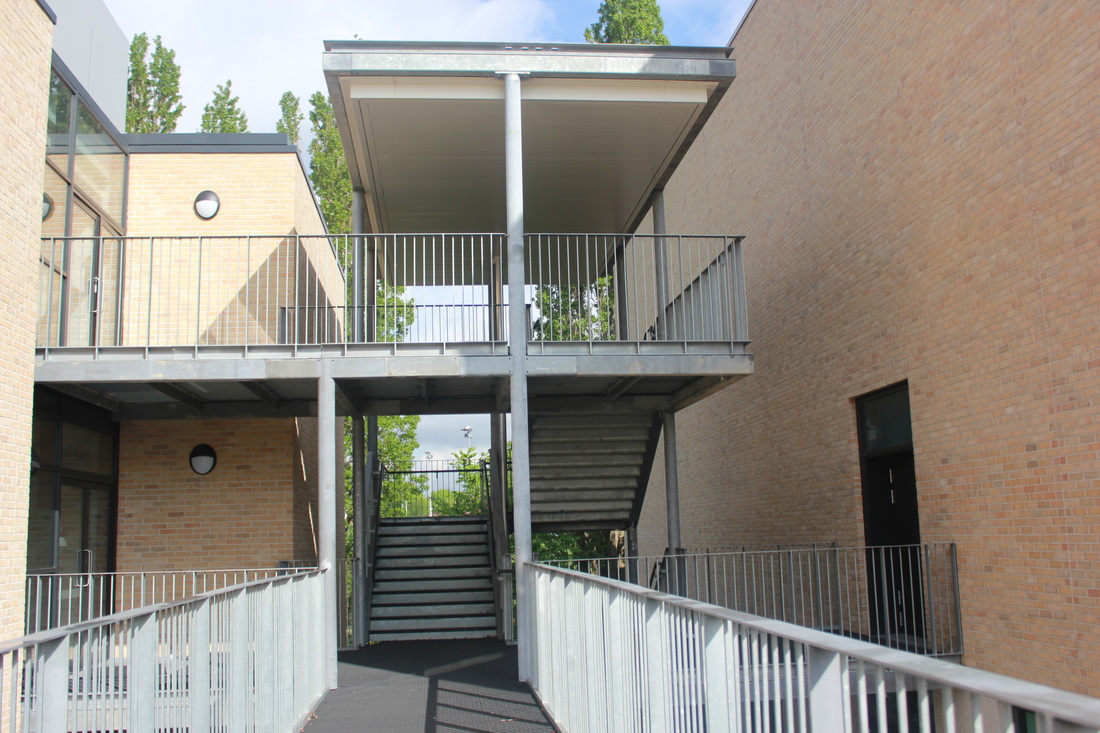
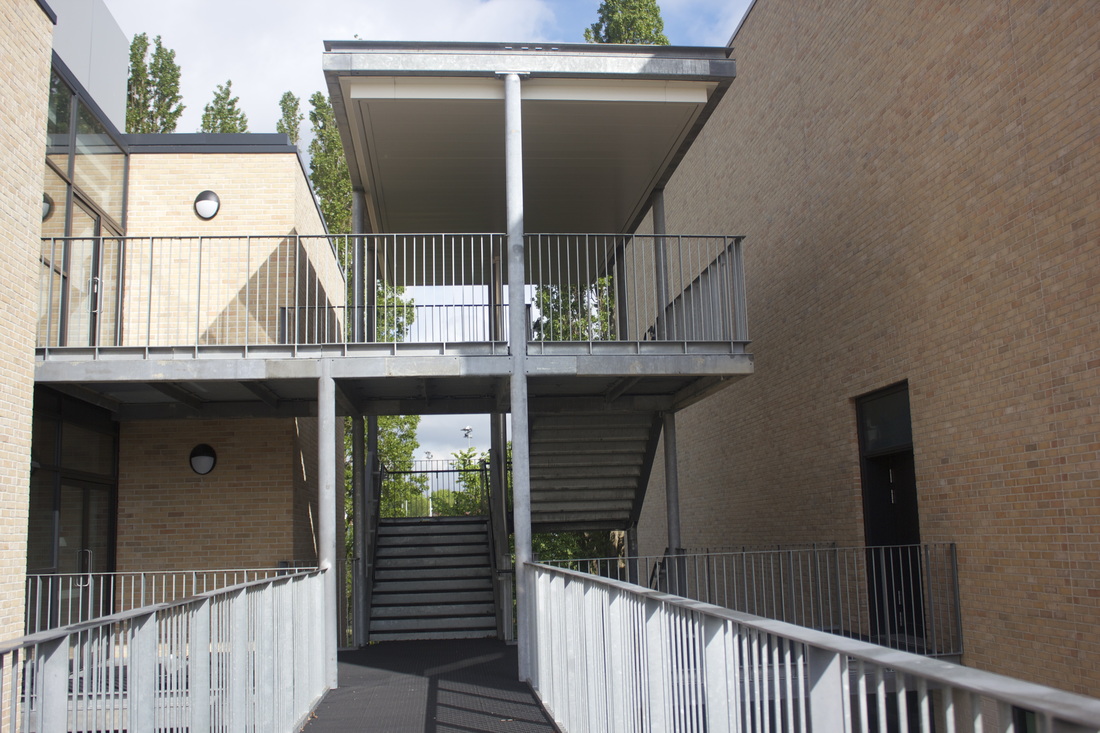
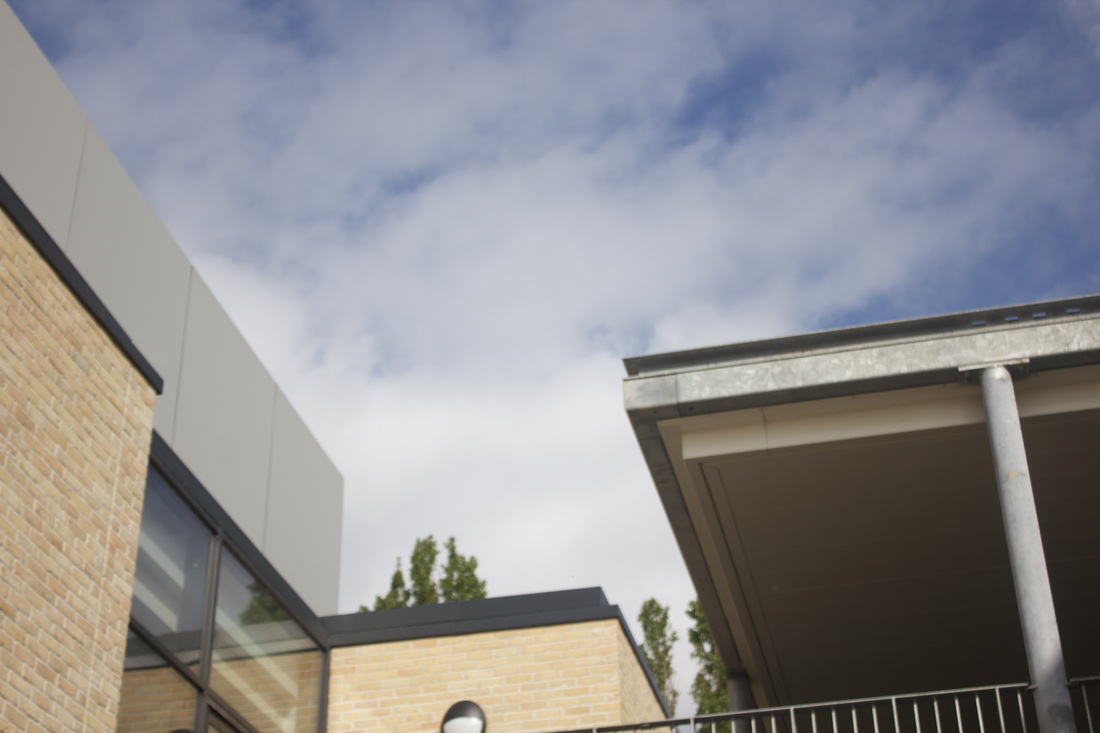
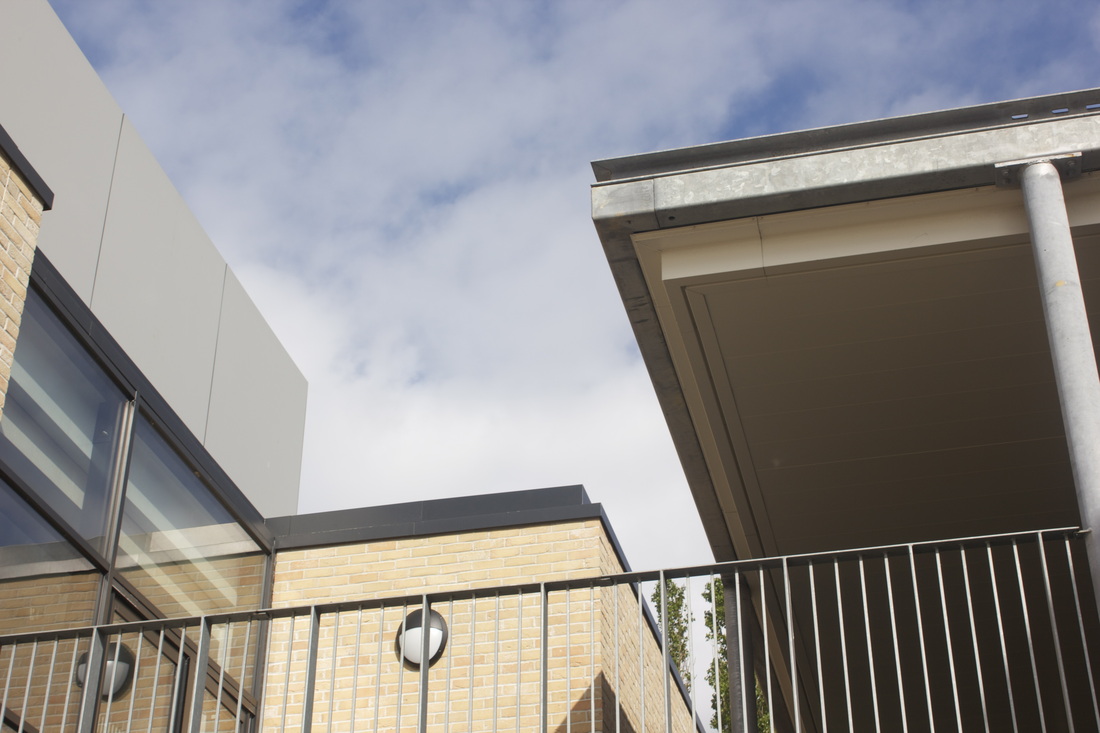
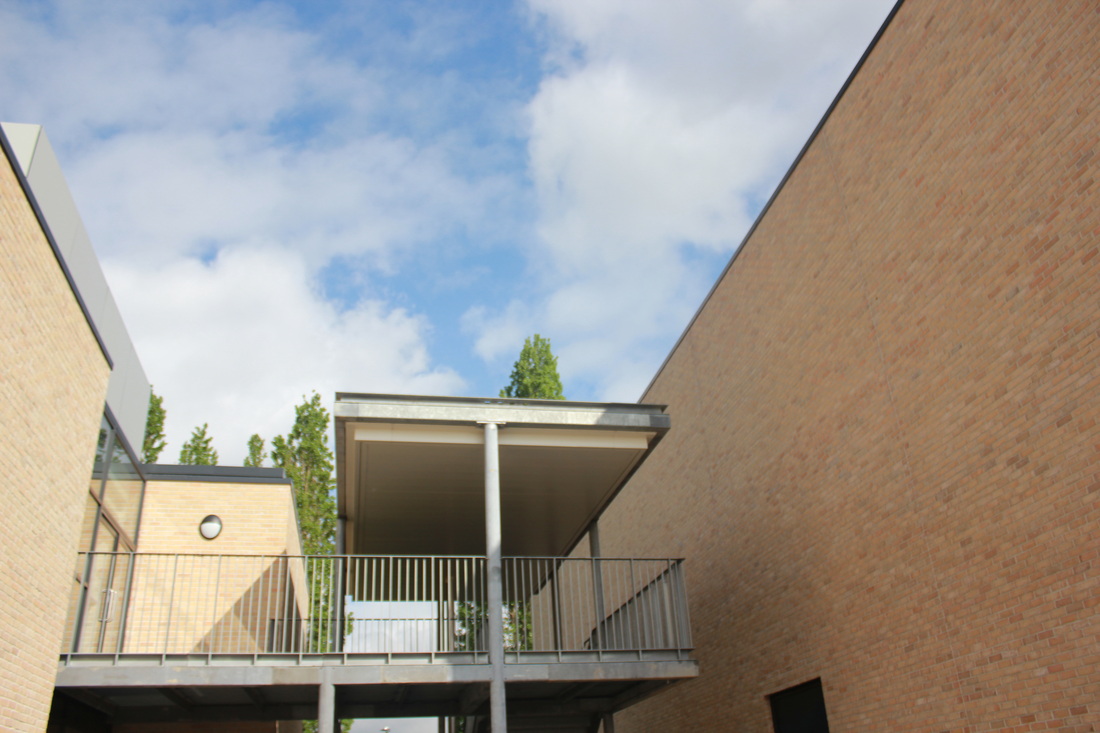
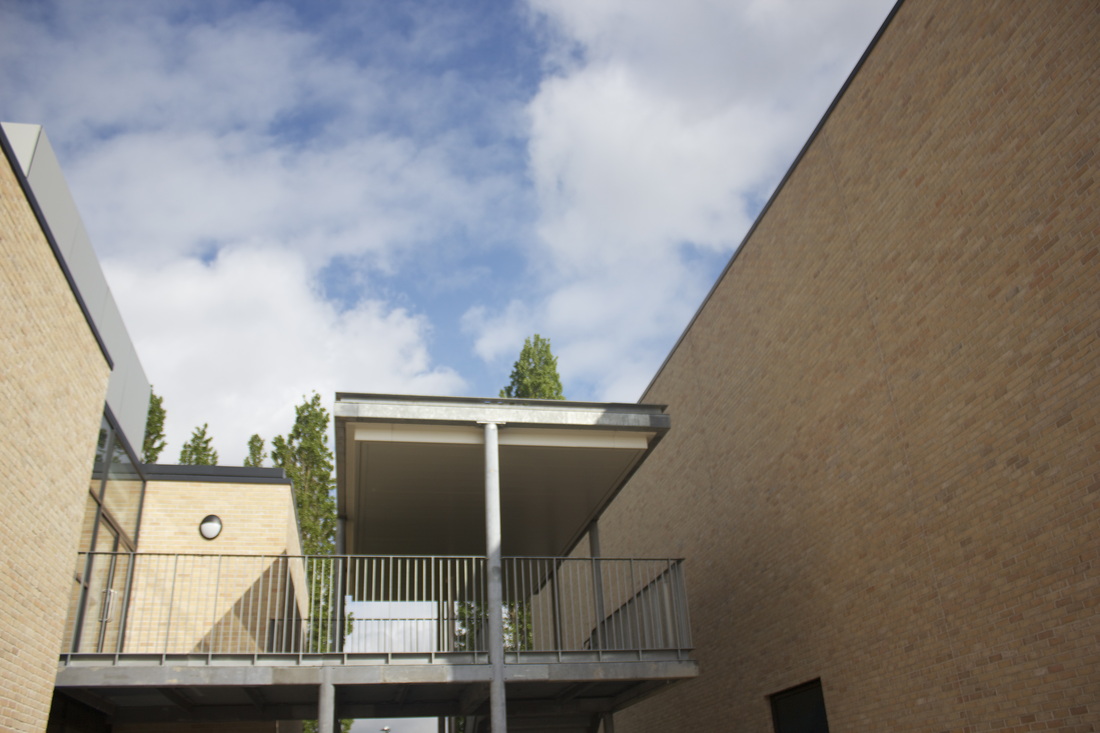
Practice 1
This the first ever set of images for my theme edges. I wanted to go out and just see what caught my eye and to show my own interpretation of edges. Everyone has there own individual ideas and interpretations. However, there is only so much I can do within school and only a limited amount of photos I can take on the grounds of the school. For my future prospects I am hoping to achieve and get the opportunity to capture various different edges out side of school; this will give me many more varietys of more interesting and extraordinary images.


Editing Photo's
Before editing
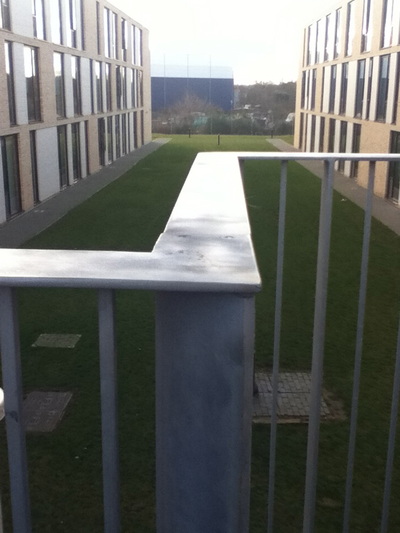
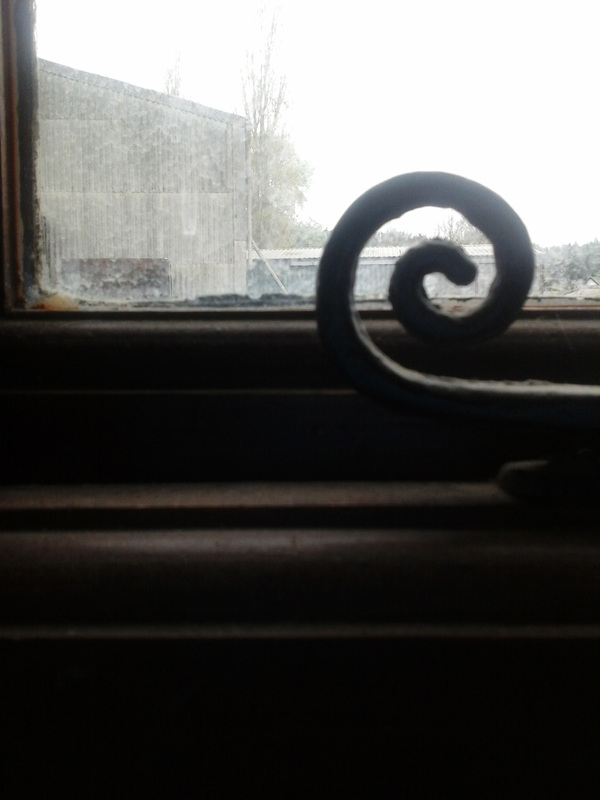
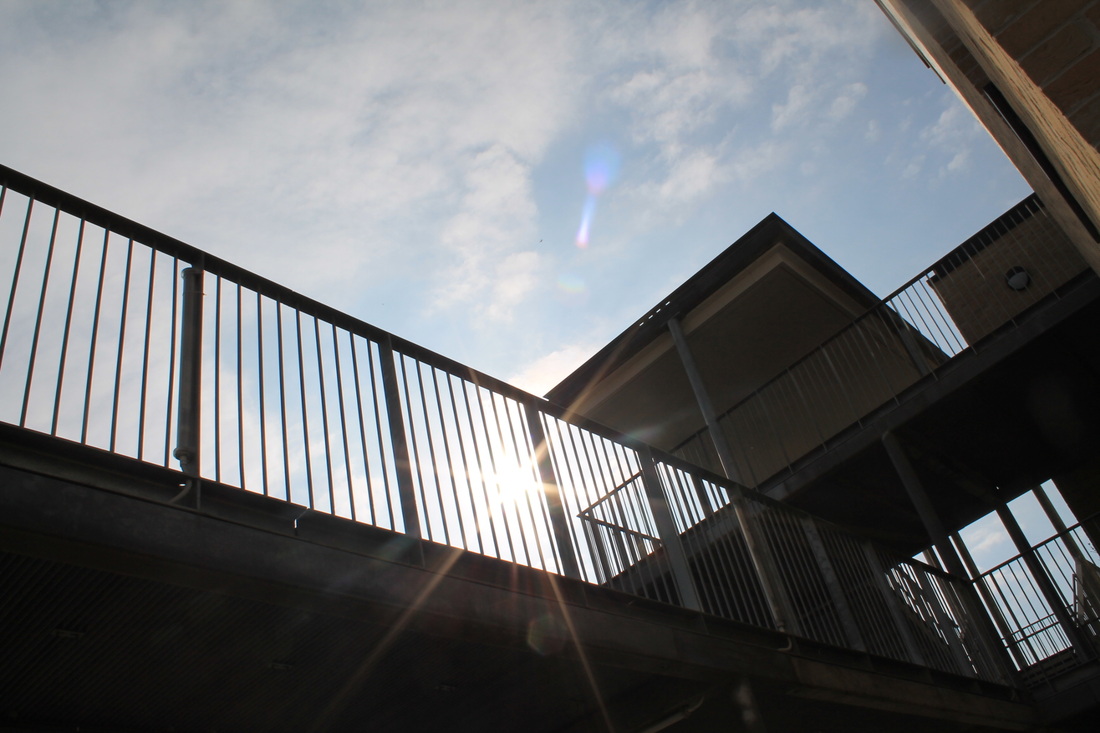
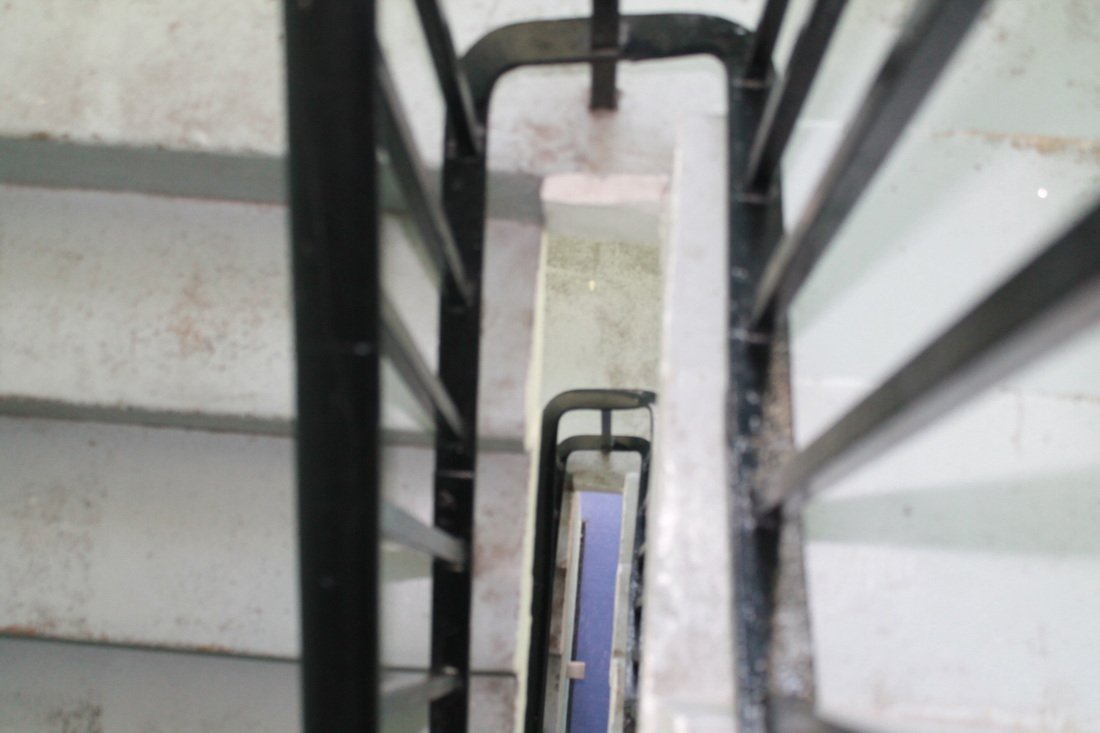
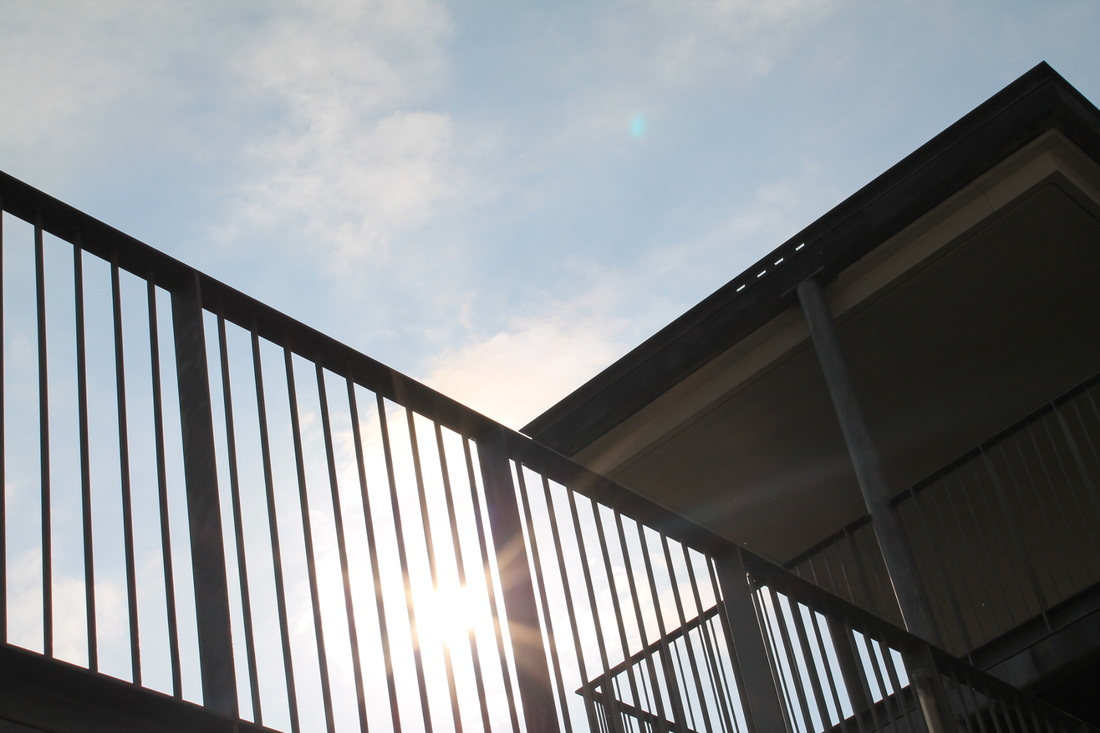
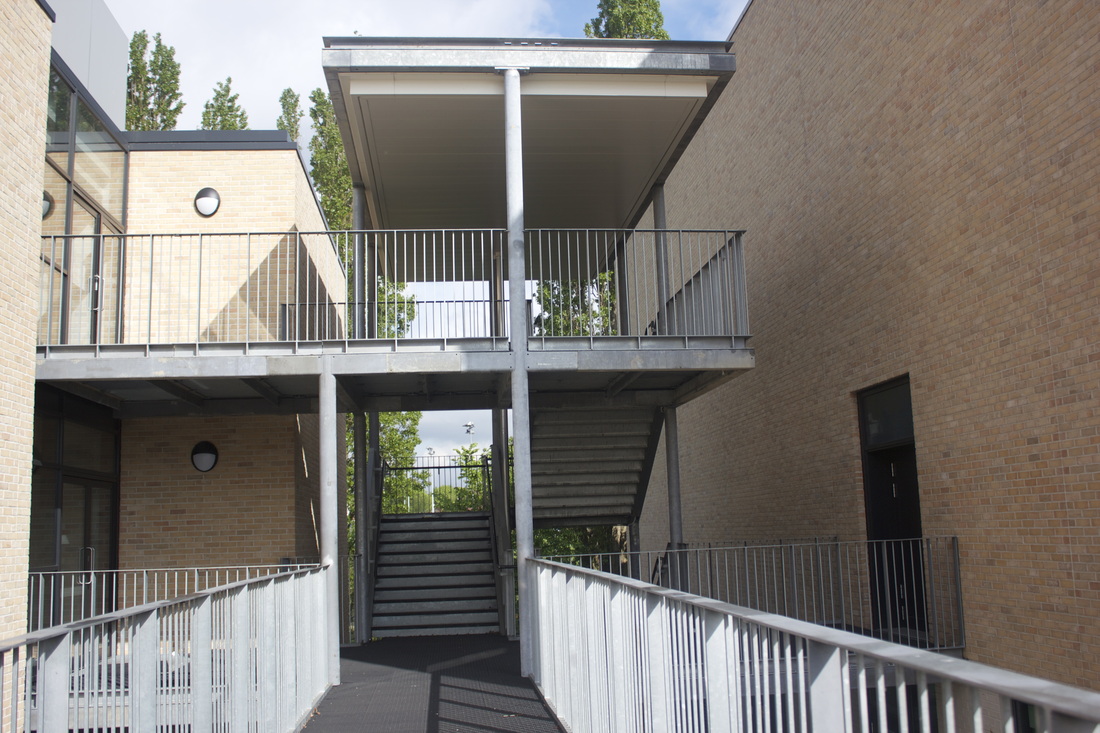
This image was taken as part of my experiment to help expand my photography skills using my theme edges. When taking this photo I had actually took a photograph of this image several times, changing the focus on the DSLR and looking through the lenses at different angles. This was to see which one would come about out best, which one defined the edges of the railing best. Once i picked the photograph which defined the edges best (this one above), I wanted to see if I could use photoshop to define the edges even more! I successfully done this. (The photo on the left). |

After editing
To create this image above I used photoshop. Within photoshop I only had to use one tool called the "blur" tool to focus on the edges more. The bur tool makes this happen as is blur's the parts if the image you select , which would be everything but the railings; hence the name "blur tool". So I did not blur the edges which I was trying to define more, doing this I had to be very careful and steady handed. I must admit I still need to develop my skills and work on photoshop, as i think I could have done more to define the railing edges. Also the blurring was not at such a high standard as it could have been, so I could work on that skill more. |
praticing photography and photoshop skills
|
|
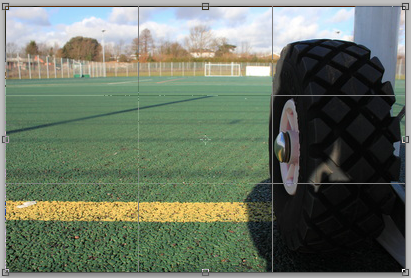
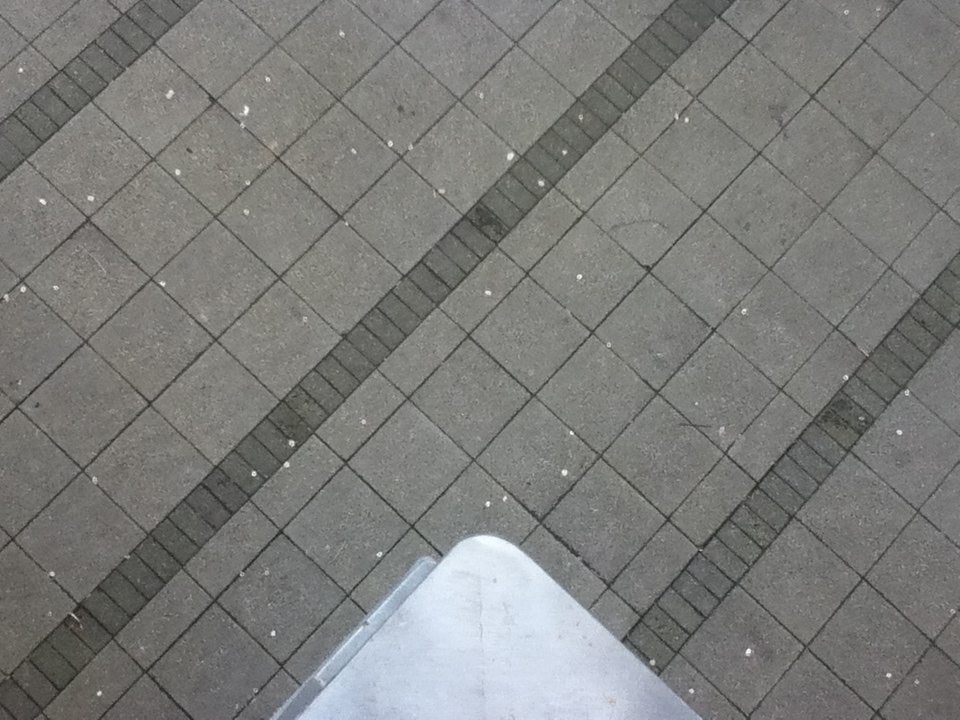
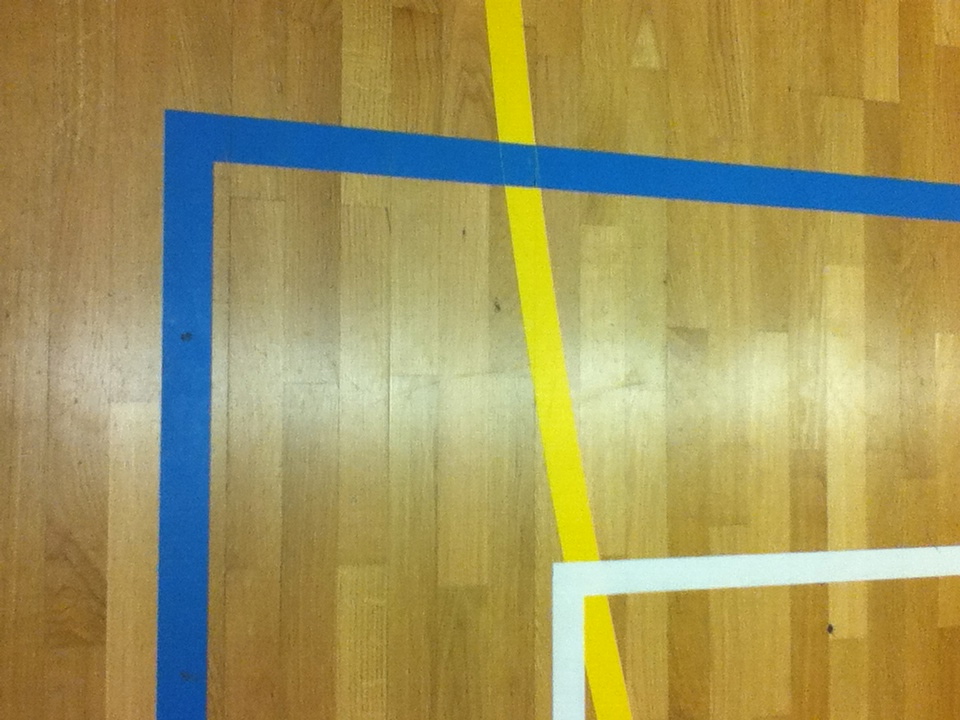
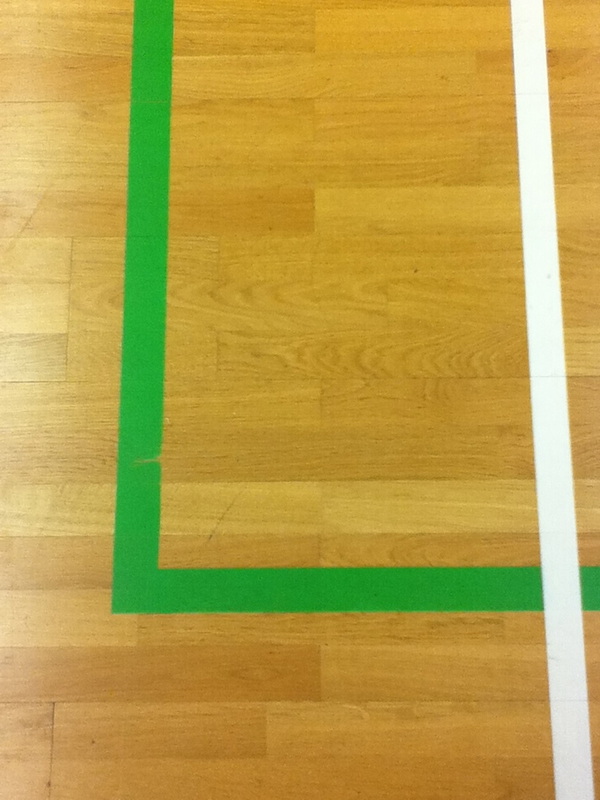
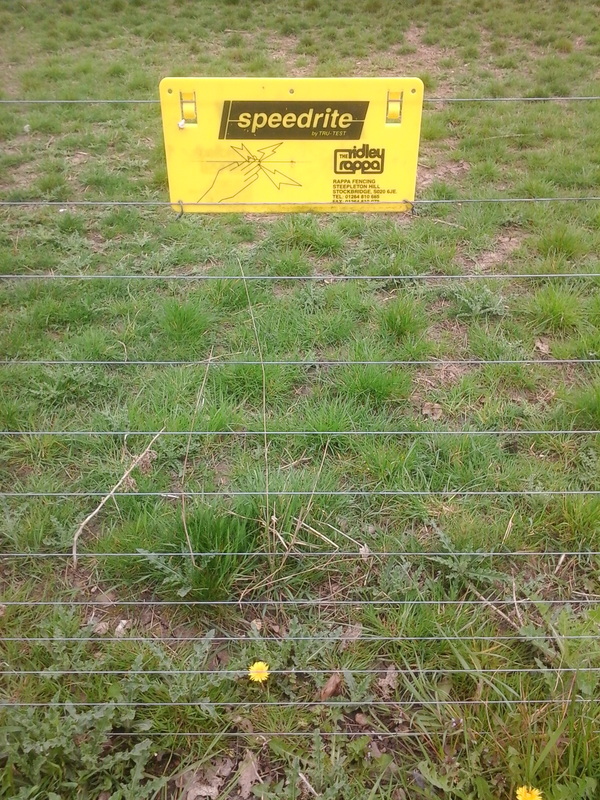
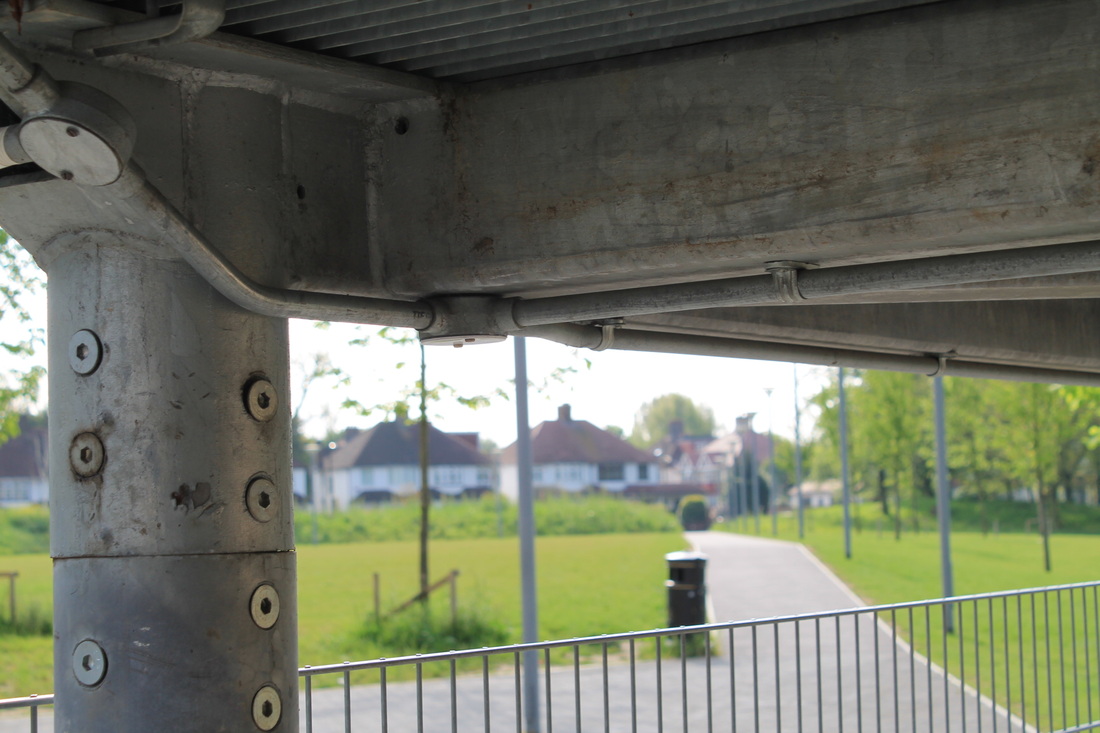
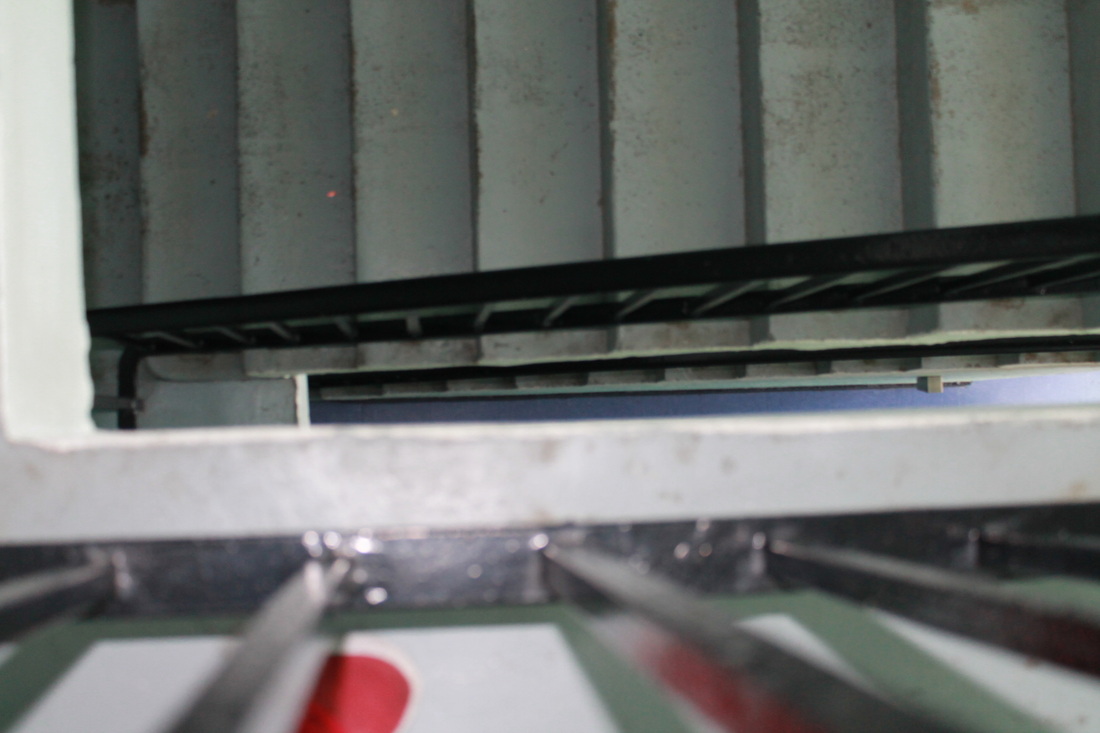
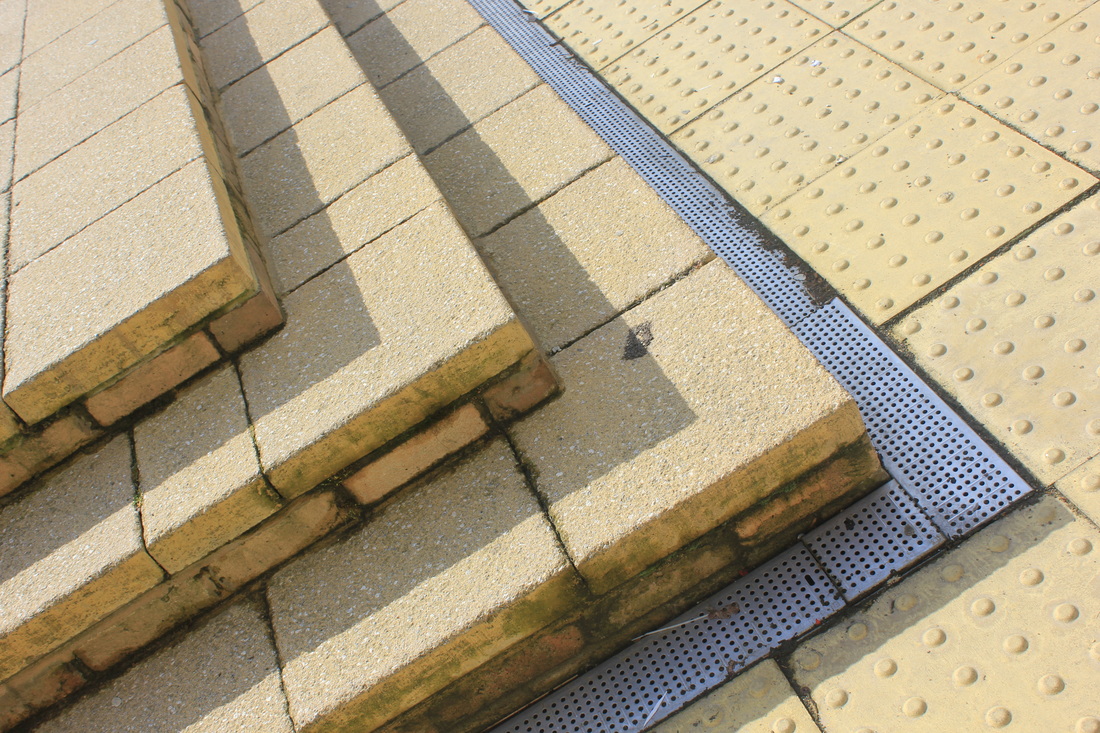
Evaluation rule of third
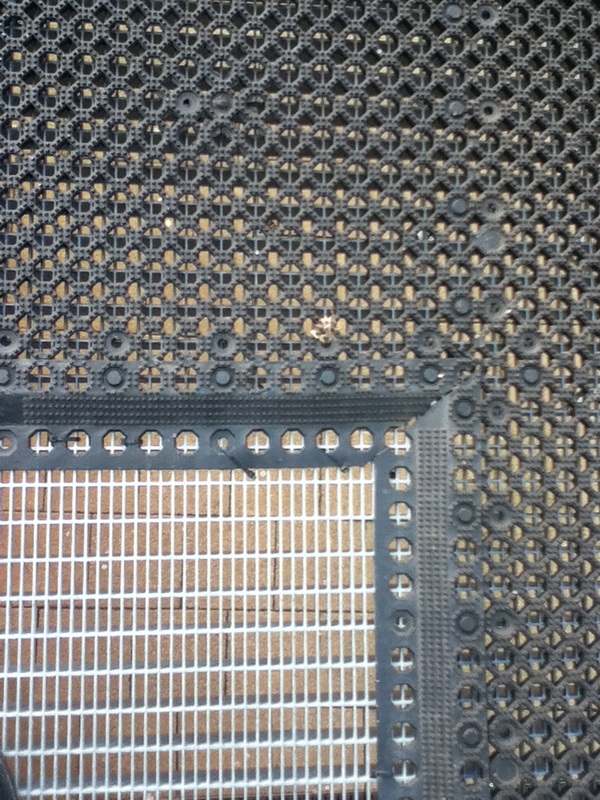
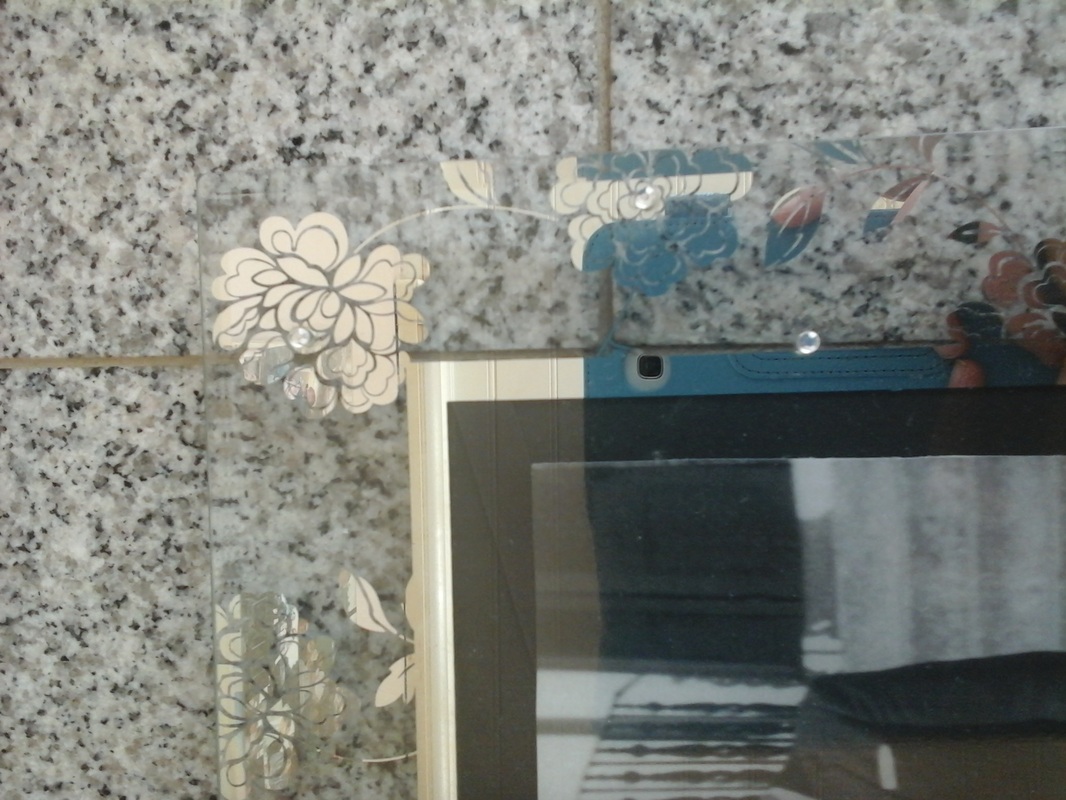
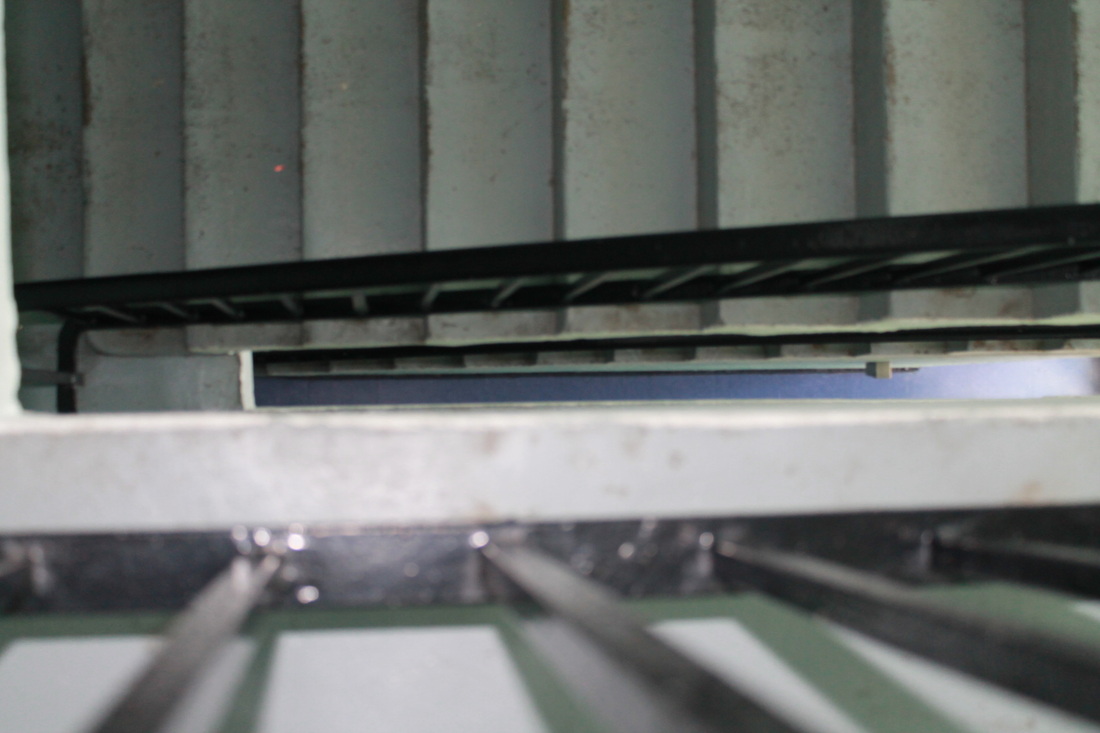
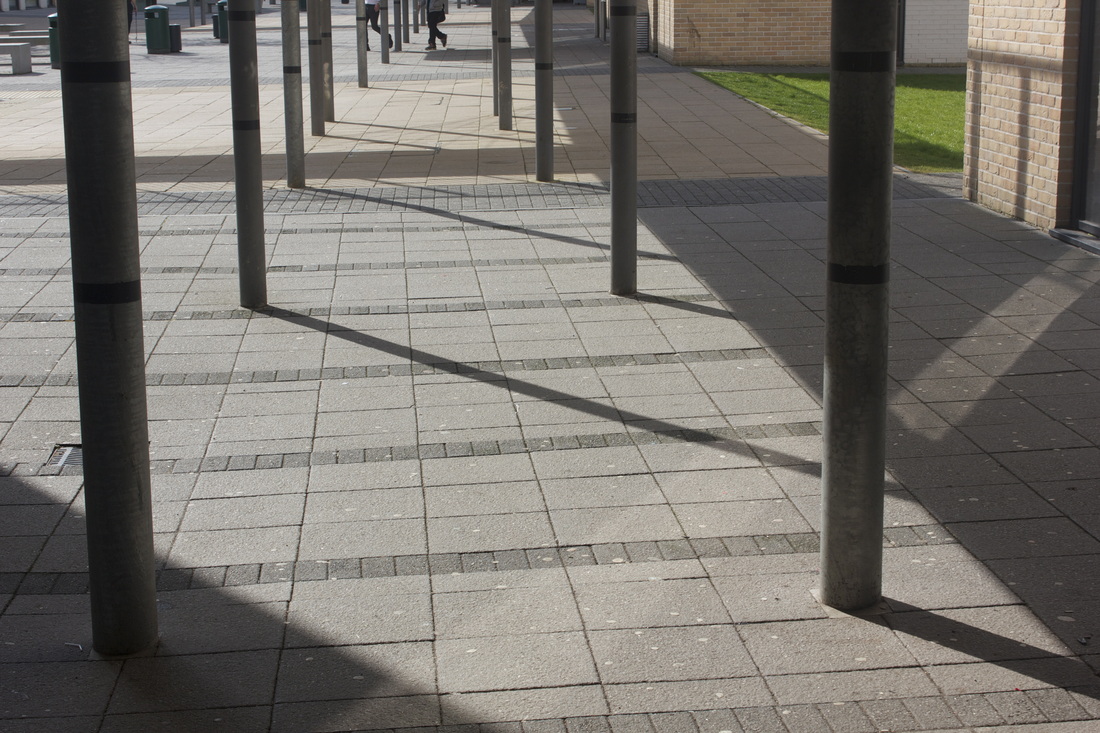
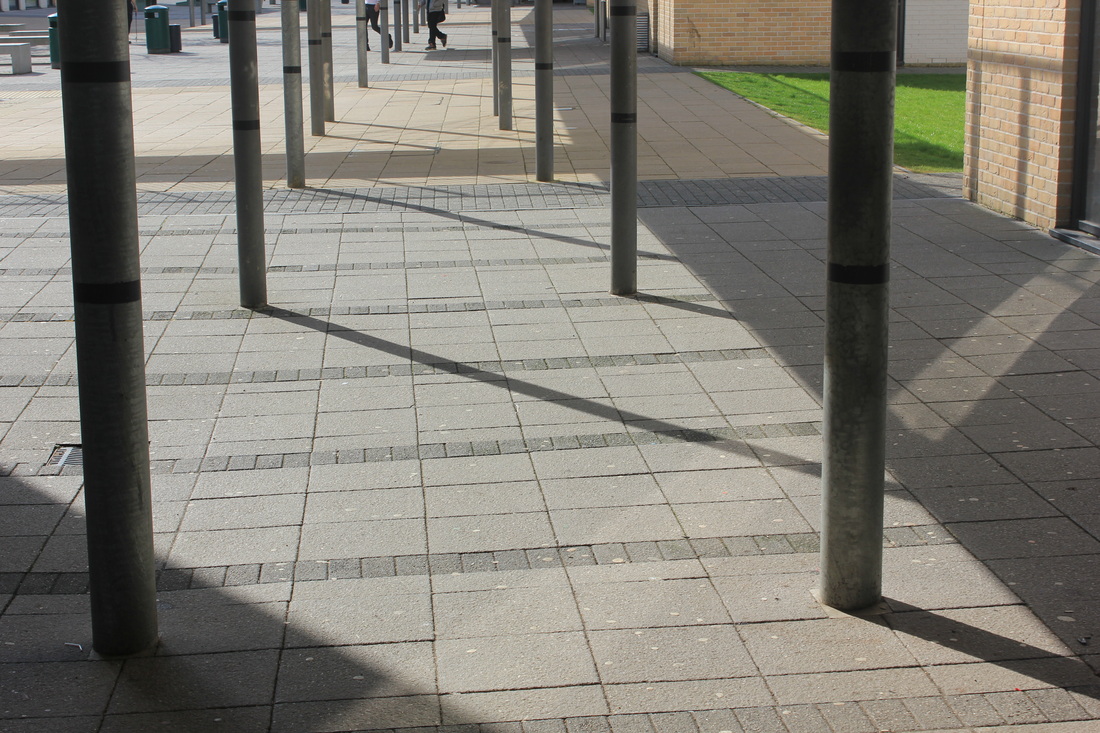
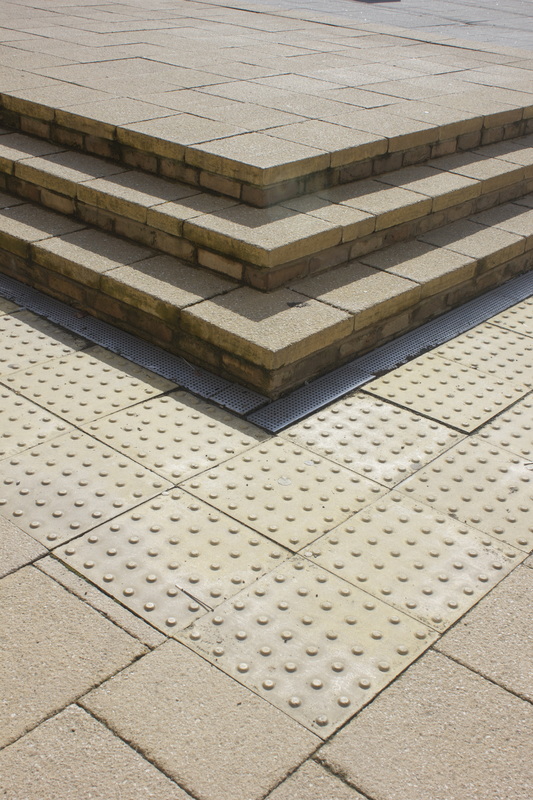
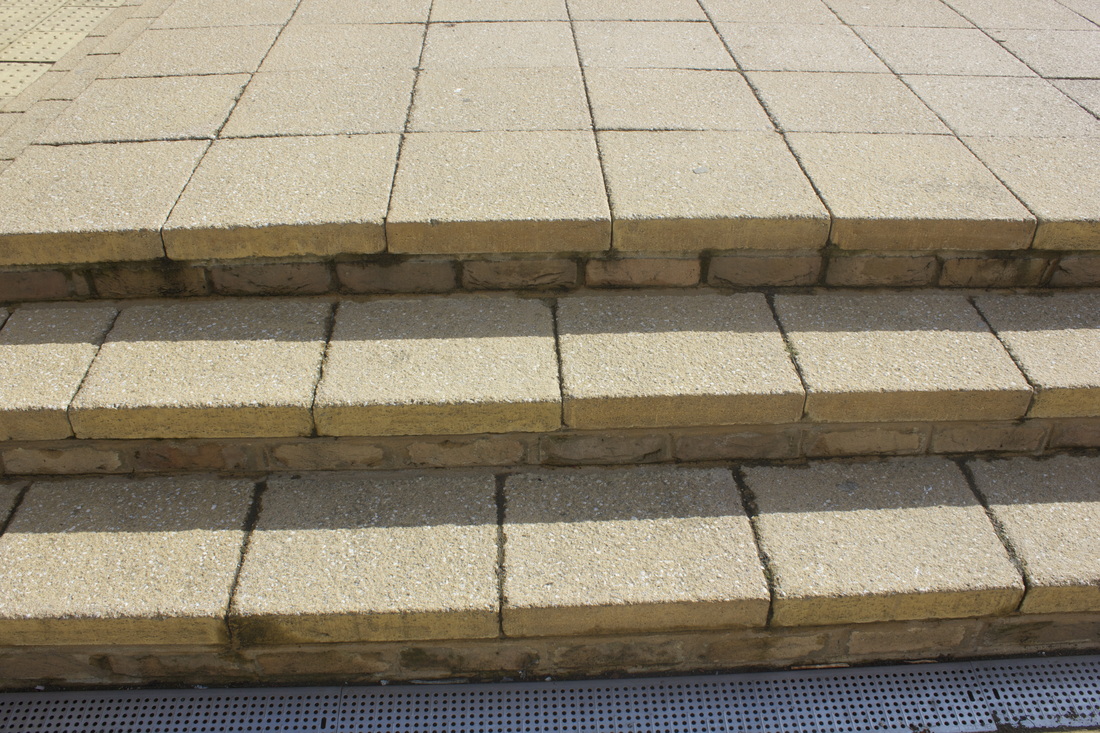
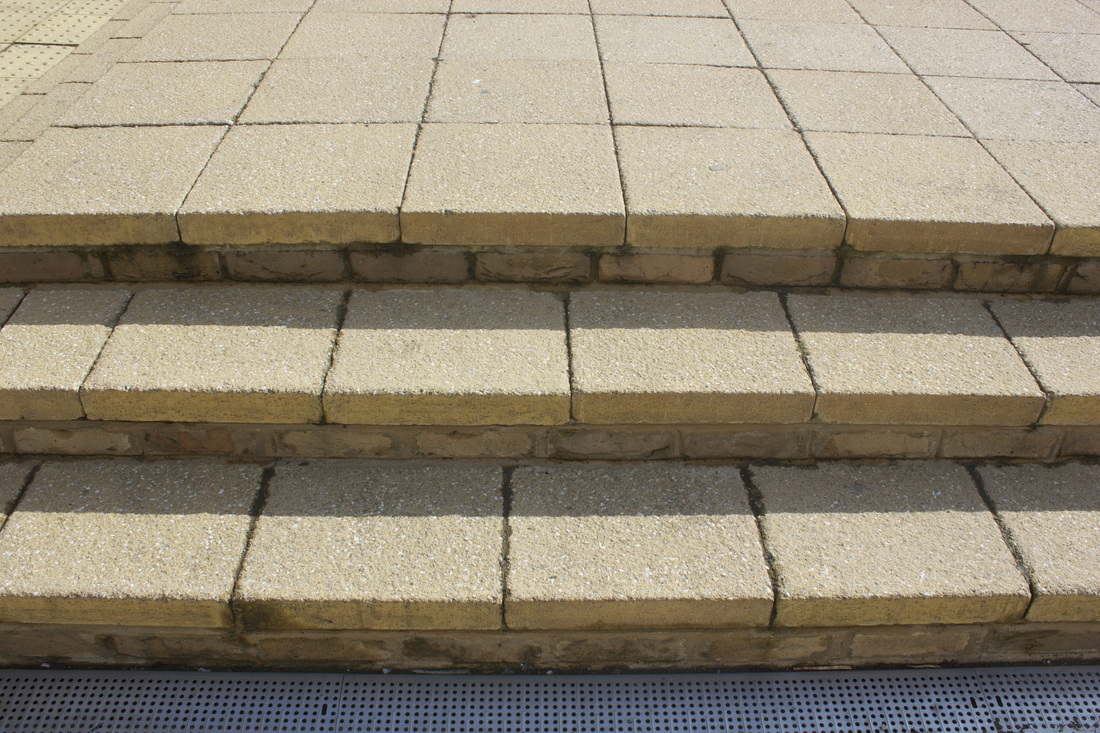
This image was taken at Thomas Tallis School in the Sport Department. I have done the rule of third on this photo I took so I can evaluate the image fully, to show all aspects of the image . First off the center of this image is very doll and not much going on but the contrast of the very faint lines in the back ground become more clear when you are using the rule of third, you can really see how the shadow of the line are very slightly to the right, which also tells us that the the sun was in the oppersite direction. However they may not be much going on there but all three columns on the right, there is a lot going on the edge of the small tyer is very defined its very slick, as well of the texture and pattern of the tyer gives it some character making it more interesting and there is edges on the tyer where each individual grip print is. This image/photo as a whole I was aiming as well as achieved to take an image which of of the edge (edge of the yellow line) and then other edges in the background, I personally think I have achieved this but I maybe could have picked a place where more is going on.
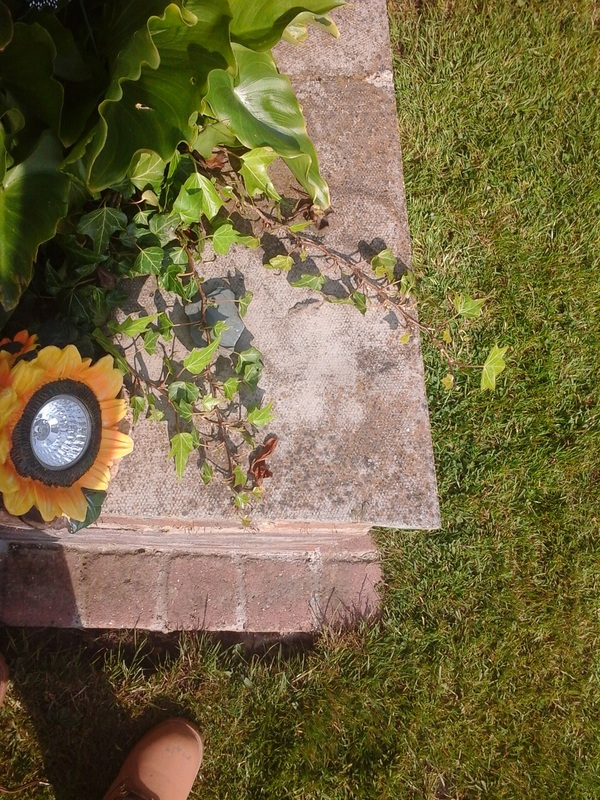
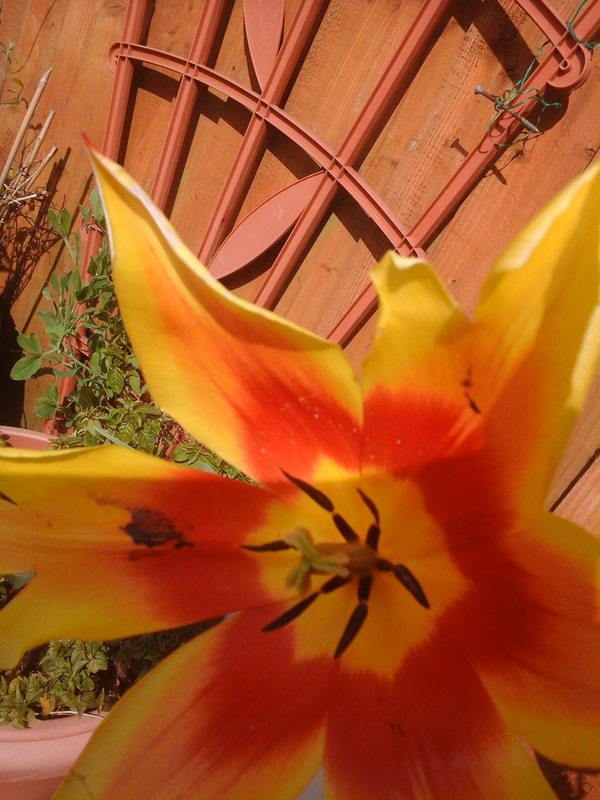


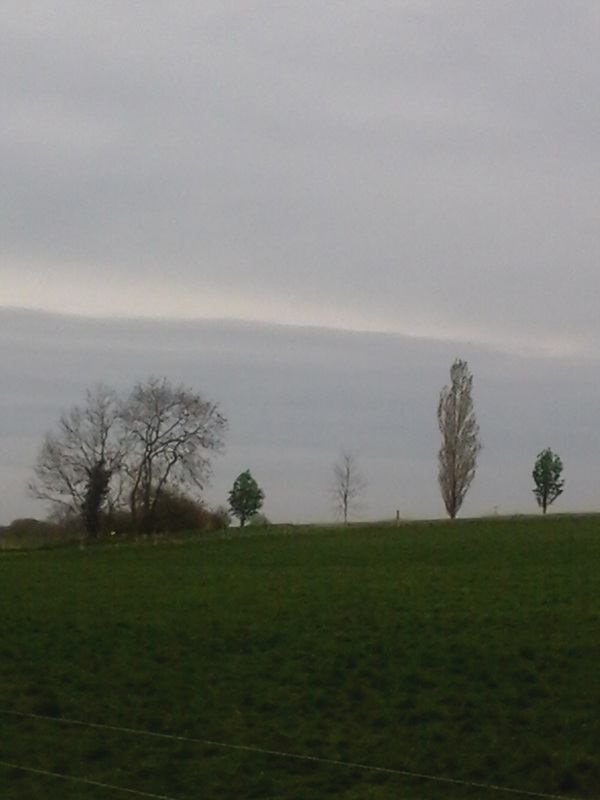

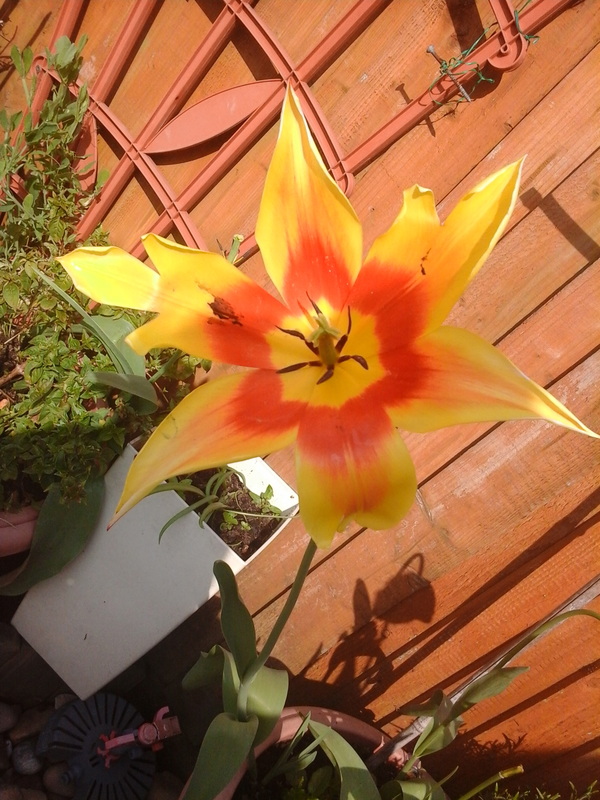
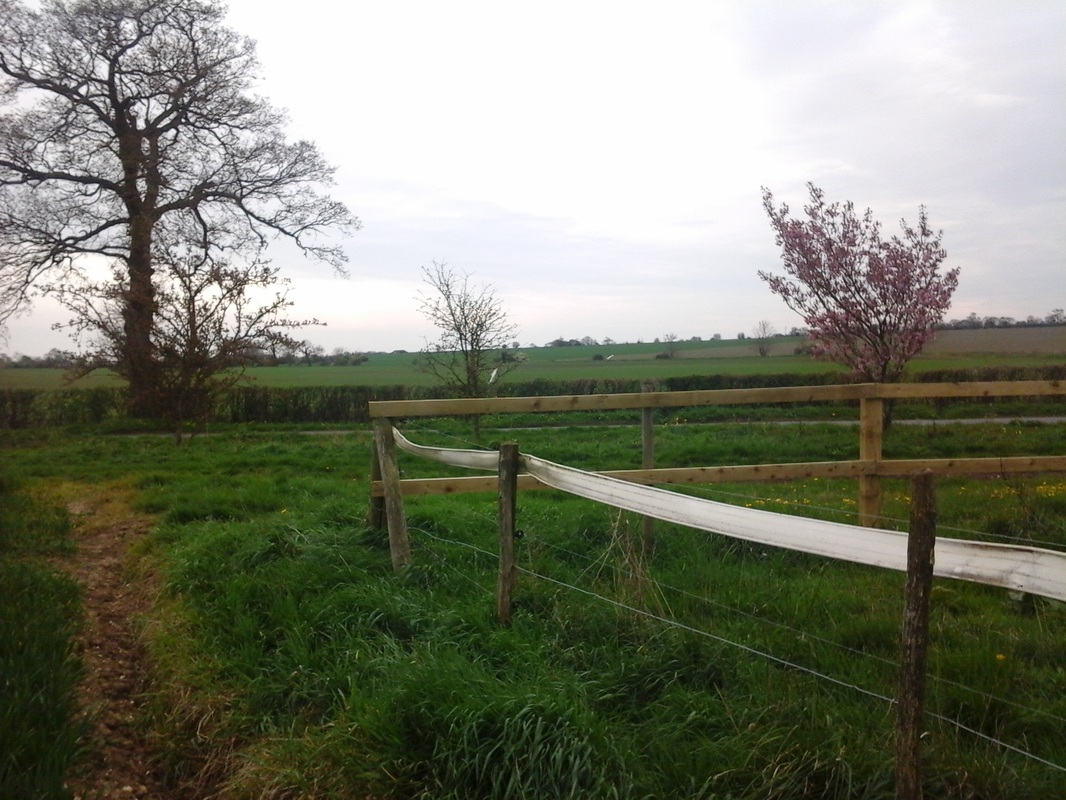

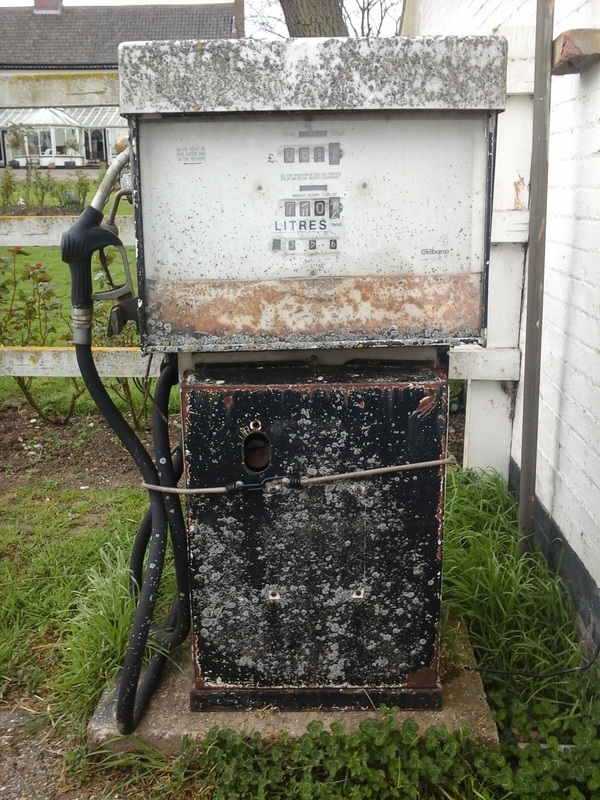


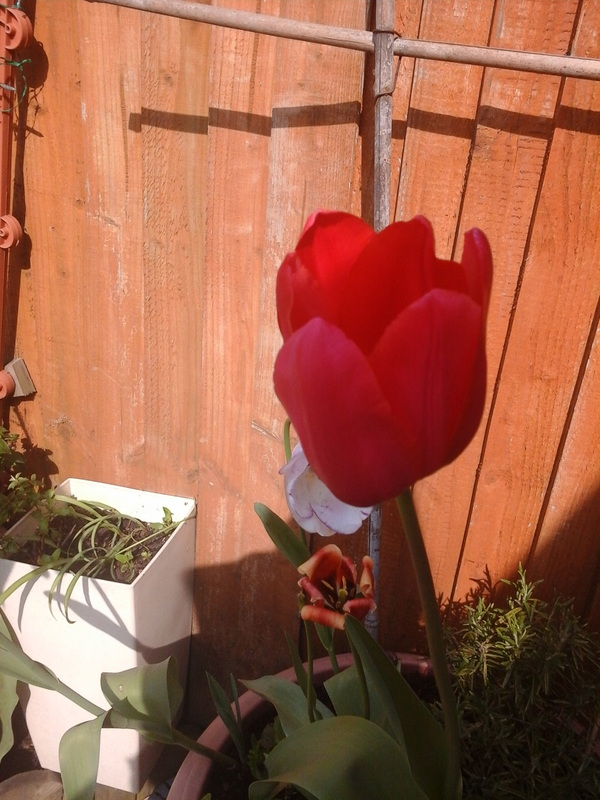

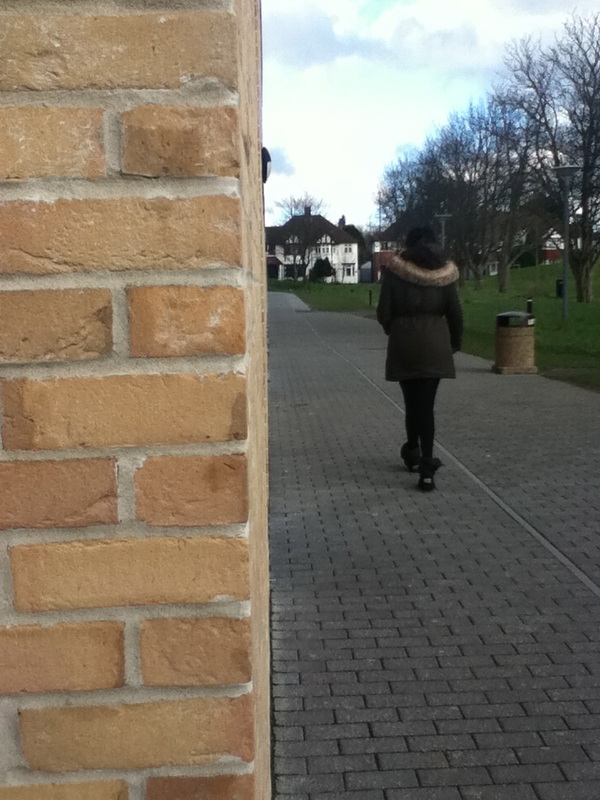
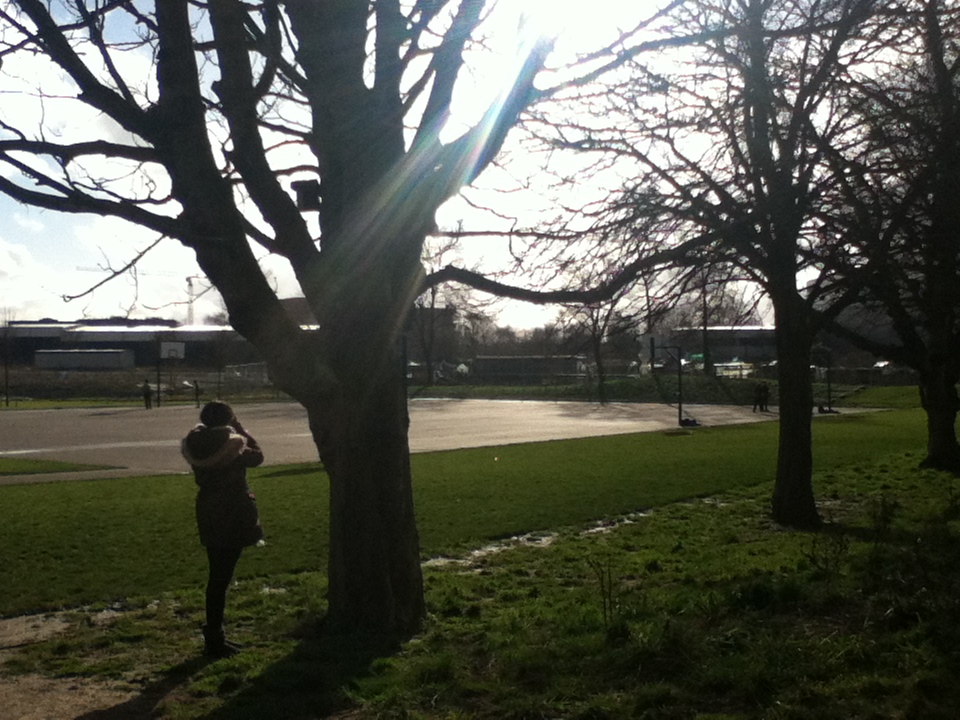
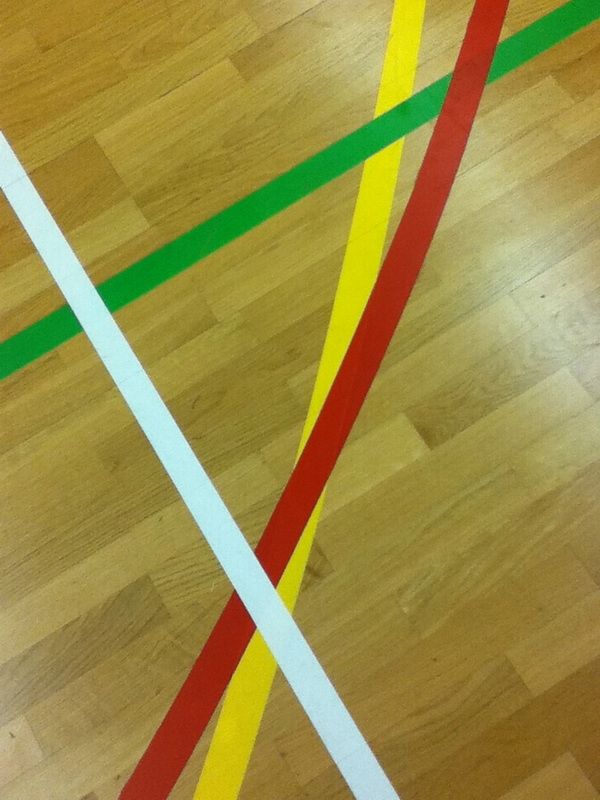
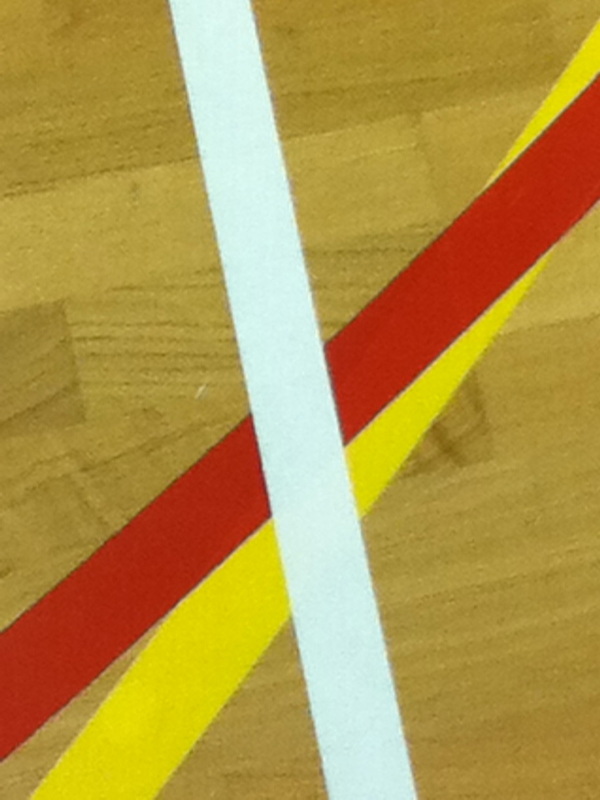
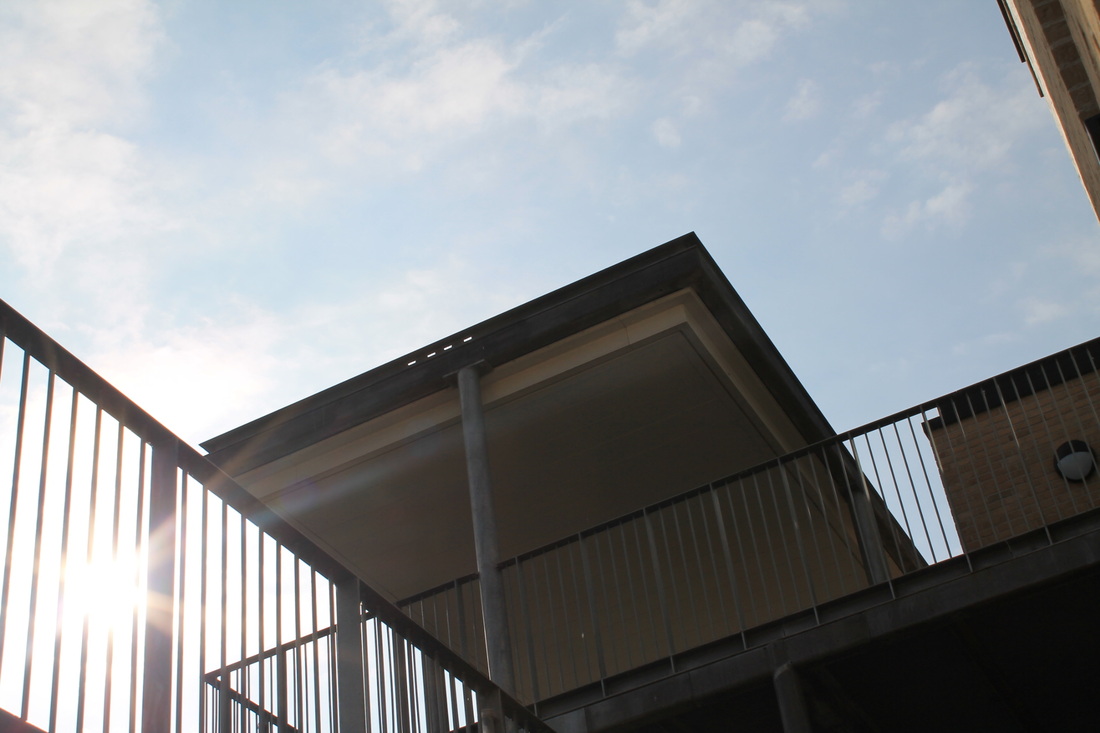
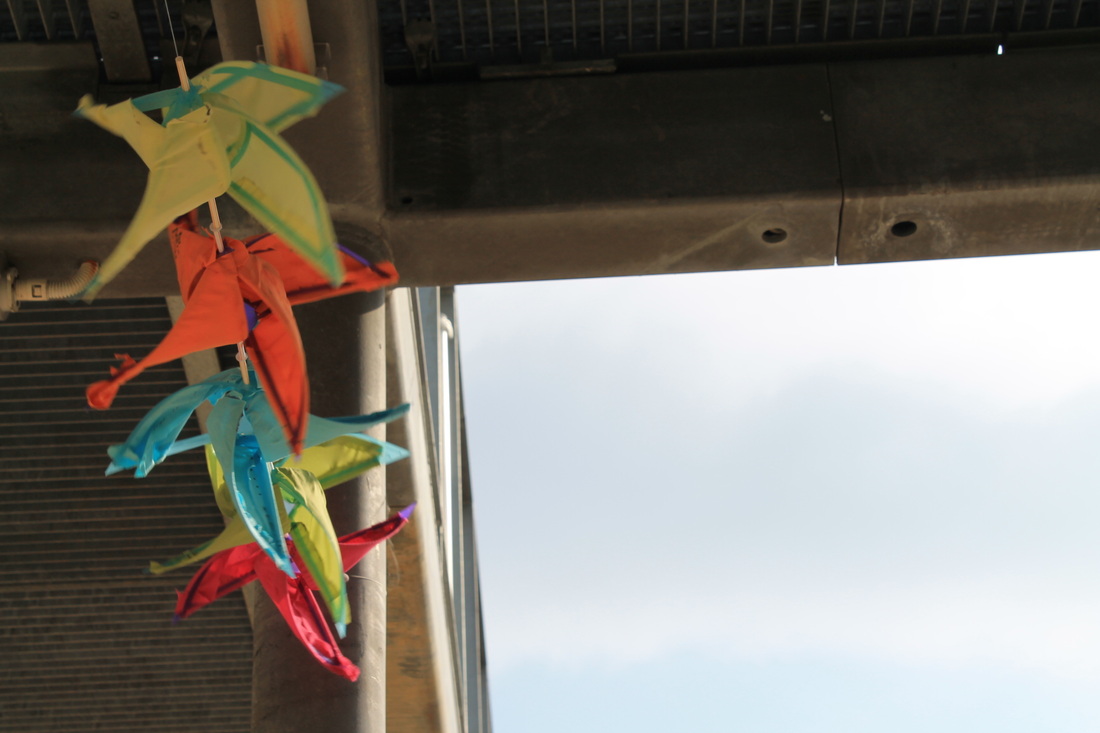
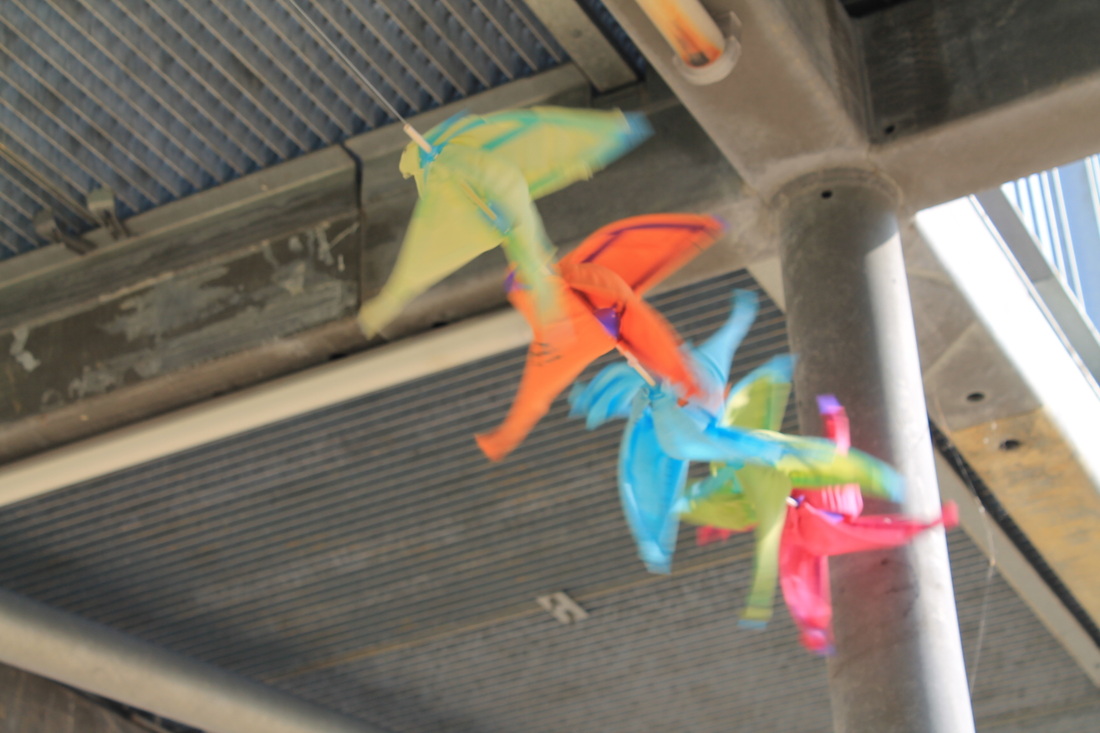
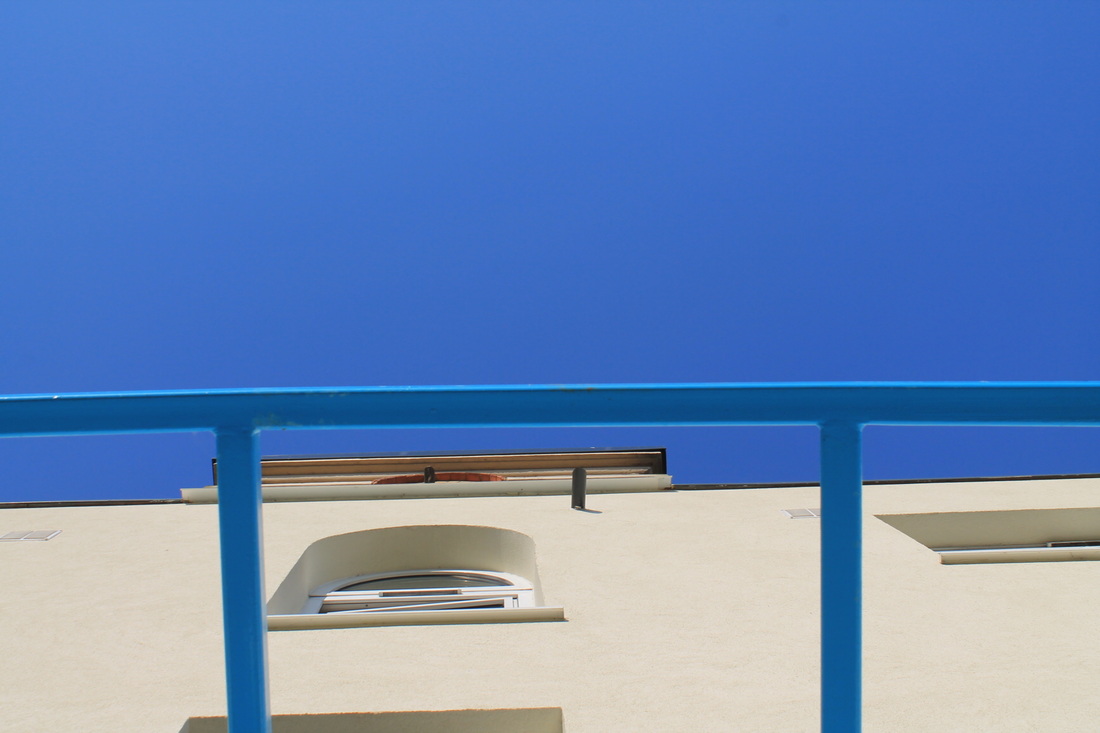
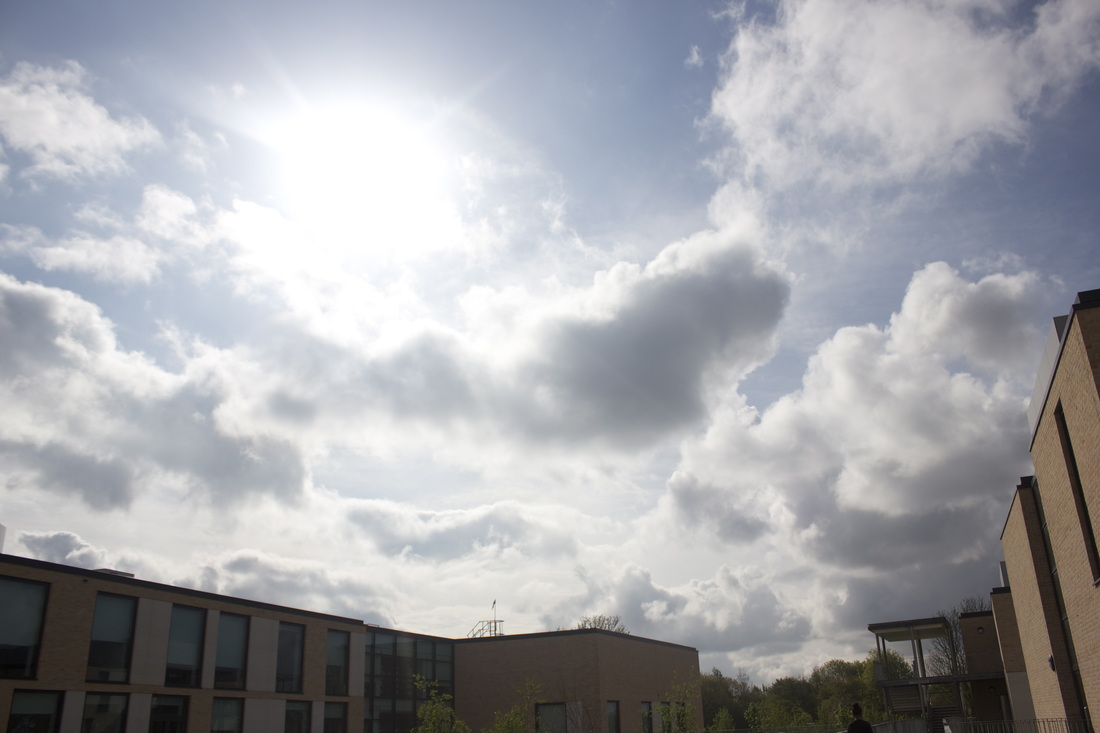
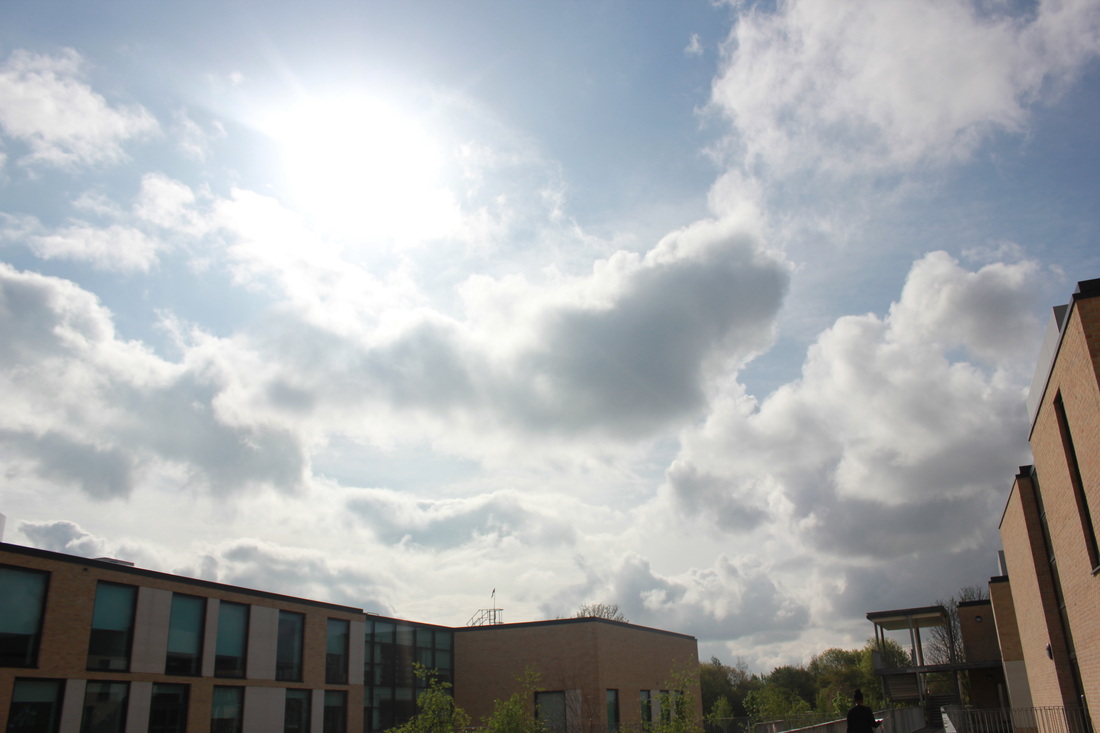
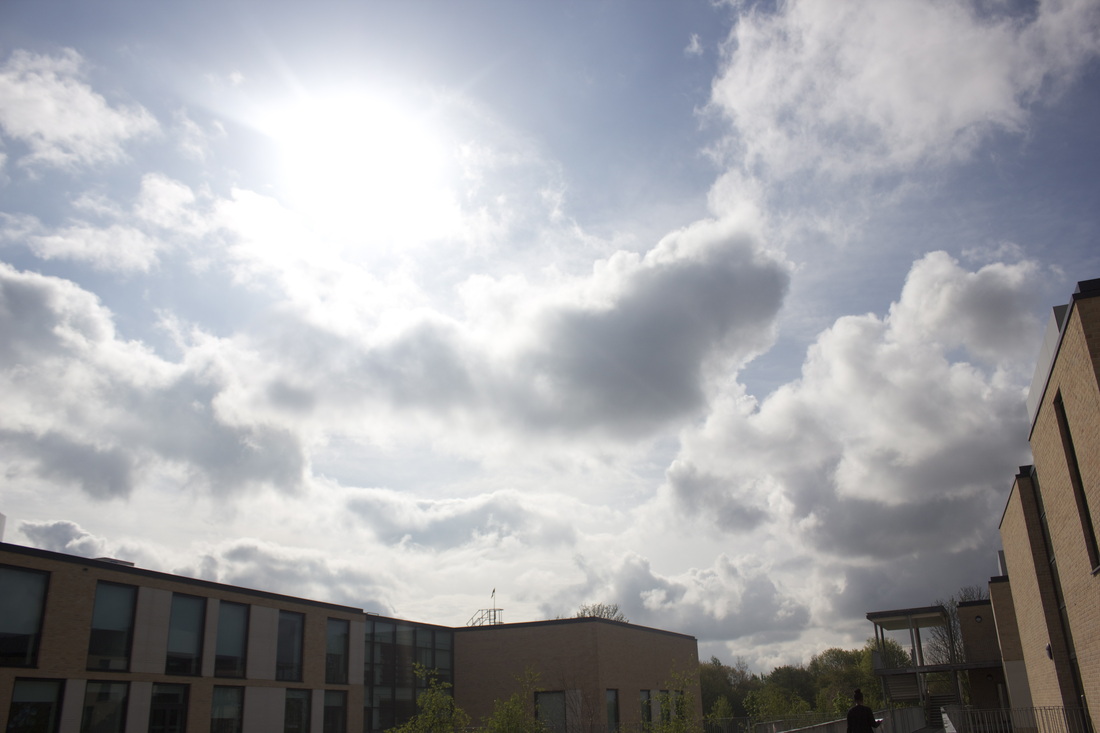
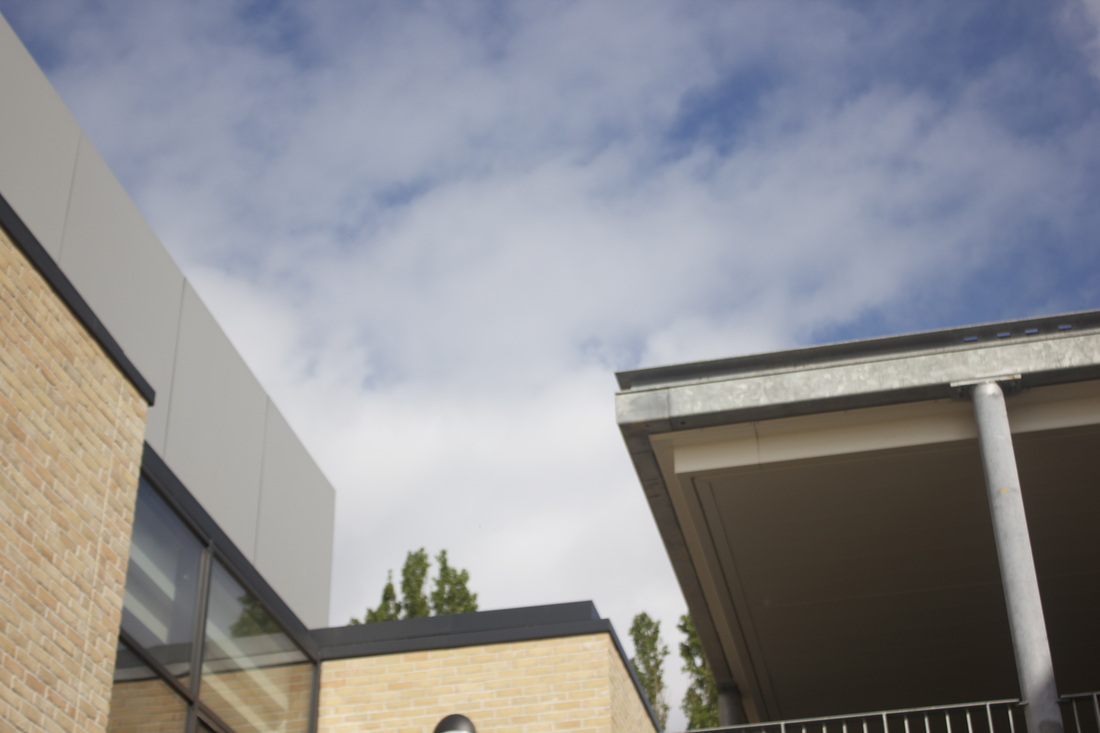
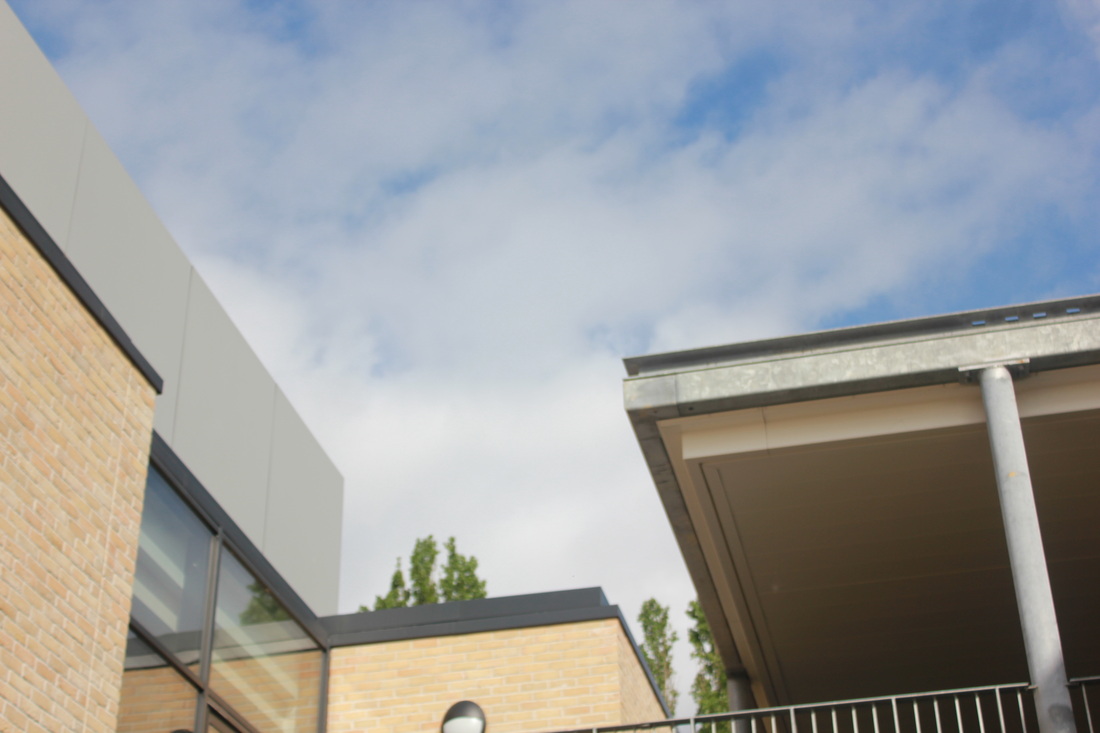
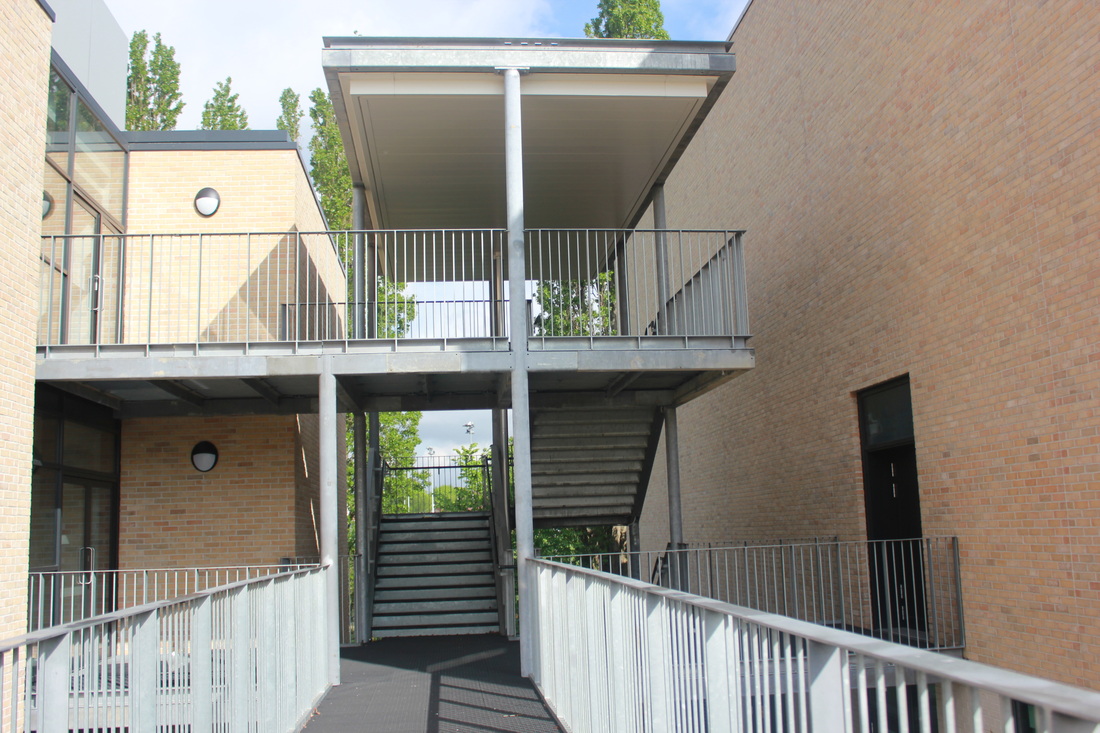
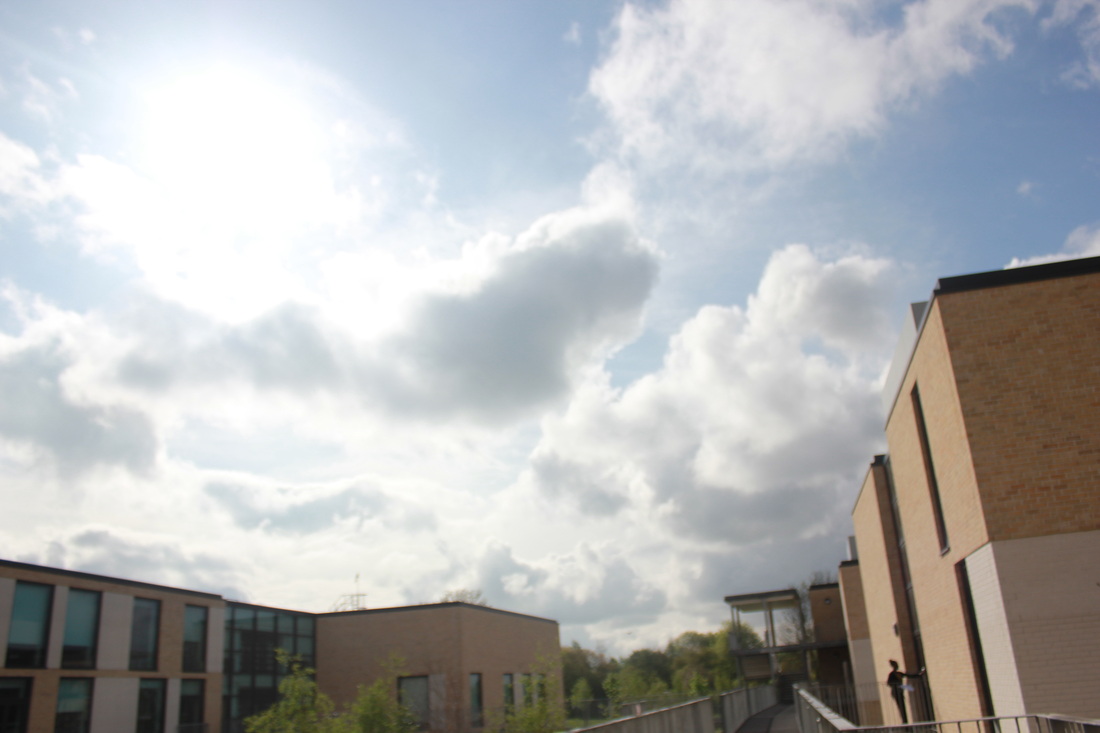
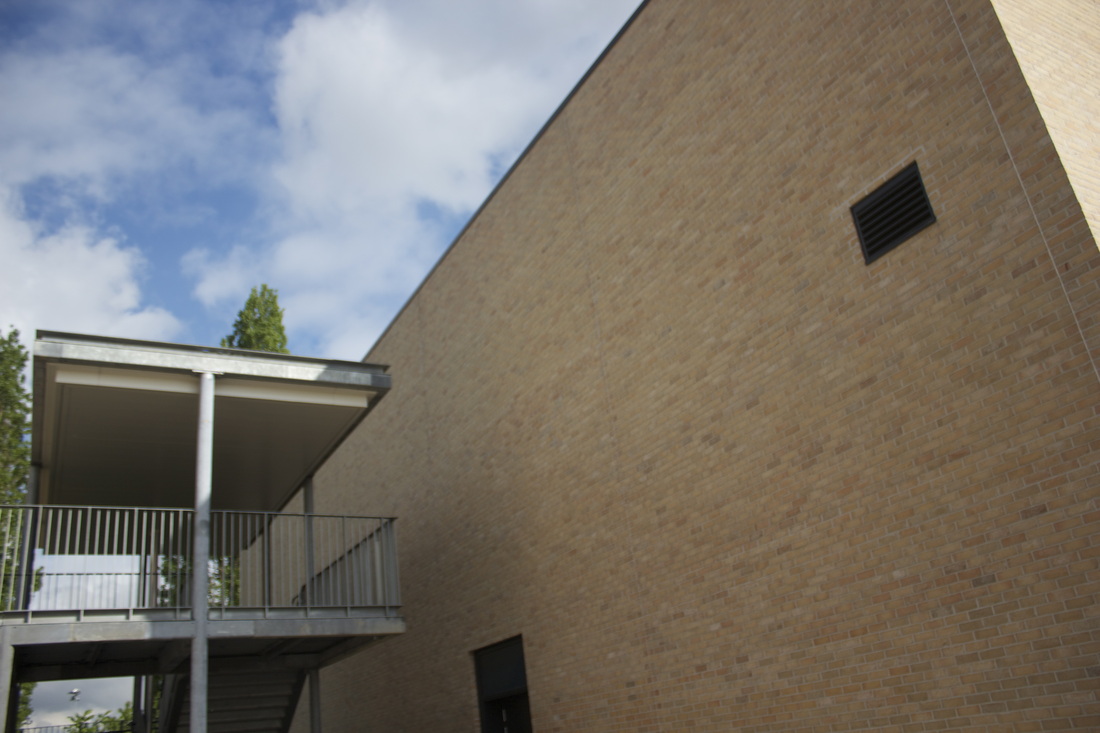
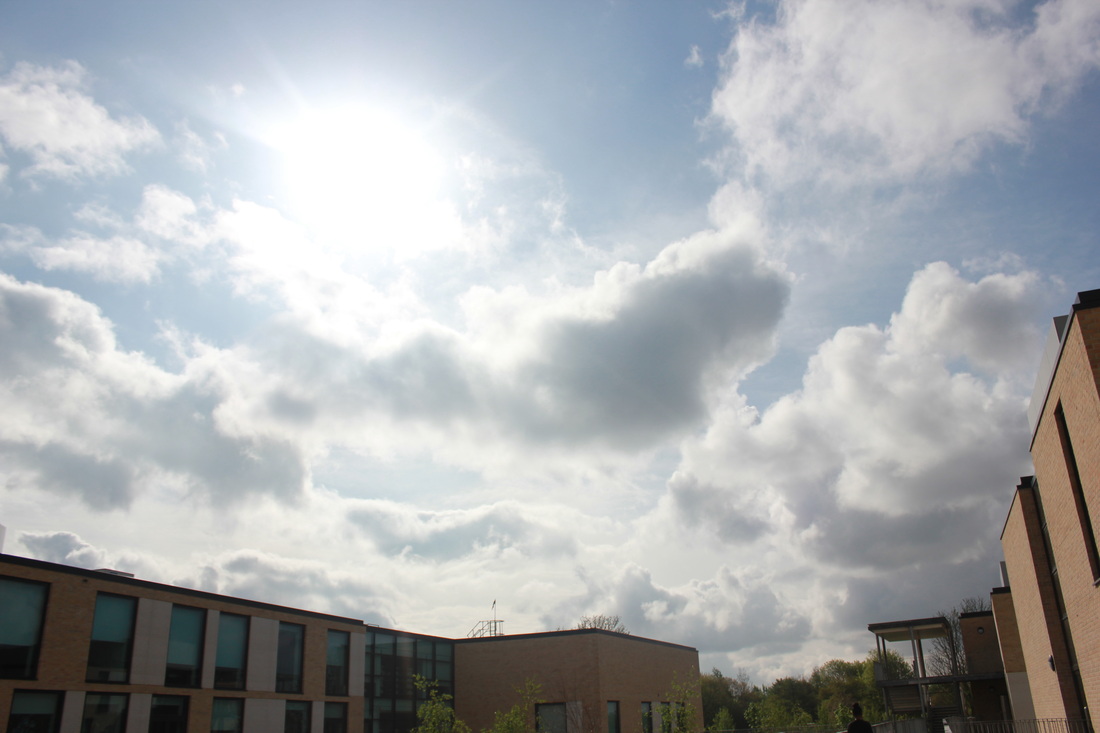
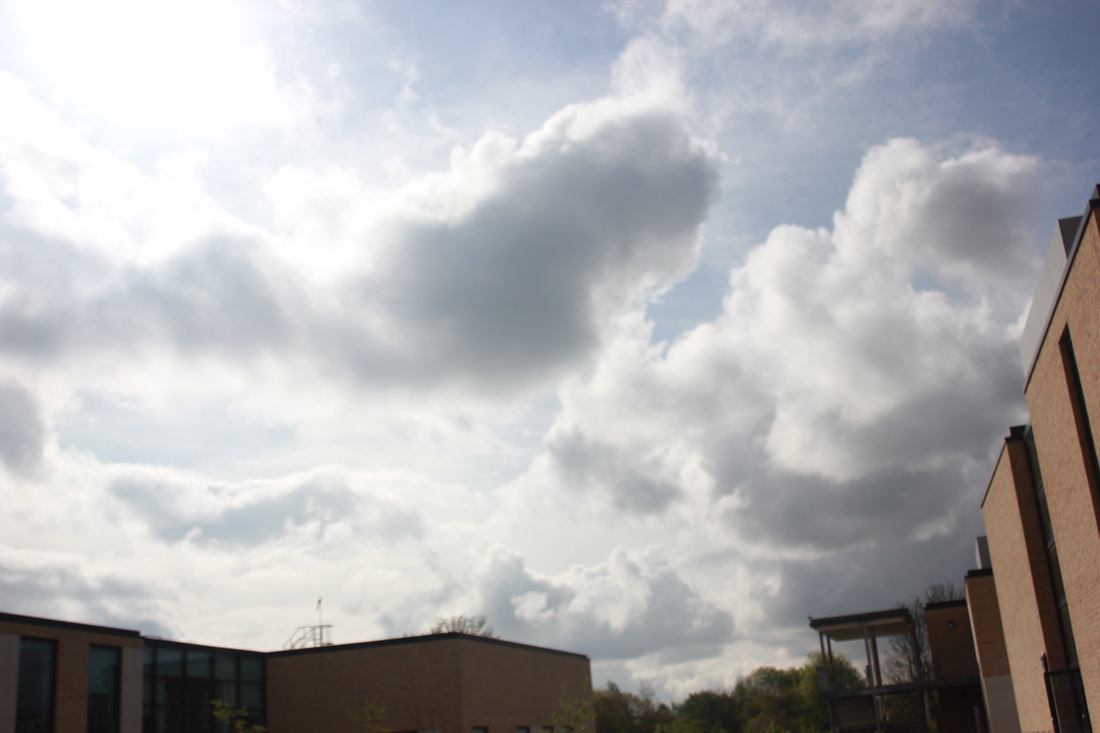
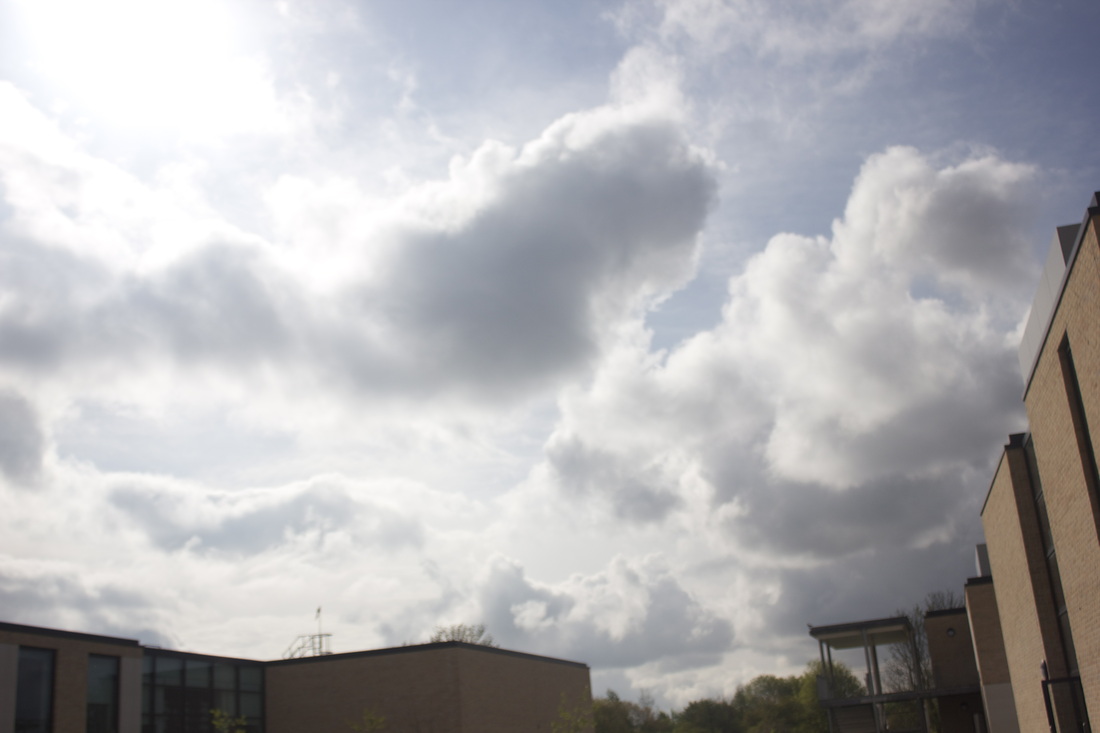
The images you see above are the images I have take outside of the Thomas Tallis school walls, I have decide to take my photography out side of school so there is a wider variety of photography which would make my pro-folio a lot more interesting as well as take photos in school, you are very limit to what you can photograph (as you can see below on the next set of photos). Also the variety of colour also brightens up my website, even though a lot of the images i have taken do look the same but the slights different can make a big different between and good and bad photo.

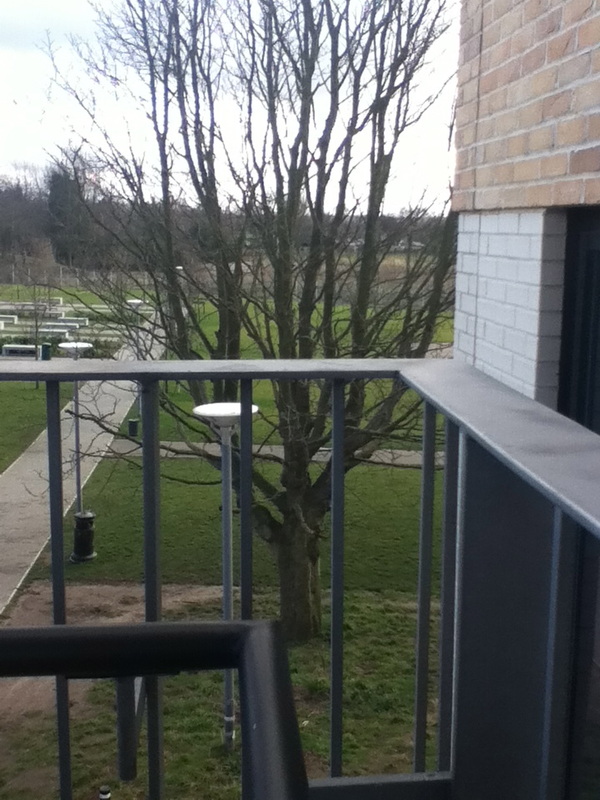
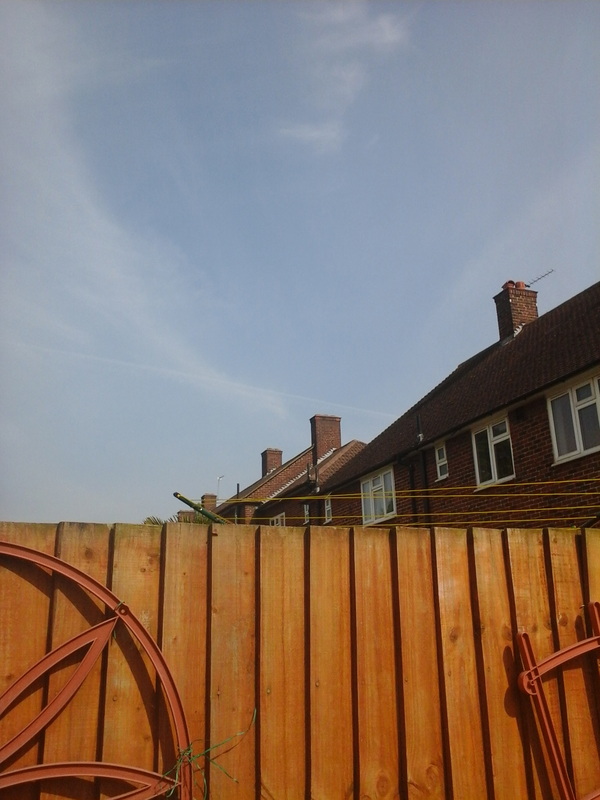
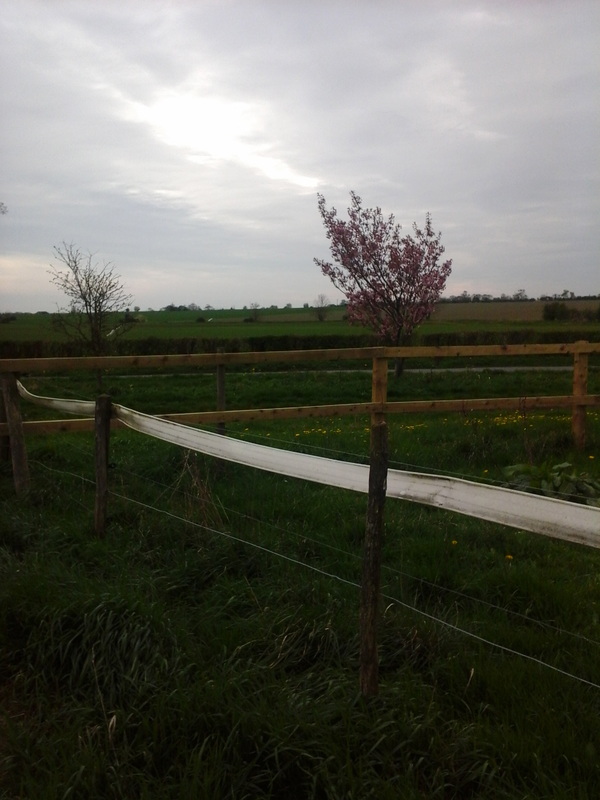
This image above is one of the image i have took which had the potential to be a really good photo which would have related will to my theme edges. As you can see I have put a thick red box around it, I have don't this so you could see the improvement I would have made visual if I had had the right equipment and thought of it at the time however unfortunately I didn't. Once I took at look at these photo I instantly thought if I had a DSLR camera instead of the Samson galaxy tablet 3, which I must say has a very poor camera. I would have zoomed in to the point where the red box is showing to only get a clear image of the edges of the branches. This would have made and much more interesting photo as well as went with my theme.
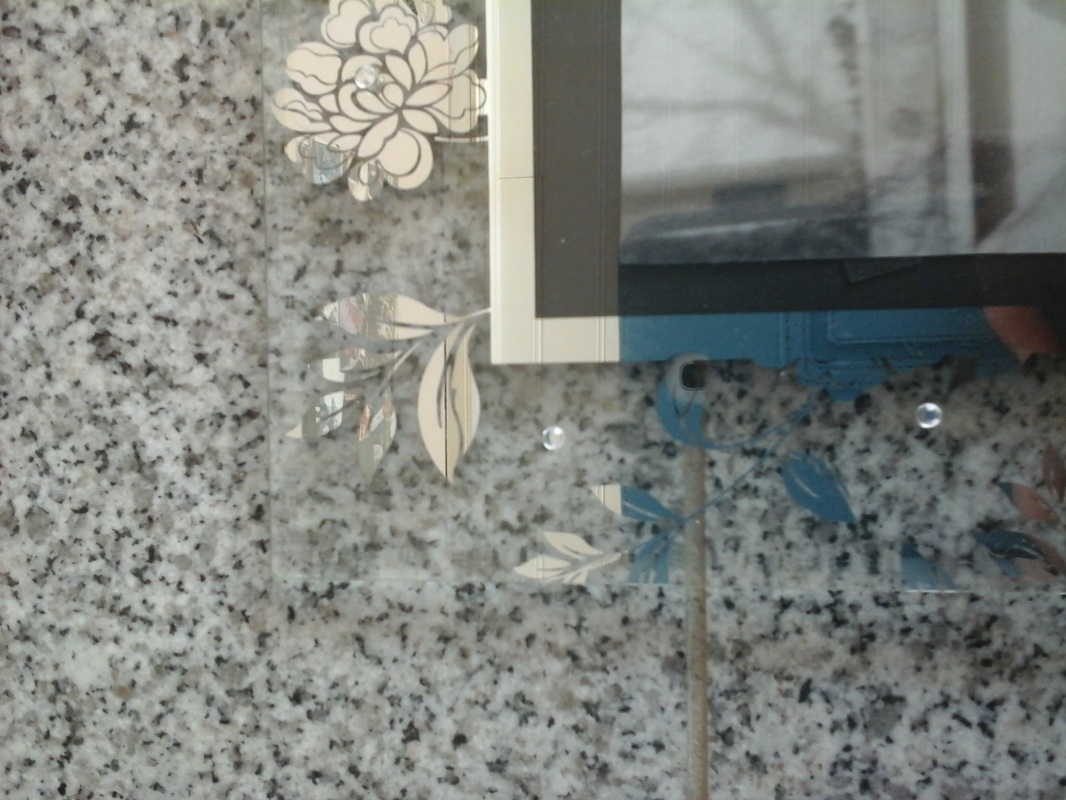
|

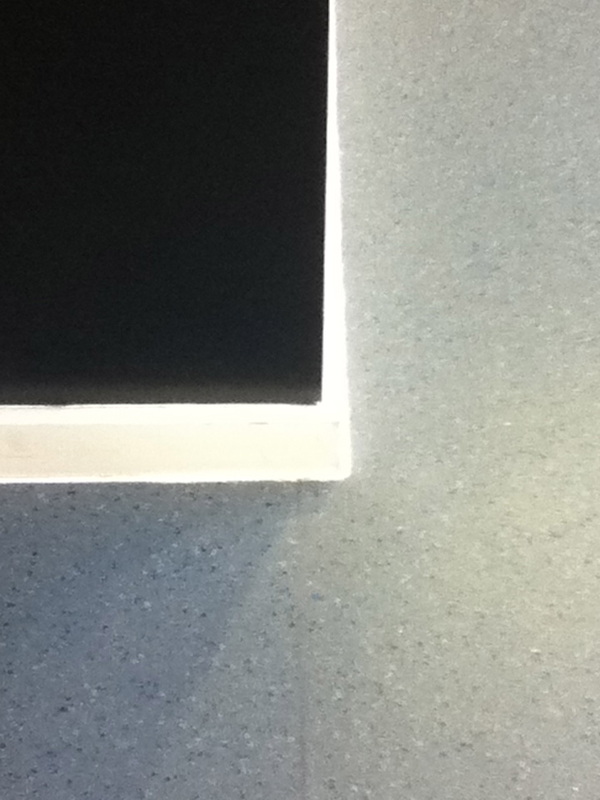
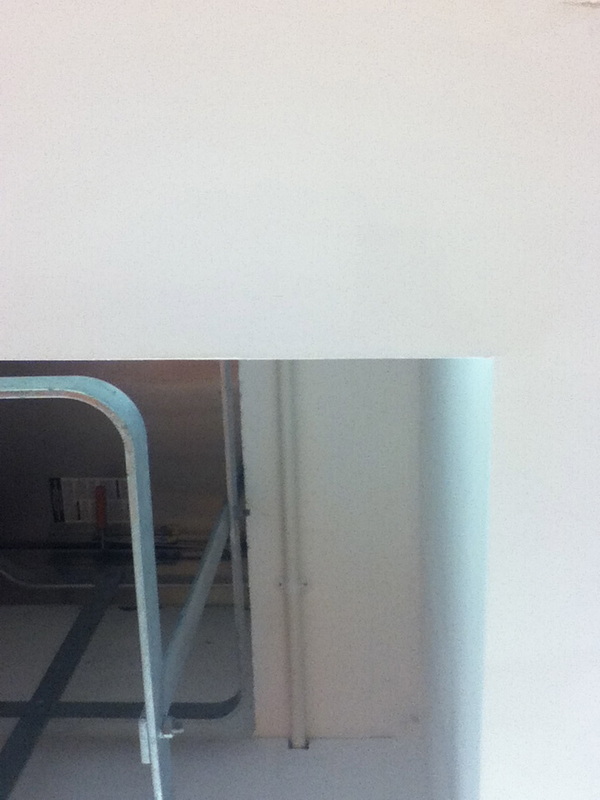
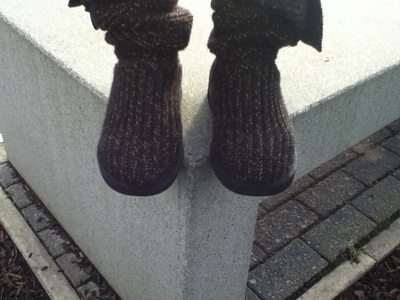
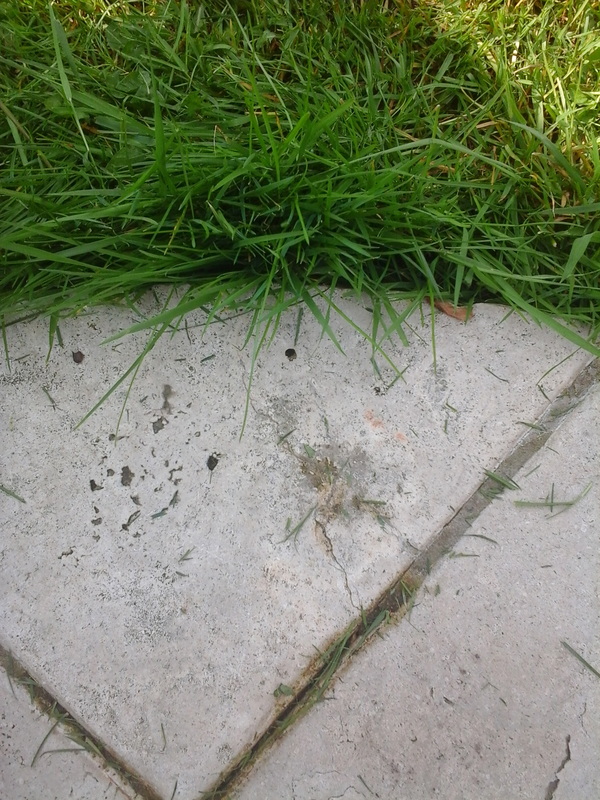
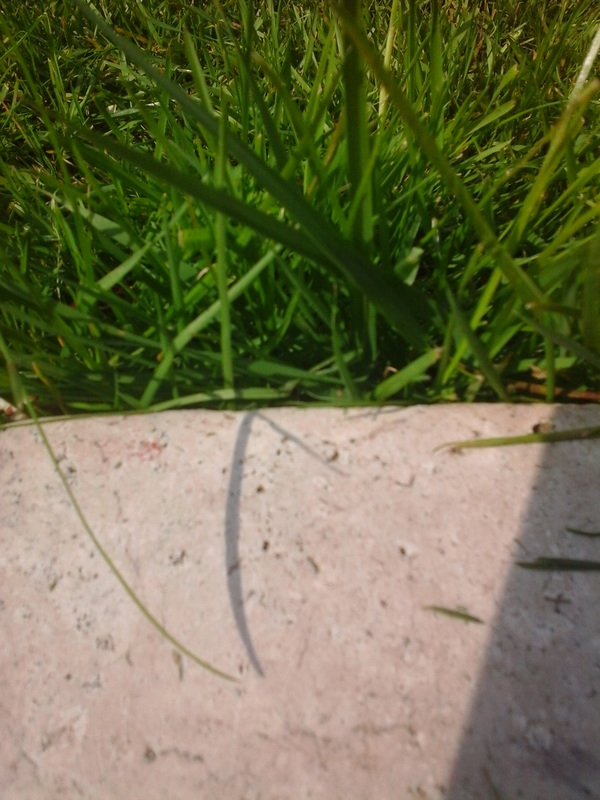
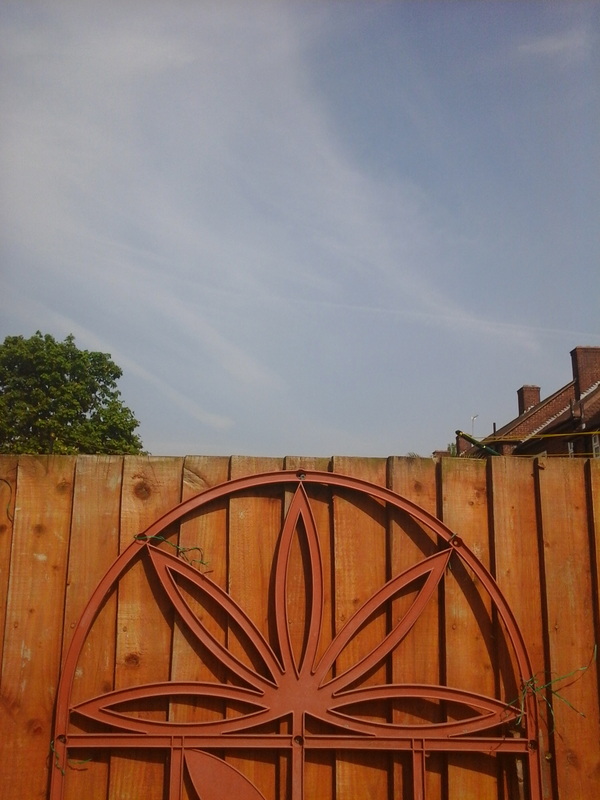
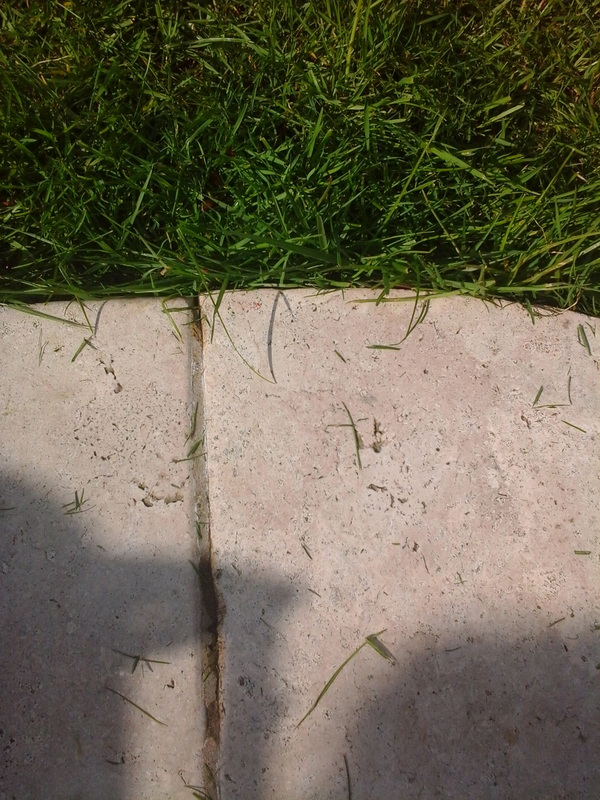
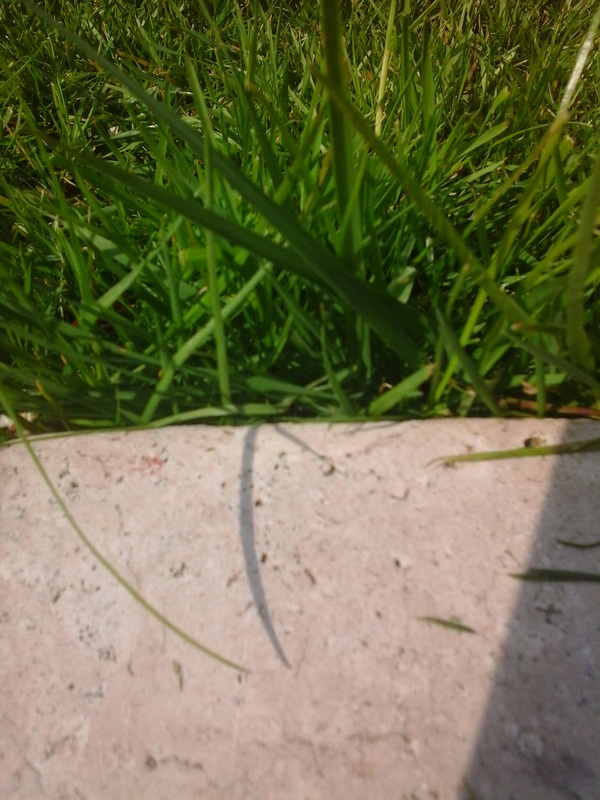
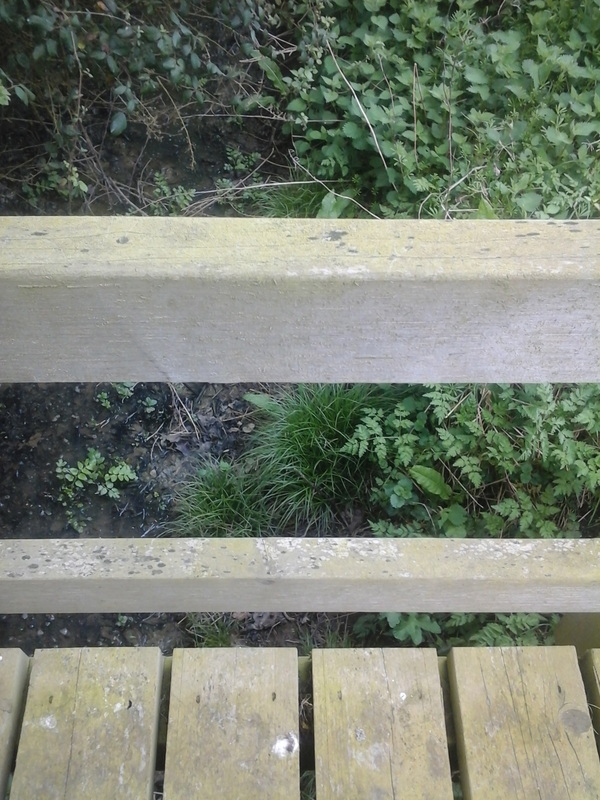
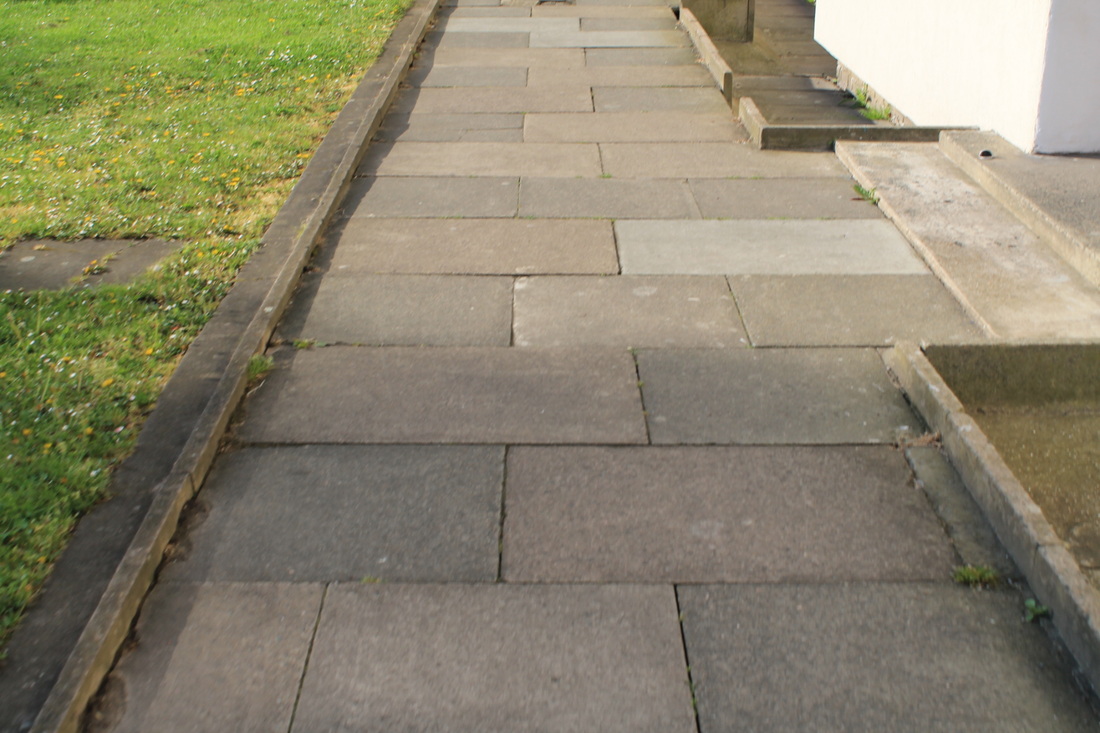
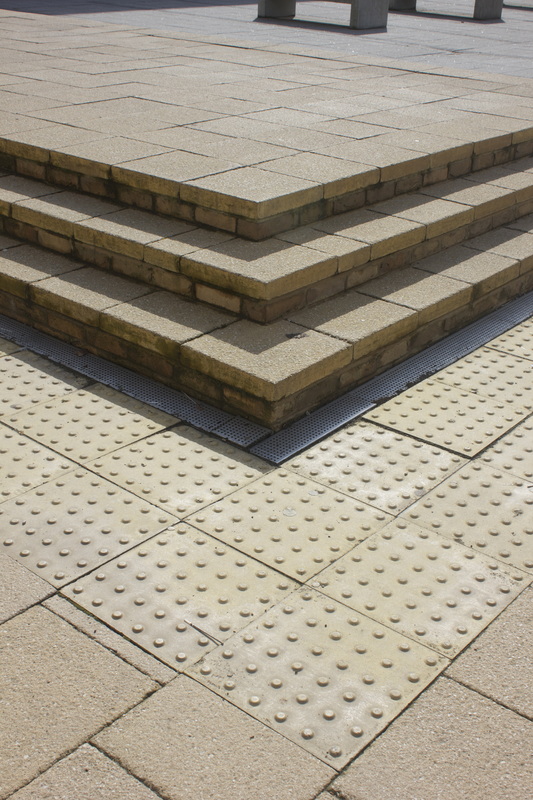
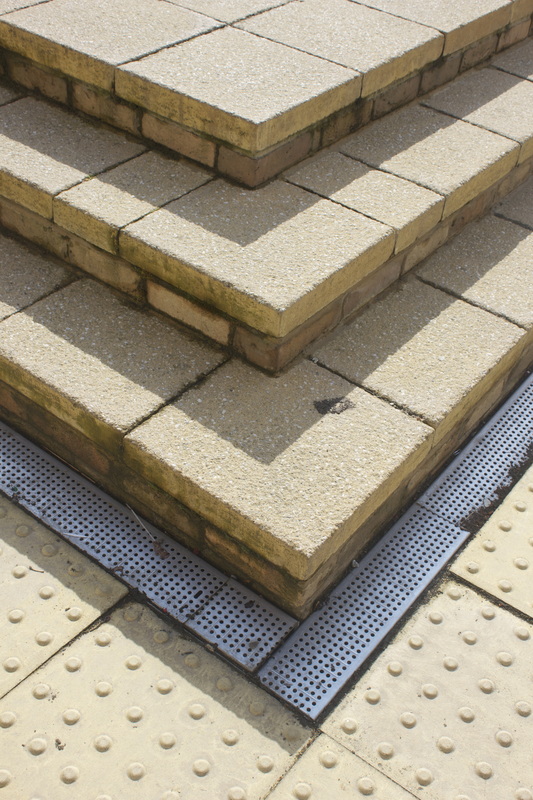
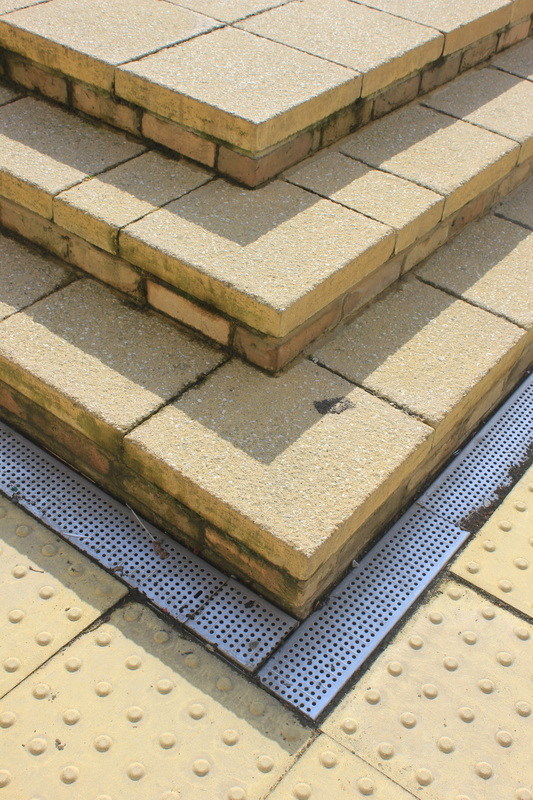
This image of the edge of a patio and grass is another image that could have gone better if I have though about it a little more rather than going on to take another photo. As this photo is not quite fully in focus there for the edges I were trying to capture where not as visible, but once again if I had the suitable equipment or even a little more patients (a skill that I could still do with a little more improvement) this photo could of have a whole different specific on it. Also the angle of the photo could have been improved as well, I think if I was to stand directly over where the edge was and took the photo it would have looked much better.
|


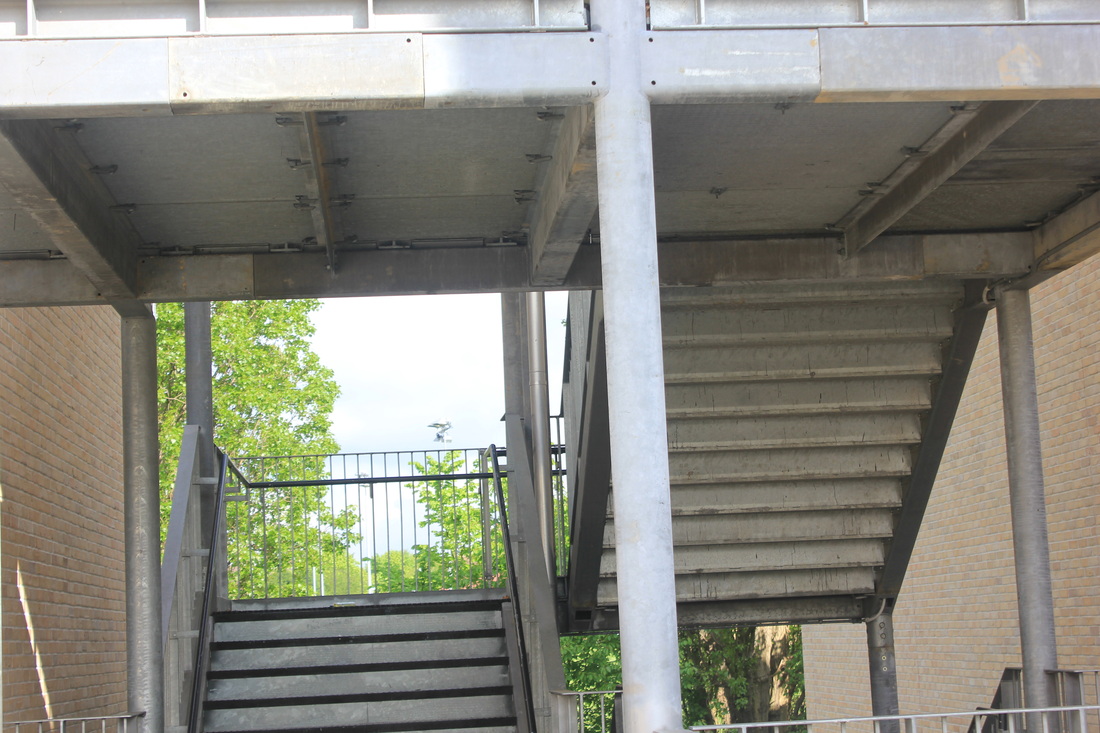


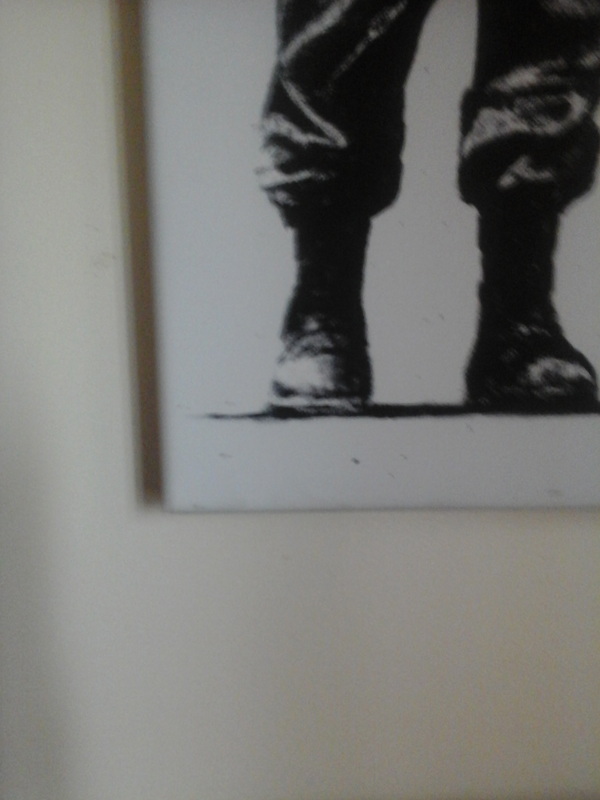
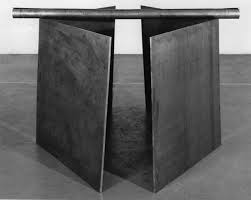
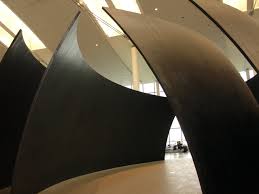
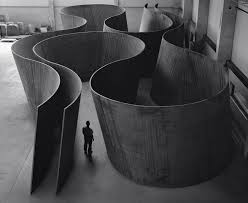
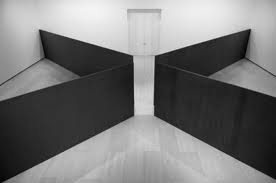
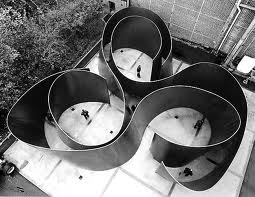
Richard Serra
This is some inspiration I had when looking at Richard serra work, i when to create a life size image go my final piece.


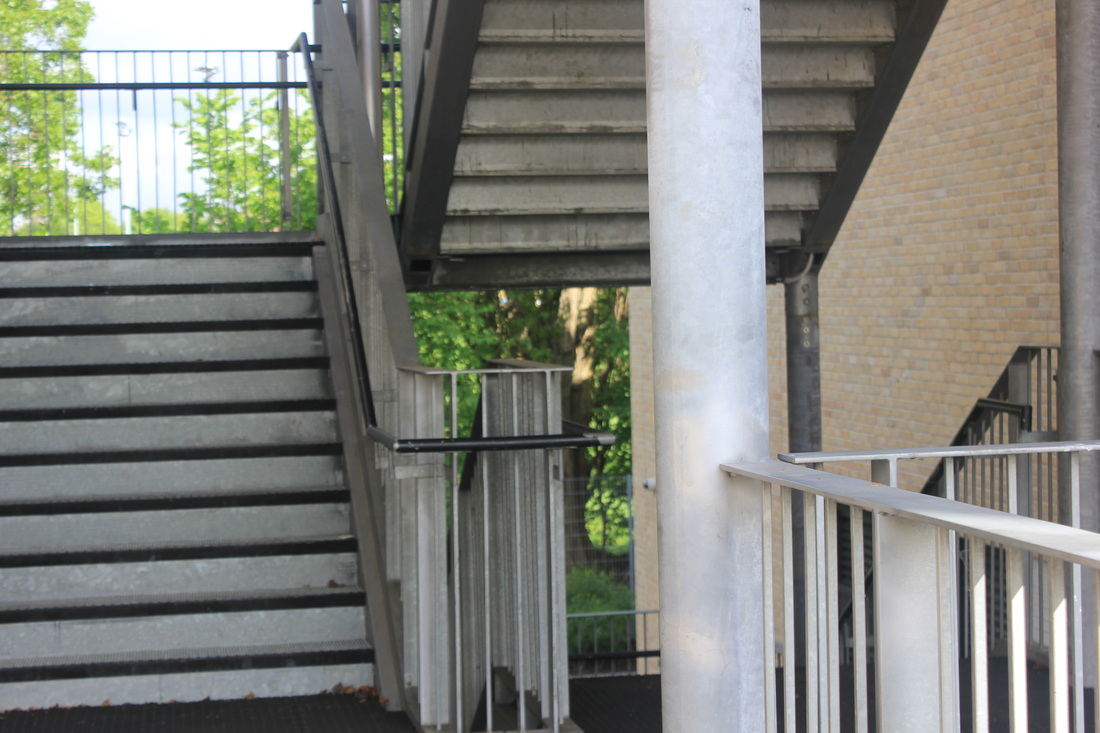
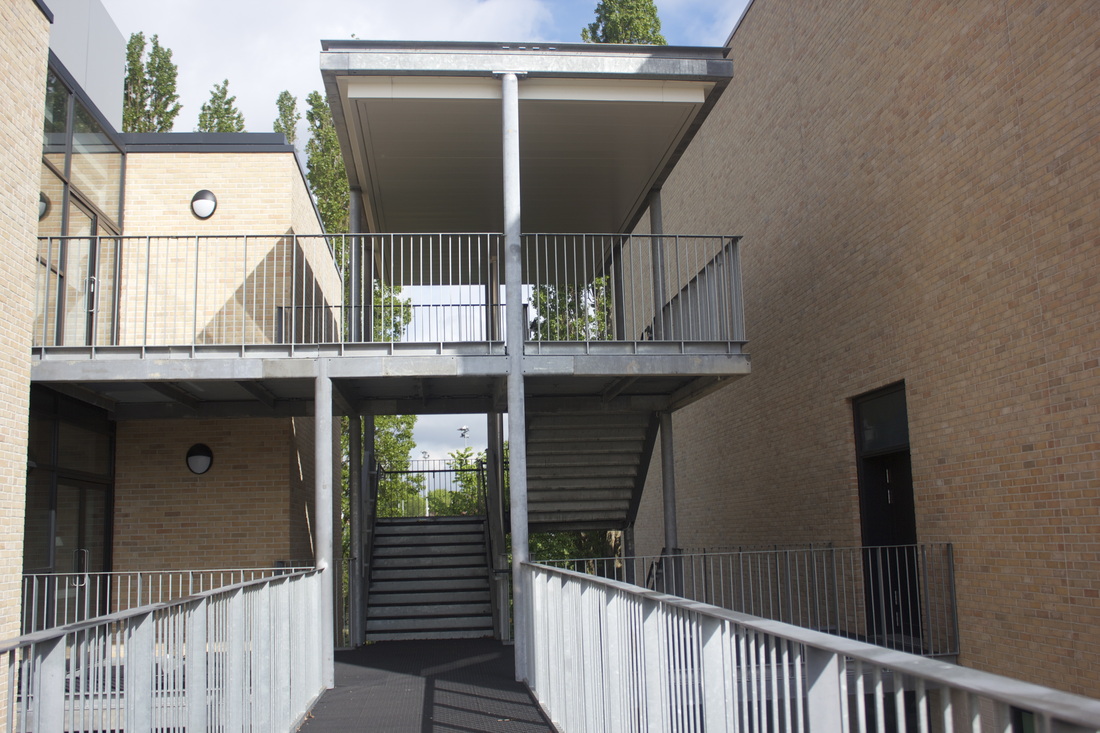
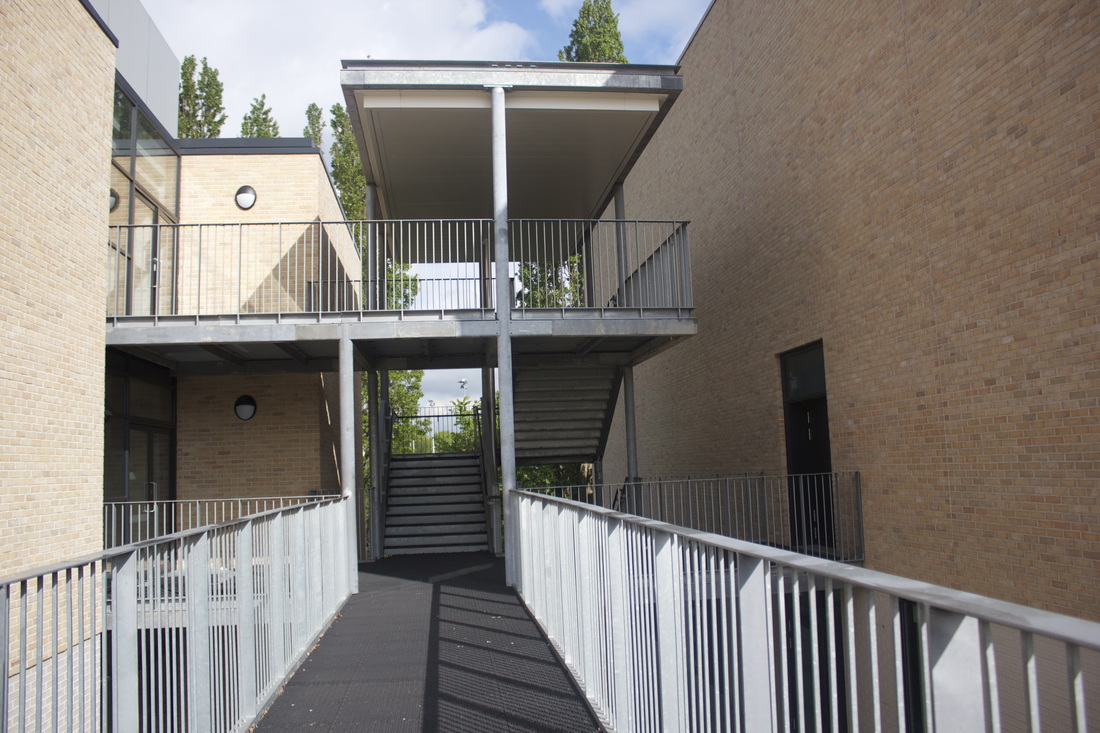
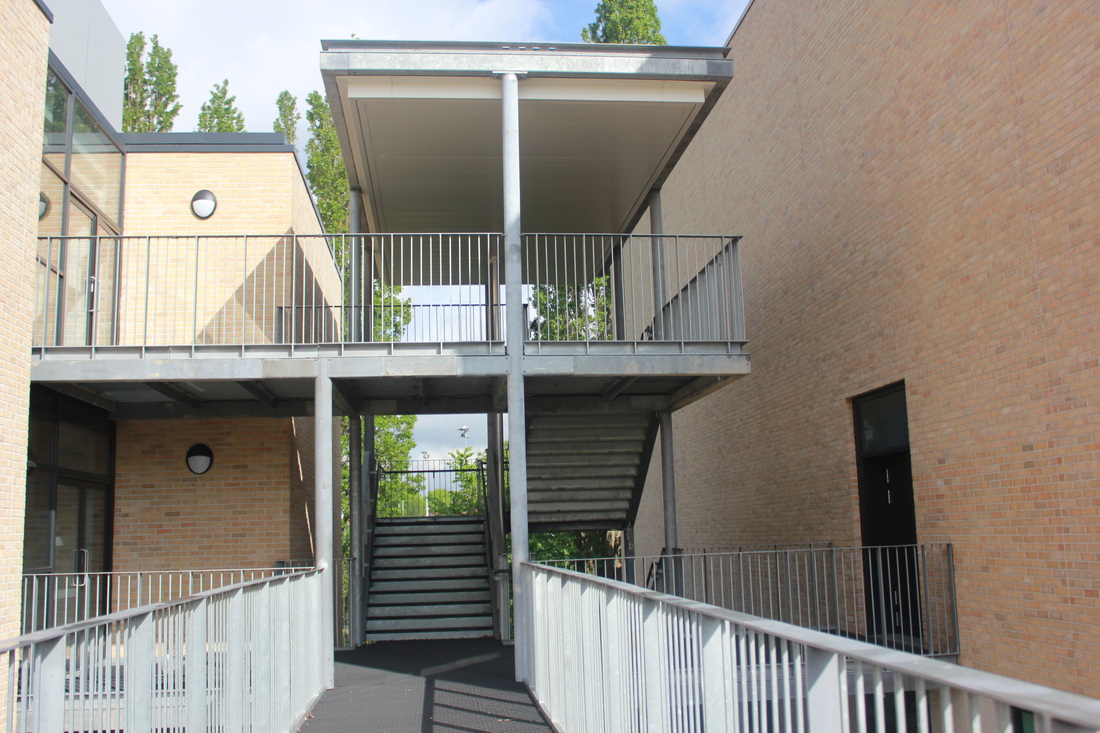
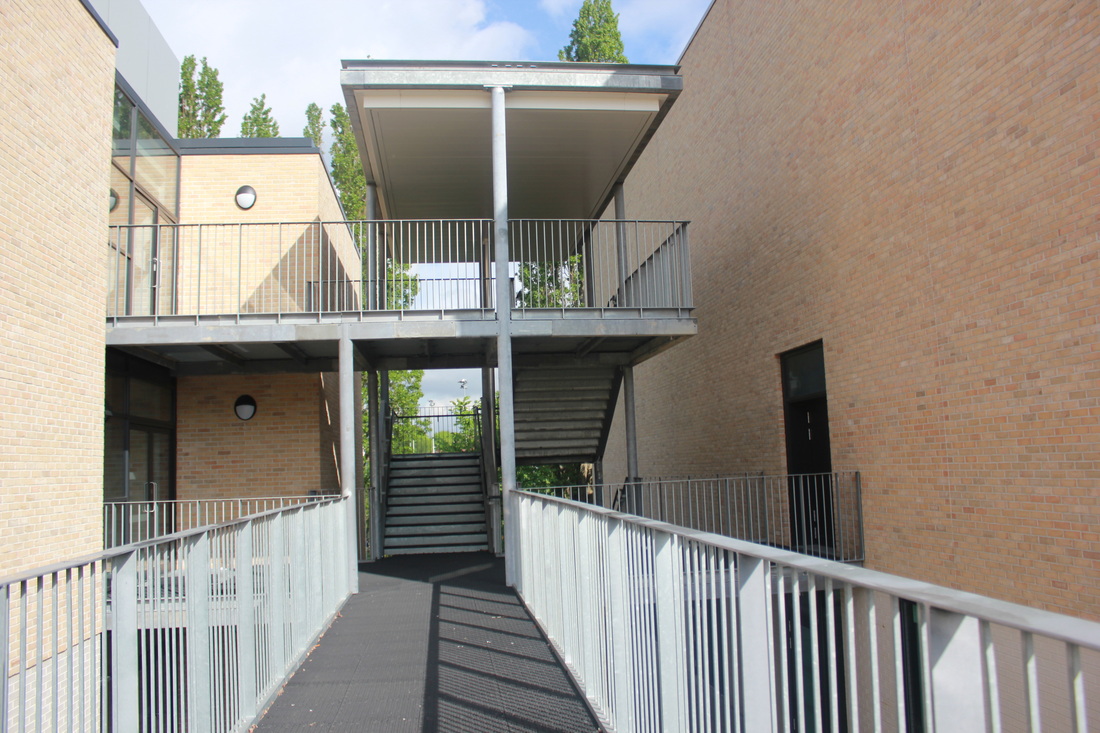
The photos above have been taking in school (these are the second set of images I have taken at school) these are the images I used to create all of my final pictures.
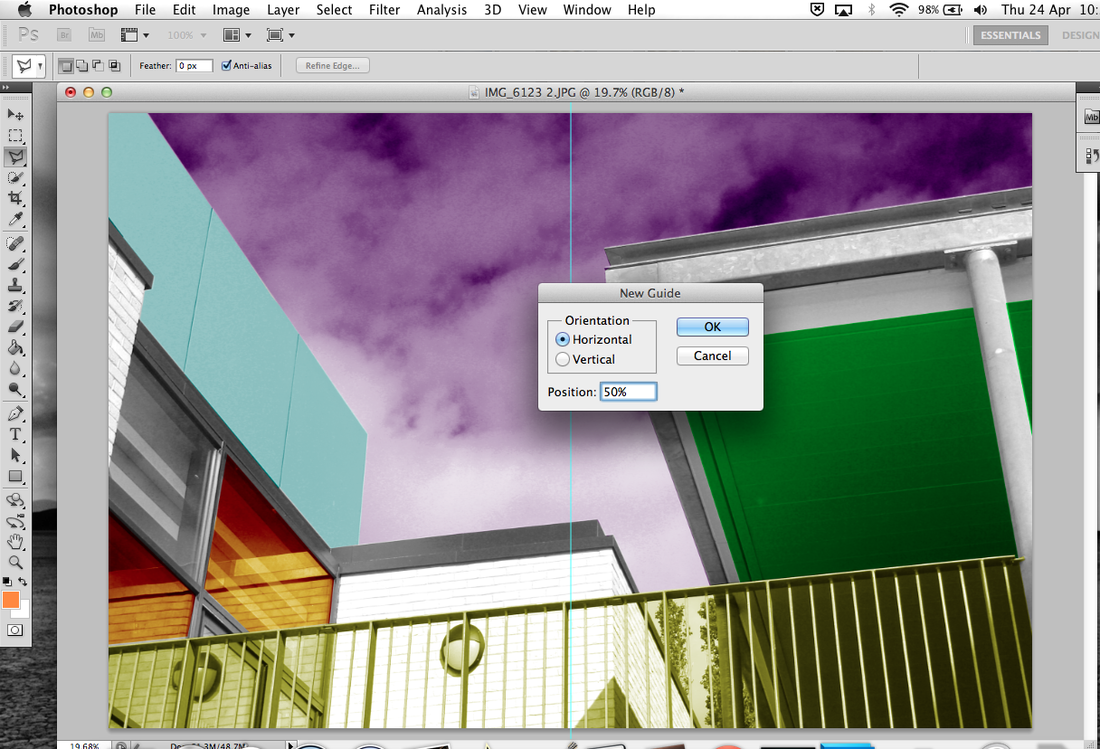
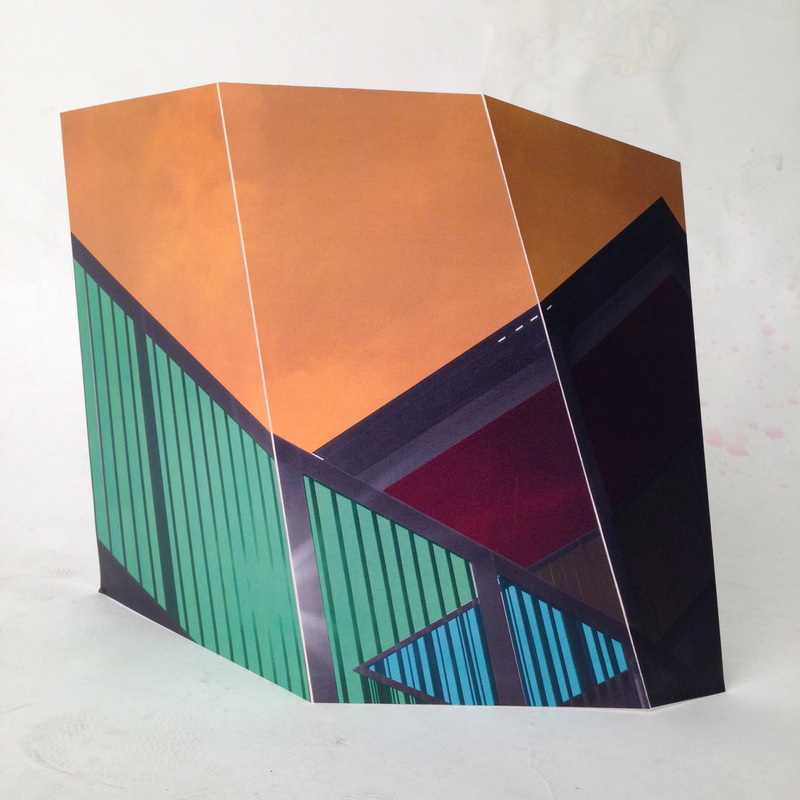
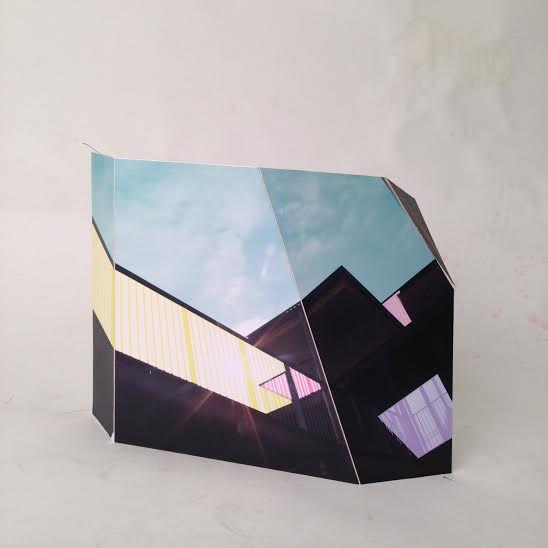
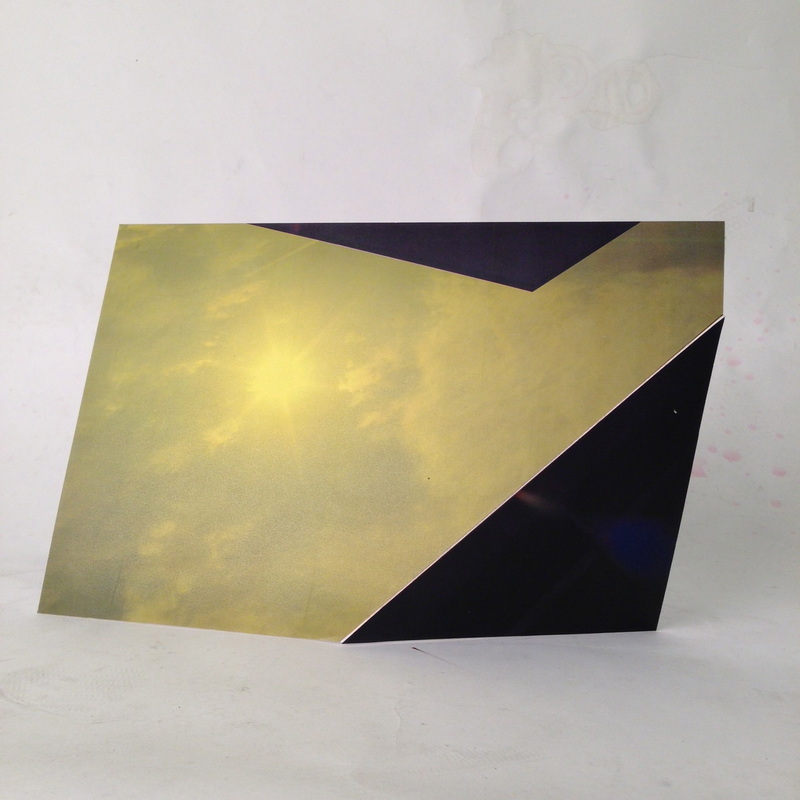
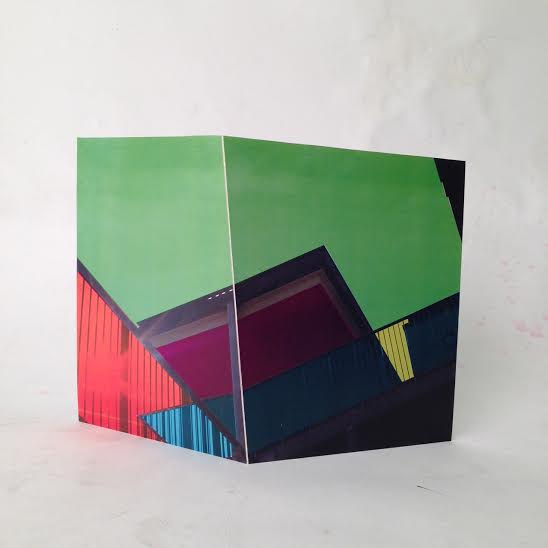
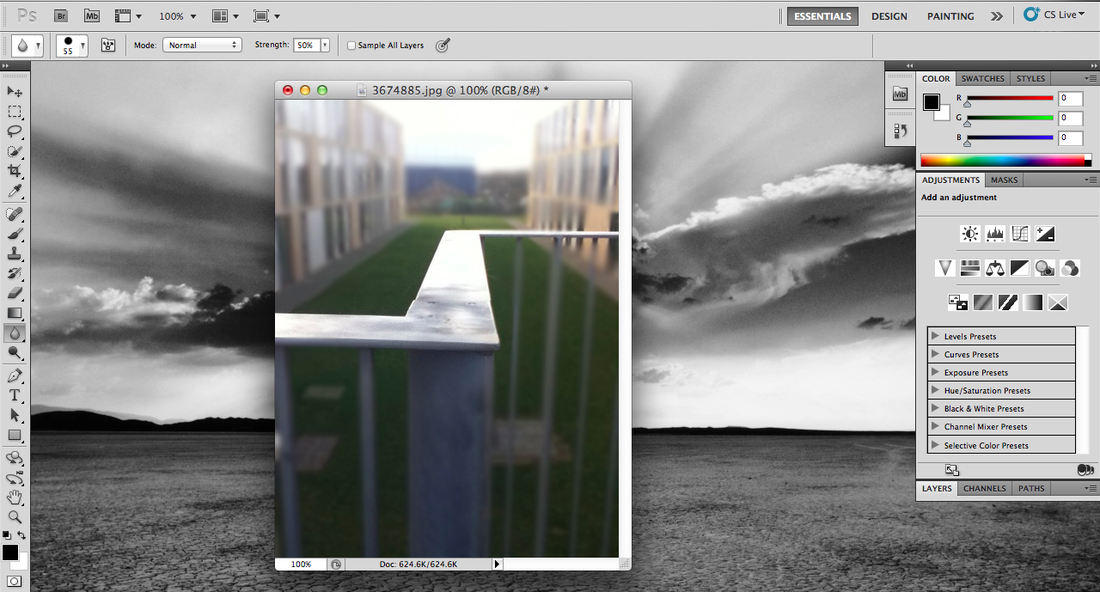
What you see above is a screen shot of what programme I used to edit and create my final pieces. I used photoshop to create these colourful abstracted images of edges. To do this there where several things I needed to do: first of all I selected the image I wanted to edit, create it so it has to layers. One which has the actual image and another so I can put the colour on, these two layers are really merged so that you can see the colour but also the image. Secondly using the tool that is darken on the left side of the page, I selected a section I wanted to colour such as the railing and the clicked the two little coloured boxes on the left, again choosing the colour I wanted to blend within the image. Then playing around with the blending modes on the right (I have not screenshot this part). once I have done this and happy with it, I carried on doing all the other colours. When I have finished I decide I wanted to make a massive print out of one of the best ones (as you can see below) to do this I used another tool called guides to split the page in to four as you can see I have started to do in the screenshot. The just simple print as A3 sheets of paper and mount them using thick card and spray glue.
|
|
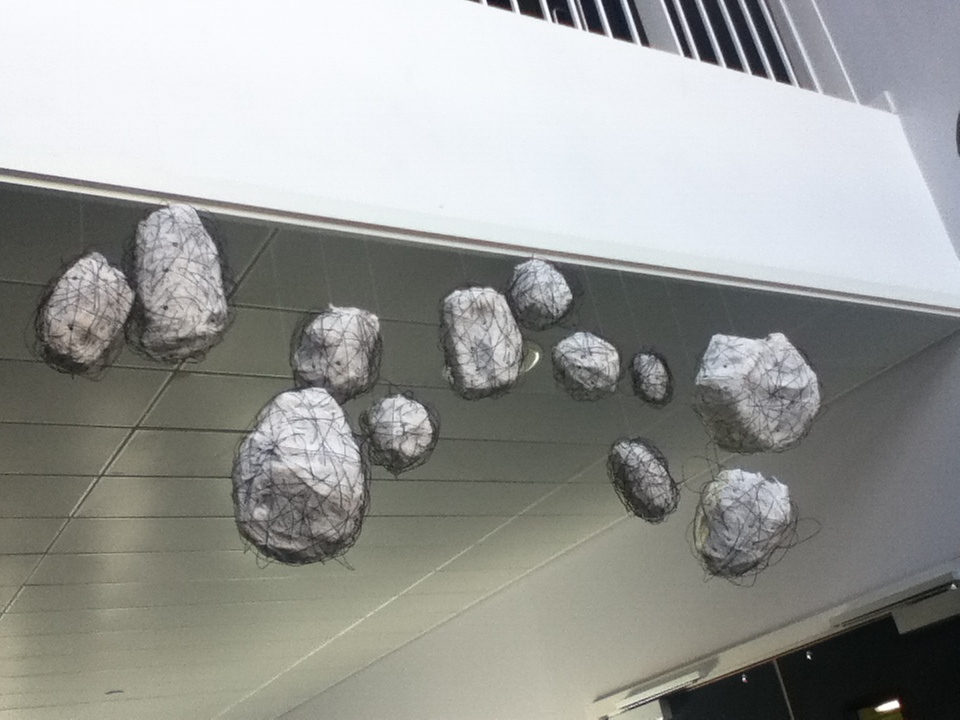
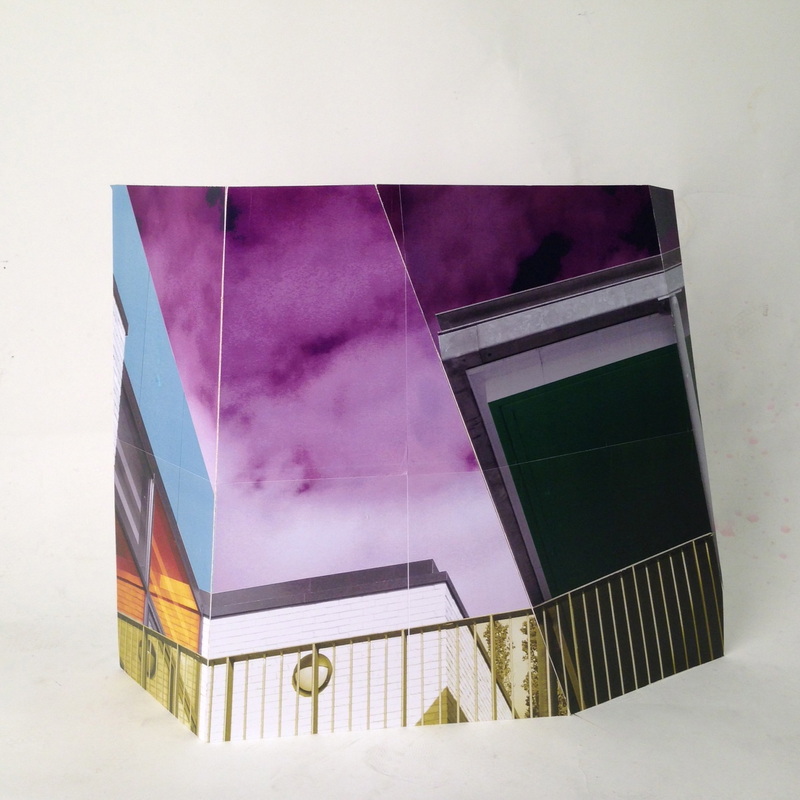
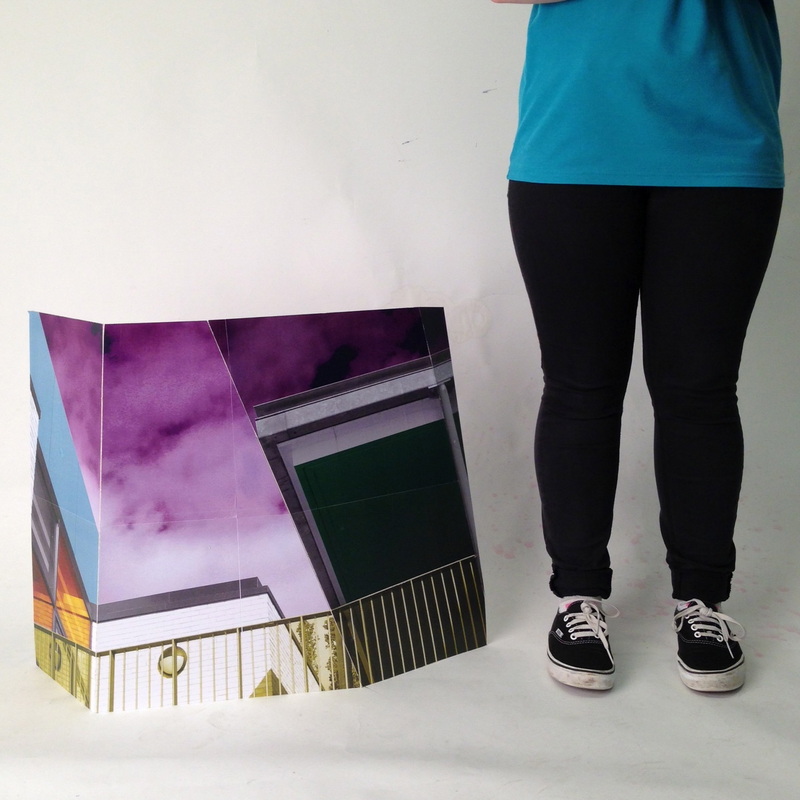
These are the all my final piece both above and below. The piece below all come as one as they are a section that come together and are all A3. However The final piece is not with the others as it is a much more enlarged one, I took a picture next to it so people could see the realistic size of it, it is made out of four A3 piece of paper.